Start small, save food, and cut single-use plastic. The EPA found that household food waste makes up roughly 40–50% of food waste in the U.S., so organizing your pantry can make a big difference.
Begin by using what you already have at home. You don’t need to toss usable jars or containers. Instead, consolidate duplicates and build refill-friendly habits over time.
In this guide you’ll follow a clear process: assess what’s on your shelves, make a few essential swaps, set up daily-use zones, and form long-term habits that stick. These steps help you reduce waste, spot expired items, and avoid buying duplicates.
Glass and stainless steel are popular plastic-free products for heated foods, but choices should match your space and routines. Think of this as a phased plan: start with a few jars and labels, then refine with the items you reach for most.
Assess Your Pantry and Cut Food Waste Before You Swap Containers
Empty one shelf at a time so you can see what you own and avoid rushing. This use-what-you-have approach saves time and helps prevent unnecessary waste.

Walk through a quick cleanout:
- Pull every item out, group like with like, and consolidate partial bags into jars.
- Decide to keep, compost, or donate—toss anything that smells off or shows moisture damage.
- Note duplicates and impulse buys so your next grocery trip matches real needs.
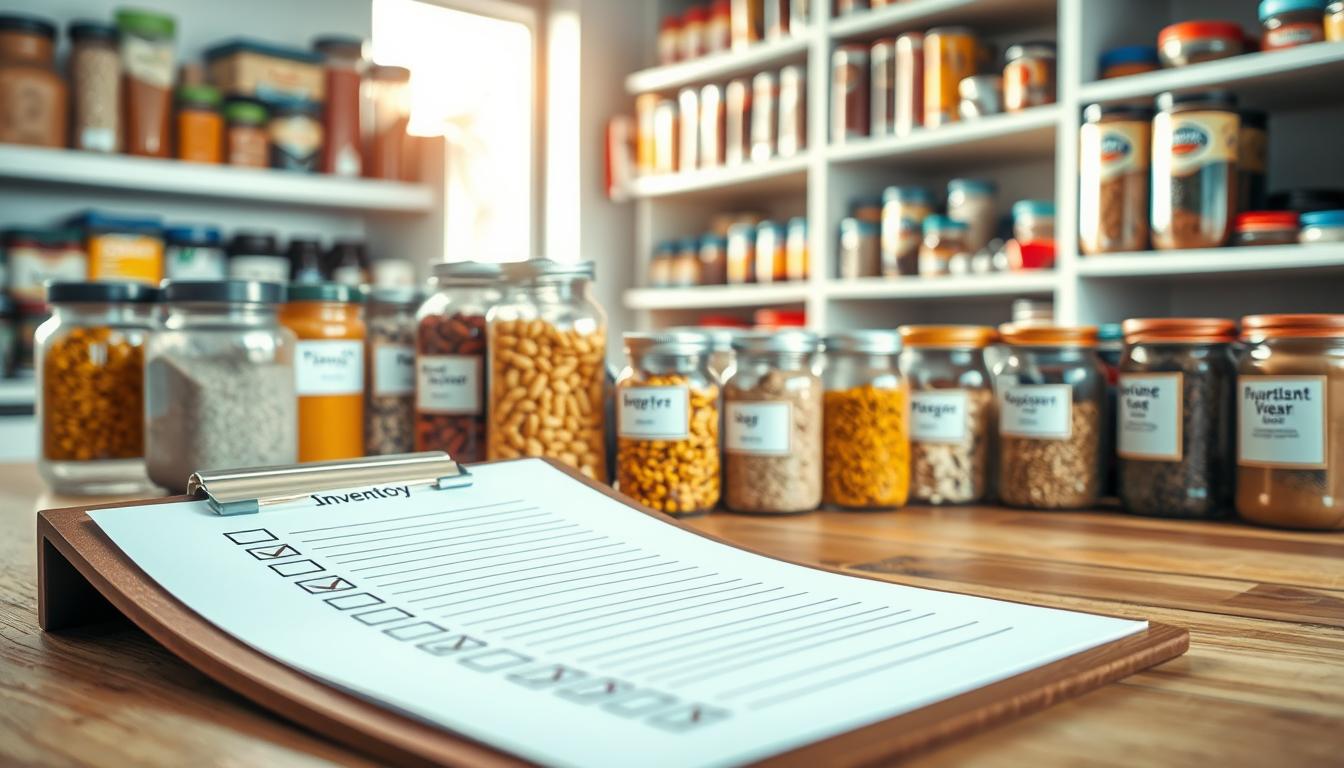
Use a short inventory method to save time: list the one to five items you use weekly and check what you already store. Then plan your next trip to the store from that single list.
Food-saving checks you can do now:
- Brown sugar: microwave covered with a damp towel for ~20 seconds or pulse in a blender.
- Baking powder: add 1/2 tsp to boiling water—keep if it fizzes.
- Yeast: mix with warm water + 1 tsp sugar; it should foam in minutes.
Prep jars and shelves: wipe shelves with warm water and dish soap, wash containers, and dry fully. Remove labels by soaking in hot water and dish soap; use vinegar if needed. For stubborn residue, try rubbing alcohol or an olive oil + baking soda paste, and use acetone only with ventilation.
Sustainable pantry storage essentials for a plastic-free kitchen
Choose tools that match how you actually cook. Start with items that offer visibility, airtightness, and stackability so you avoid clutter and wasted space.
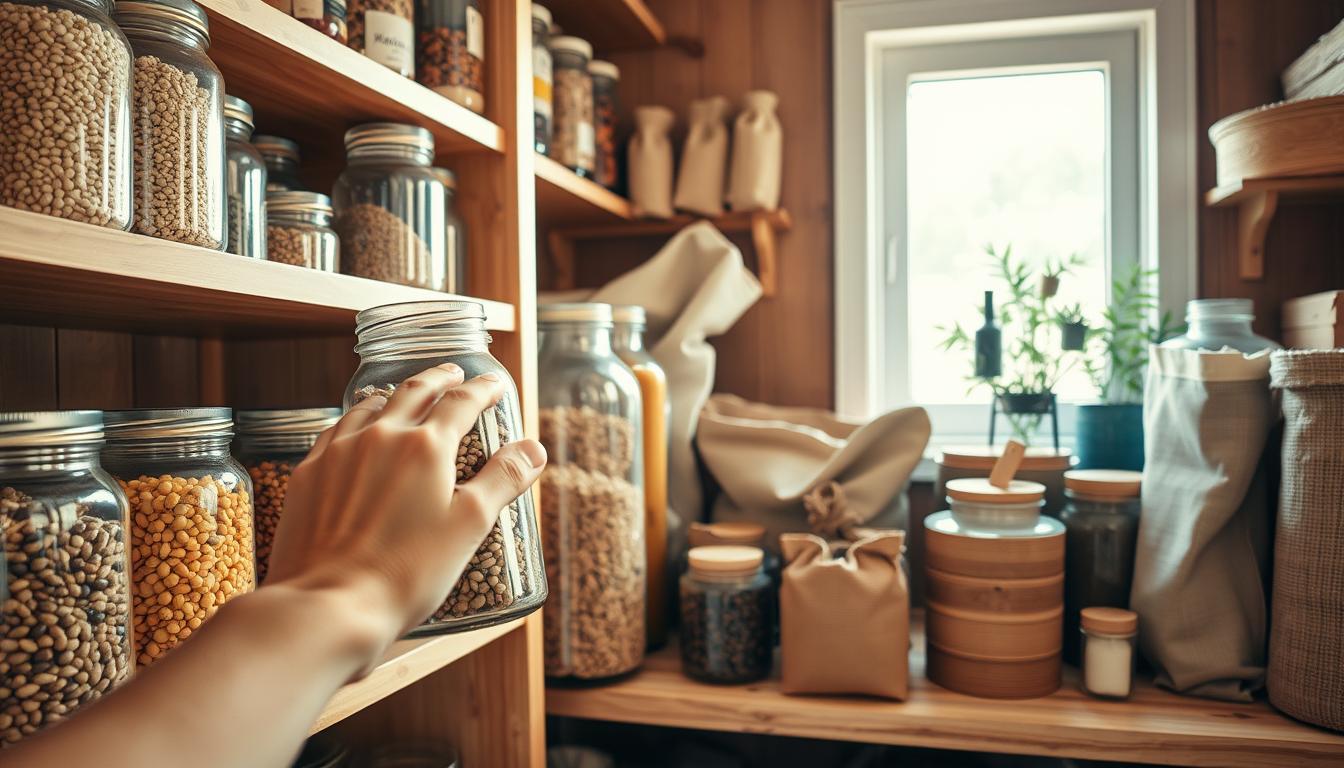
Choose glass jars for dry goods and pantry staples
Glass jars work well for dry goods because you can see levels at a glance and they’re simple to wash. Reuse grocery glass jars to build a cohesive system before buying new glass storage sets.
Pick stainless steel containers for durable, long-lasting food storage
Stainless steel is great when you need break-resistance and travel-ready containers. Use steel for leftovers you might reheat elsewhere to reduce chemical exposure from plastic.

Use beeswax wraps, cotton bags, and silicone for flexible needs
Beeswax wraps cover a bowl, baked goods, cheese, and produce—skip raw meat or fish. Cotton produce bags work well for bulk bins and fruit because fabric breathes. Silicone bags earn a spot for on-the-go snacks or leak-prone items thanks to their airtight seal.
- Reuse strategy: keep a rotation of cleaned glass jars for weekly staples and standardize sizes where possible.
- Lids & sizes rule: match lid style (screw, clamp, gasket) and container sizes to weekly use so you don’t buy extras that waste space.
Set Up a System That Looks Good and Works Every Day
Start by mapping your shelves into simple zones so everything has a clear place. A quick plan helps you avoid duplicate buys and makes daily life faster.
Create clear zones for snacks, baking, grains, and meal prep
Assign a zone for snacks, one for baking, one for grains, and one for meal prep essentials. When each item has a home, you grab what you need in seconds.
Make items easy to grab with smart shelf placement
Keep the items you use most at eye level. Put heavy jars on lower shelves so lifting is safe. Store rarely used things higher or deeper to free up prime space.
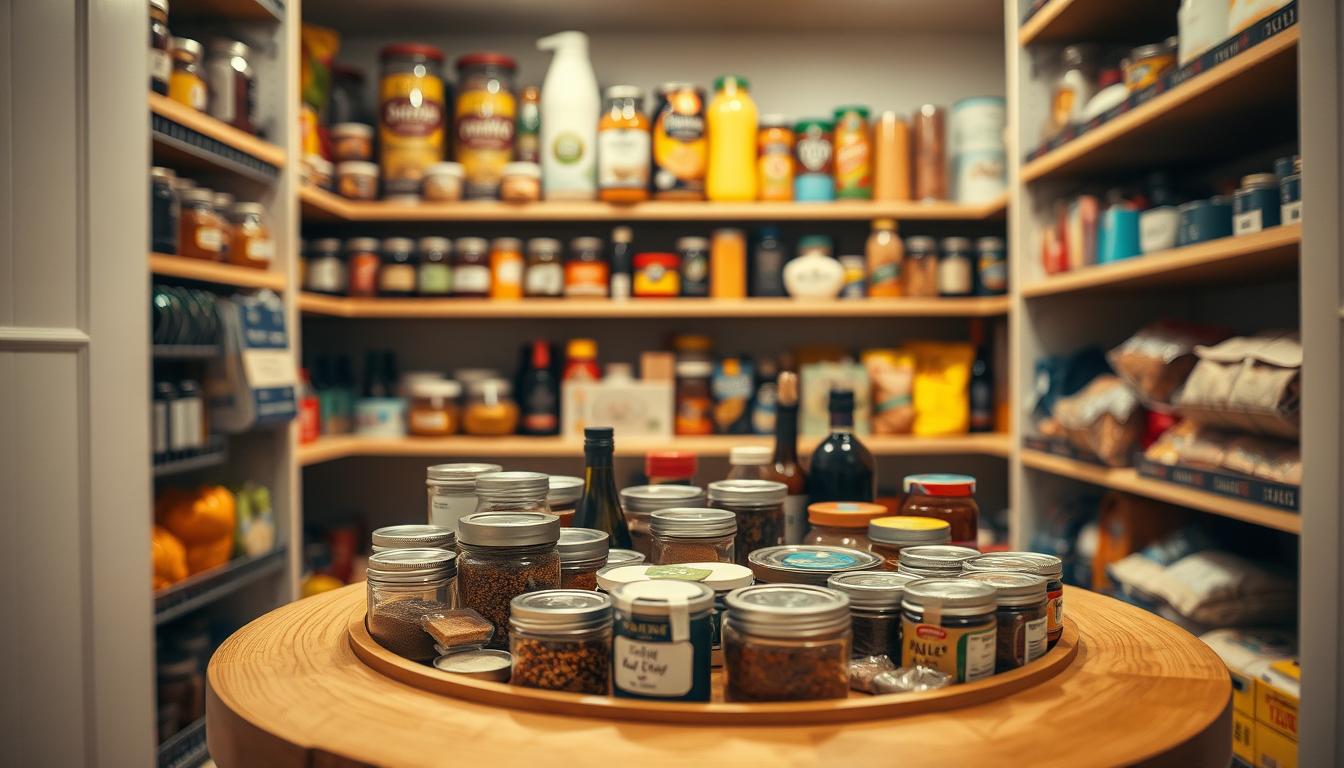
Organize spices so you can see everything at once
Use a lazy susan or a staggered rack so spices are visible at a glance. Label jars with contents and dates so you rotate and avoid buying duplicates.
- Label jars with contents and refill or purchase dates to simplify rotation.
- Use a cohesive “mismatched but intentional” look by coordinating lids across different jars.
- DIY lid-coordination: remove labels, wash and dry, sand metal lids, then apply two coats of leftover paint; let dry fully before use.
Care tip: hand-wash painted lids gently and avoid sealing warm contents to reduce mold risk. A tidy, labeled range of jars will make cooking faster and keep the pantry calm and useful.
Transition Over Time With Low-Waste Shopping and Storage Habits
Plan small, focused shopping runs to cut waste and keep food fresh longer. Use a short checklist so you only buy the items you actually use each week.
Build a repeatable refill checklist. List weekly staples—flour, oats, rice, snacks, and core spices—and separate occasional items so you don’t overbuy.
Buy the right amounts
Bulk works for high-turnover food, but buy small sizes for rare spices and niche baking items so flavor and money don’t go to the end of the shelf.
Store leftovers and partials
Decant into airtight containers and label jars with dates. Put older items at the front so you use them first and avoid waste.
- Freeze tomato paste, broth, and sauces in ice cube trays to grab small portions later.
- Use glass or steel containers in the fridge and label leftovers with the date.
- Bring bags and clean containers on grocery trips; use cotton produce bags and beeswax wraps for many foods (not raw meat or fish).
Care tips: Hand-wash jars with dish soap, dry fully to prevent mold, and keep a simple routine so low-waste food storage feels easy, not extra work.
Conclusion
Small, steady swaps make a big difference in how your kitchen uses food and avoids waste.
First, assess to cut food waste. Then upgrade containers and jars only when a gap appears. Finally, set up a simple system that fits your home and daily routine.
High-impact moves: choose airtight containers and jars for dry goods, match lids for easy stacking, and keep a few wraps for quick coverage to reduce plastic without losing convenience.
Organization is a tool: when items are visible and labeled you cook more from what you own and shop the grocery store less reactively.
Keep it low-effort—wipe shelves with soap and water, check dates, and reset baking goods each month. Build the set over time and protect your space, budget, and food quality.