Specialty and nut flours—like almond, coconut, rye, spelt, and chickpea—add flavor and nutrition to your baking. In a typical US home, these types of flour behave differently than plain white flour because many contain more oil. That oil raises the risk of rancidity, so smart pantry habits matter for freshness and taste.
This short guide shows you what to expect: how oils, moisture, oxygen, heat, and light cause spoilage, and why storage is both a question of where you keep flour and how you keep it. You’ll learn simple steps to extend shelf life, cut waste, and keep your pantry or freezer tidy.
We’ll start with the science, then cover best storage locations, container and labeling systems, flour-by-flour tips, pantry/freezer layout, and quick spoilage checks. With a few airtight containers, clear labels, and rotation habits, you can protect aroma and flavor with minimal effort.
Why specialty, nut, and whole grain flours go rancid faster
Oils tucked in the germ are the main reason whole grain and nut flours lose freshness sooner. When milling exposes the grain interior, those oils meet air and humidity and become much more reactive.

Lipids in the germ: the main driver
The germ contains most of the lipids in a wheat kernel. If the germ stays in the meal, those fats can break down and create off aromas and a bitter taste.
Hydrolytic rancidity vs. oxidative rancidity
Hydrolytic rancidity happens when enzymes use available moisture to split fats into free fatty acids. Those acids taste harsh and hurt baking performance.
Oxidative rancidity begins when oxygen (and enzymes like lipoxygenase) attack fatty acids. That creates stale, waxy, or crayon‑like smells.
How kitchen conditions shorten shelf life
Final triggers are simple: repeated bag openings, scooping with a damp spoon, heat near the oven, and bright light all speed spoilage.
- Control the big three: moisture, oxygen, and light.
- Choose airtight, opaque containers in cool spots to protect life and shelf life.
- Remember: the best place to store depends on the flour type and your climate, not just convenience.
Choose the best place to store flour: pantry vs. freezer vs. fridge
Where you keep your flour makes a big difference in flavor and shelf life. Use a simple rule: pantry for refined white products you will use quickly, and the freezer for whole-grain, nut, and most gluten-free items you want to keep long-term.
Pantry storage: White flour and degerminated grains can stay in a cool, dry cabinet. Pick a dark spot away from the stove and dishwasher. Keep the package sealed to avoid odors, pests, and moisture. Treat pantry storage as a shorter timeline and rotate often.

Freezer storage: Freezing is the best way to protect volatile oils and extend fresh aroma. To store flour for months, place the original bag into a resealable freezer bag, press out air, seal, and freeze. You can measure from cold flour for many recipes—just avoid adding moisture when scooping.
Why skip the fridge: The fridge is humid. Condensation when you open cold containers can introduce moisture that speeds spoilage. In hot or humid kitchens, lean on the freezer more often.
- Decision framework: pantry for short use, freezer for long-term, generally skip the fridge.
- When in doubt: put the bag in a sealed freezer bag and freeze to protect long flour life.
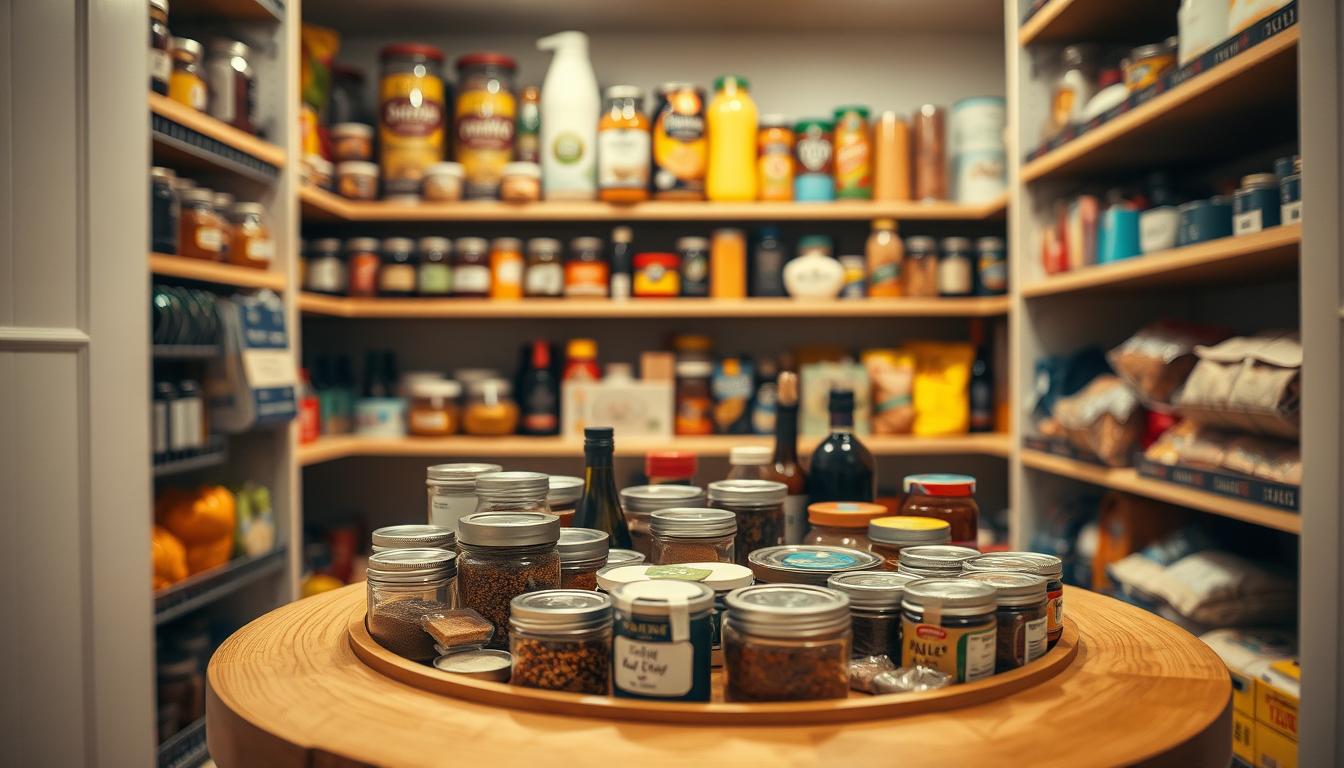
Organizing specialty flours with containers, labels, and an airtight system
A quick switch from paper sacks to airtight containers is one of the simplest ways you can protect aroma and extend life. Paper bags are made for transport, not long-term use; once opened they let air and moisture in. Treat an opened paper bag as temporary and move the contents into a sealed system.
Decanting basics
Two valid storage paths work well: fully decant into a container for daily scooping, or keep the original bag inside a sealed plastic or freezer bag with excess air pressed out. Resealable pouches can usually stay as-is if they close tightly.
Airtight container checklist
- Tight-fitting lid/gasket: prevents oxygen exposure.
- Food-safe material: plastic or glass depending on weight and use.
- Sturdy build: hold up to frequent access.
- Space-saving shape: square or stackable containers save shelf room.
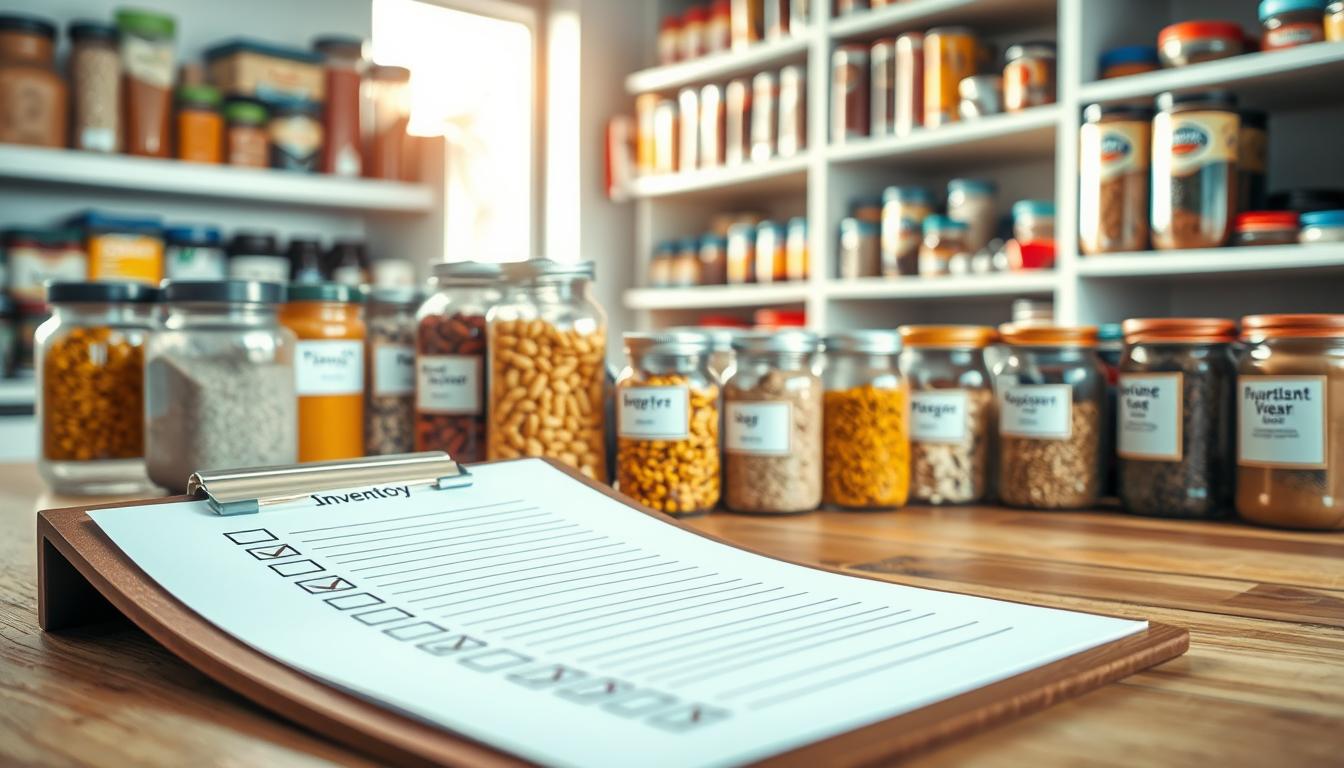
Labeling and portioning
Write the flour type, milling or purchase date, and the best-by date on each container. Performance often fades before safety does, so dates help prevent mystery ingredients in recipes.
Keep a small, wide-mouth container in the pantry for daily use and store bulk backup sealed in the freezer. For sizing, OXO 4-quart containers work well for everyday 5-lb use, Cambro 6-quart fits freezer stacks, and 18-quart containers suit large buys.
Handling rules: always use a dry scoop, close lids immediately, and avoid leaving containers open near steam or the dishwasher.
Storage steps by flour type: white flour, whole wheat, high-extraction, and nut flours
Different flours need different storage moves to keep flavor and performance.
All-purpose and bread: quick use vs. long-term
All-purpose flour and bread flour often carry a best-by date. Use refined white flour within about 9–15 months for peak performance. Aim to have it used within roughly a year of milling when possible.
If you buy large bags or bake infrequently, seal the bag and put it in the freezer. For everyday baking, keep a small daily container at hand and store backups frozen.
Whole wheat and whole grain types
Whole grain and wheat flour contain more oil in the germ, so they usually last only 3–9 months at room temperature. Freezing extends shelf life and protects volatile oils for up to a year or longer.
High-extraction (Type-85)
Type-85 and similar higher-extraction grain flours fall between white and whole grain. Treat this type like whole grain: plan to use it earlier and store bulk in the freezer to keep flavor fresh.
Nut and alternative flours
Nut flours—almond, coconut, chickpea, and quinoa—are oil-rich and best kept in the freezer. Buy smaller amounts if you use them rarely, keep airtight seals, and avoid repeatedly warming and cooling the same container.
- How to store: keep day-to-day amounts accessible; seal and freeze backups.
- Timing: note months and dates so you know how long each flour will last.
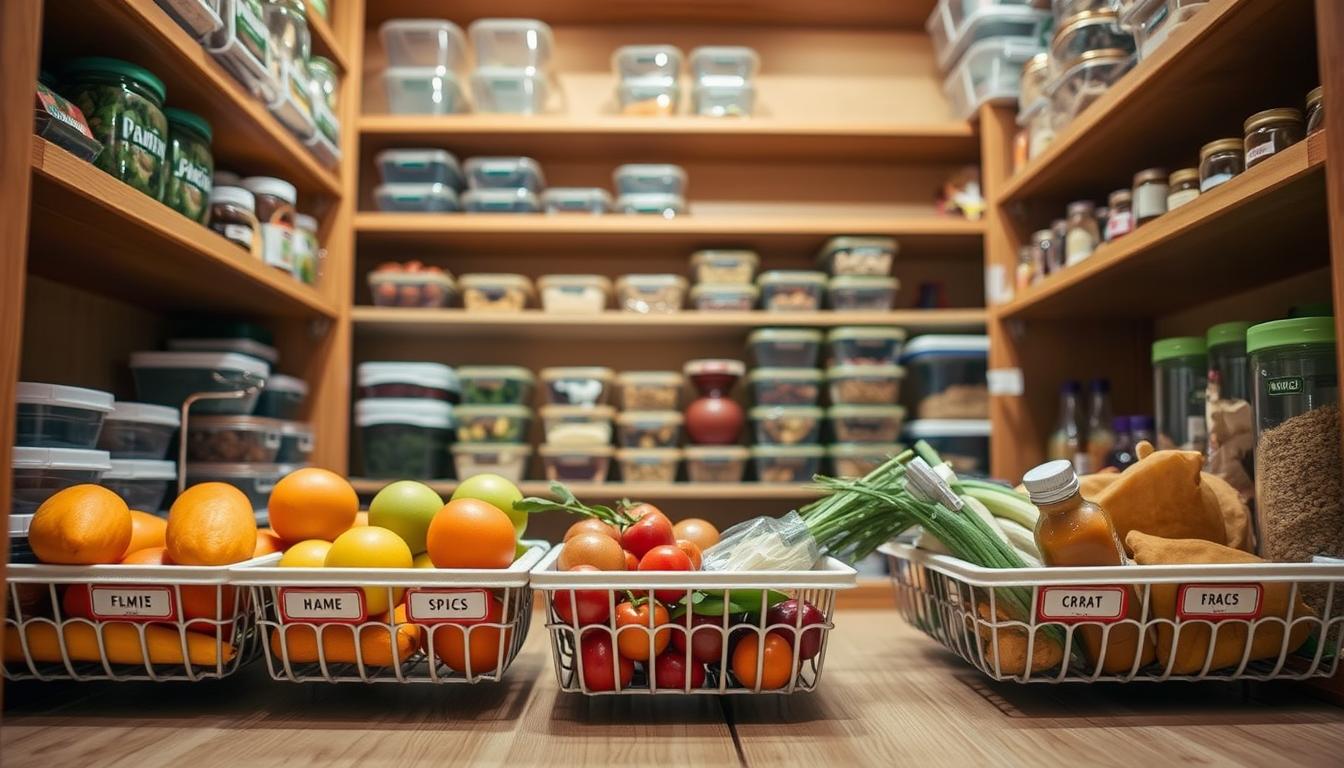
Set up your pantry and freezer like a baker: layout, rotation, and space
A baker’s layout keeps daily ingredients within reach and long-term stock sealed and safe.
Zone your shelves so your system stays tidy as you add more items. Keep a daily-use area at eye level for bread and frequently used grain items. Place backups on lower shelves or in the freezer. Store rarely used items in a labeled bin so nothing hides behind other food.
Stacking and access
Use square-sided, airtight containers for neat stacking and easy visibility. Wide-mouth containers let you scoop quickly without introducing moisture.
First in, first out
Label purchase dates and follow simple rotation: when a new bag arrives, put it behind older stock. That way the older product is used first and you avoid waste over years.
Bulk buys and pest prevention
If you buy 25–50 pound sacks, split them immediately into smaller sealed containers. This limits repeated exposure and keeps most of your grain protected.
- Keep flour away from strong-smelling food like onions or spices.
- Store pet food separately and wipe container rims before sealing.
- Keep scoops dry to avoid contamination.
Bonus tip: If you mill at home, store whole berries in a cool, dry place. Whole grain berries last longer than milled flour and are a smart way to keep fresh bread flavor for 1–2 years.
How to tell if flour has gone bad and what to do next
A few simple sensory tests will tell you if your flour is still fit for baking. Always check before you measure — smell is the fastest at-home indicator for oil-rich and whole-grain products.
The sniff test
Open the container and take a careful sniff. Rancid flour often smells sharp, waxy, rubbery, or like crayon or “Play‑Doh.” Musty or sour notes are also red flags.
Tip: Natural wheat or whole-grain aromas are toasty or nutty; rancidity is unpleasant and flat rather than warm.
Baking performance red flags
Past-prime flour can weaken dough structure. Expect lower loaf volume, a pale or under-browned crust, and bitter or stale flavors in bread and other bakes.
If your baking turns out flat or bitter, test with a small batch using a fresh bag to confirm the issue.
Discard vs. troubleshoot
If the smell is clearly rancid or the taste is bitter, discard the flour. If it simply tastes dull, improve storage: move to an airtight container and colder storage, then retest.
- Smell first for quick checks.
- Use a fresh bag for important bakes.
- Reassess humidity, seals, and pantry heat if spoilage repeats.
Conclusion
Finish strong with a simple plan that keeps ingredients fresh and your baking reliable.
Use this quick checklist: choose the best location (freezer for long-term), use airtight containers, label with type and dates, and rotate stock so older items get used first.
Rancidity is mainly oils meeting oxygen, heat, light, or moisture. Your system’s job is to limit those exposures so aroma and performance stay intact.
Most homes find one or two daily-use containers in the pantry and sealed portions in the freezer works best. This guide to storage keeps things simple and effective.
Pick one problem today—open paper bags, missing labels, or a warm shelf—and fix it. Do that now to reduce waste and improve baking consistency when you store flour next.