If your pantry has become a dark, confusing place where cans and bags vanish, you are not alone. In tight closets or deep cabinets, items hide in the back, expire, and you buy duplicates without knowing it.
This guide starts with a full reset of inventory and measurements. Then you will choose simple storage that pulls items forward and improves visibility.
Expect practical, low-fuss fixes: pull-out drawers, full-depth bins, tiered risers, clear containers, door racks, and a backstock system. These options help you organize deep pantry spaces so cooking is faster and waste drops.
This is for anyone with a deep pantry closet or a hard-to-reach cabinet. The organizing rule is easy: keep daily items at eye level and front, overflow in the back, and odd shapes in a flexible zone.
The goal is a system that works for your family, not just a picture-perfect display. With labels, clear containers, and a bit of flex space, your pantry will finally pull its weight.
Why deep pantry shelves become a black hole in your kitchen
When shelves stretch far back, everyday items drift forward and older goods vanish from view. That loss of visibility makes your pantry unreliable and wastes time when you search for basics.

- Upper shelves: tall, hard-to-reach zones that go unused without a step stool.
- Eye-level shelves: overloaded because you grab from them most often, pushing older stock back.
- Low floor zone: a dumping ground where odd boxes and bulk items pile up and get hidden.
Items pushed to the back form a graveyard of cans, packets, and half-used packages. Low visibility alters shopping: you buy what you think you need, then find duplicates later. That habit creates clutter and more expired food.
Because deep cabinet and deep shelves layouts hide inventory, you often need pull-forward fixes — drawers, bins, or turntables — not just stacking. Before buying storage, you should reset your inventory so the system matches how you actually shop and use your kitchen.
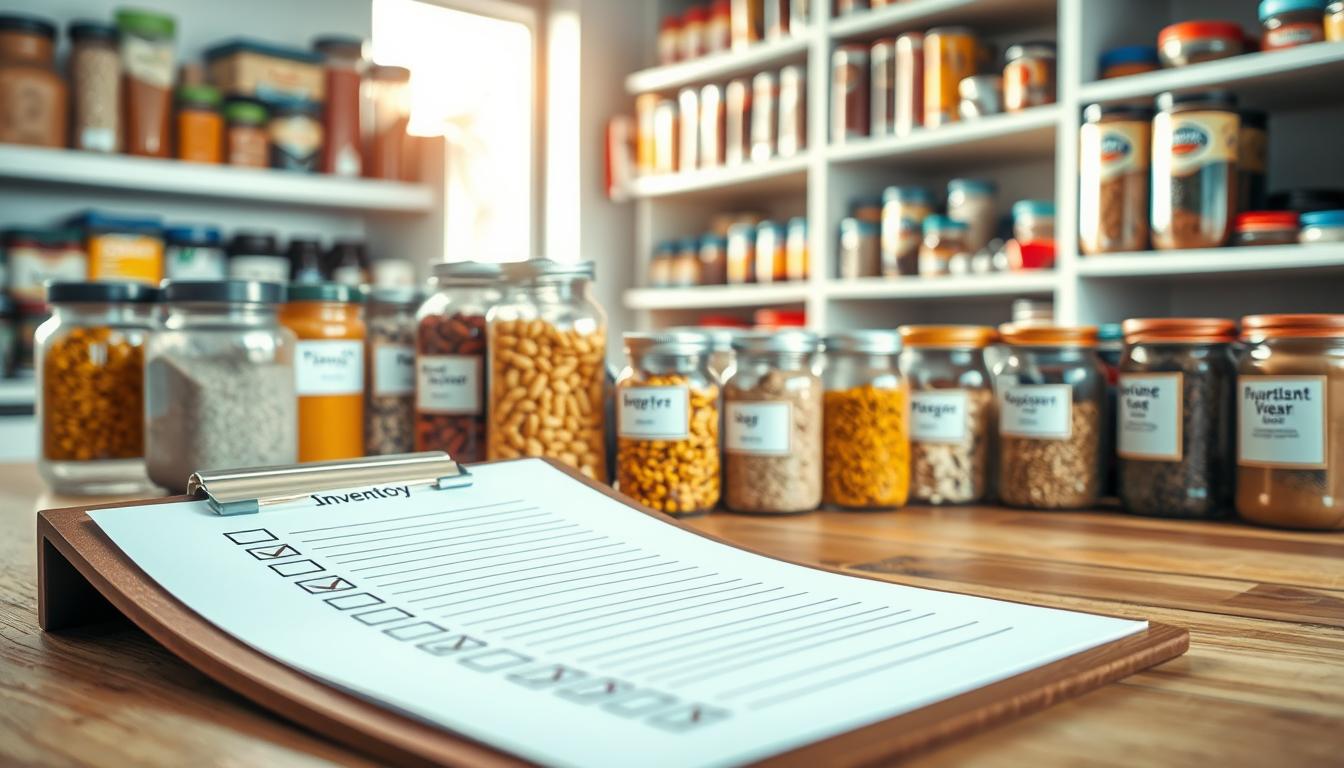
Prep your pantry for a reset before you buy storage solutions
Design storage around a typical week’s worth of food so the system fits how you actually shop. That first step saves you time and money when you choose bins, drawers, or containers.

Start with a normally stocked pantry
Load the space with what you usually buy for one week. This reveals real patterns and shows which items need front access.
Clear, clean, and sort
Pull everything out, wipe each shelf, and toss expired products. Remove anything that does not belong and keep categories broad: breakfast, snacks, baking, grains, canned goods, sauces, packets, paper products, and backstock.
Measure every shelf and plan for real sizes
Measure width, depth, and height and note recessed areas by the door so drawers clear. Full-depth bins are often 14–16 inches; write down sizes before you buy.
- Plan by use: everyday items at eye level, heavy products low.
- Avoid almost-fits: the right sizes prevent wasted space and friction when you put groceries away.
With this reset complete, pull-forward access is the next fastest way to stop losing items in the back.
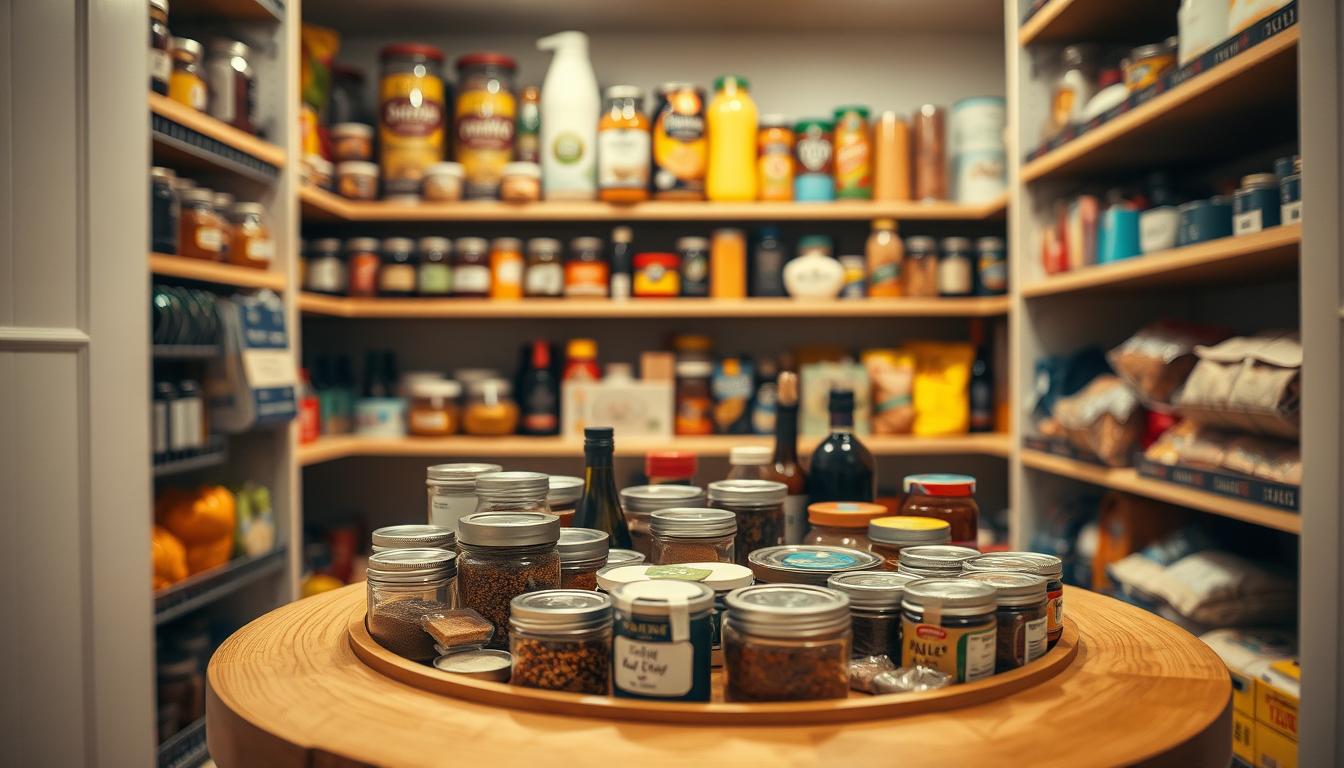
Deep pantry shelf ideas that pull items from the back to the front
A single pull should show you everything at once. Drawers are the highest-impact upgrade for long, hard-to-reach shelves because one motion brings the entire contents into view. That solves reach and visibility problems faster than stacked boxes or guessing games.
Add pull-out drawers or use bins as “drawers”
You have two clear paths: install true pull-out drawer systems (for example, Container Store Elfa) or use handled bins that slide like drawers. Both approaches let you treat a deep shelf like an easy-access drawer.
Choose full-depth containers and bins
Pick containers and bins that span front-to-back so you don’t waste the rear half of a shelf. Full-depth storage keeps snacks, pasta, canned goods, wraps, and seasoning packets visible and organized.
Use a rolling cart for heavy items
For bulky things and appliances (like an Instant Pot), a small rolling cart or printer cart is safer than lifting. Keep heavy items low on the cart or lowest shelves to reduce strain and accidents.
Leave deliberate flex space
Reserve one clear zone for odd boxes, hosting supplies, or temporary overflow. That flex area prevents “pantry Tetris” and makes weekly grocery put-away faster because you always have a place for the unexpected.
Once access is fixed, move on to visibility upgrades — clear containers and tiered risers help you see what’s in the front and what belongs in the back.
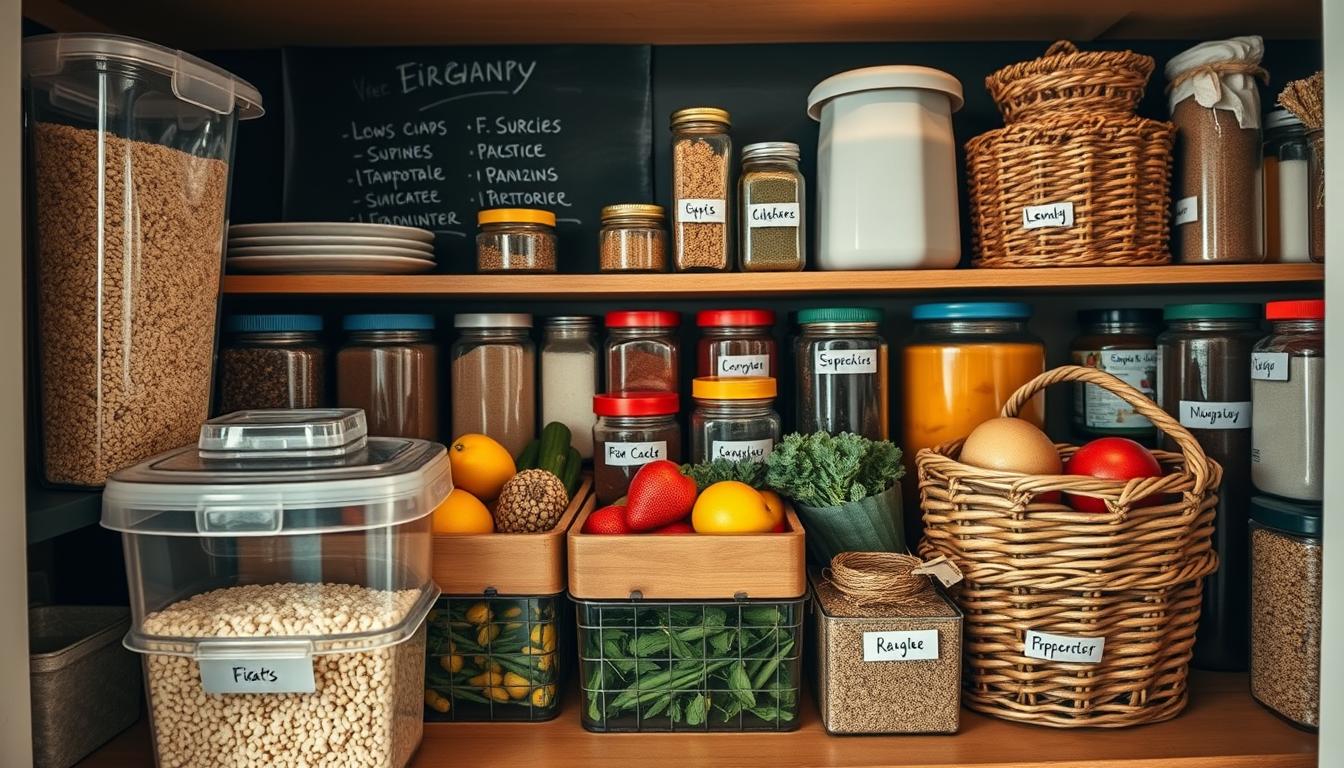
Increase visibility with clear containers, can risers, and tiered storage
Good visibility lets you find cereal, cans, and snacks in seconds instead of minutes. Use clear solutions to turn crowded shelves into an organized system that shows quantities at a glance.
Decant common dry goods
Decant cereal, pasta, baking supplies, and snacks from flimsy boxes and bags into clear containers. This reduces bulky packaging and keeps cereal from going stale in half-closed boxes.
Decanting is worth it for items that spill, crush, or lose freshness: flour, sugar, pasta, bulk snacks, and cereal.
Layer clear canisters and multi-row setups
On long shelves, use 2–3 rows of clear canisters. Keep your most-used items in the front and lighter or less-used canisters behind. Rectangular containers often use space more efficiently than round ones.
Follow a simple visibility rule: if you can’t see it in two seconds, move it to a clear bin, riser, or a different zone.
Use can risers and corral small packets
Add can risers to create a “stadium seat” effect so every can is visible. Risers speed meal prep and stop cans from hiding behind each other.
Corral seasoning packets and small pouches in a shallow bin so they don’t slide into the back. Keep a small container of clips handy to reseal bags when you remove boxes.
- Quick tips: rectangular containers save space; cereal containers prevent waste; small bins keep packets tidy.
- Better visibility reduces expired food and helps you track what food items need using or replacing.
Maximize vertical space on shelves, walls, and the pantry door
Look up: adding modest shelves and door racks turns empty air into smart storage. Vertical tweaks increase usable surface area so you can keep only the front of long shelves full without losing capacity.
Add shelves to create more usable surface area
If your cabinets have tall gaps, add an extra board or an adjustable shelf to create new landing zones. More shelves stop you from stacking too high and prevent items from tipping into the back.
Use narrow door racks and baskets for small items
Narrow over-the-door racks and shallow baskets are prime real estate for packets, spices, and snack pouches. They keep small things visible and free shelf space for larger food and containers.
Store top and back items wisely
Put infrequently used paper products and bulk backstock on the top shelf and keep a folding step stool handy so you actually use that space safely. Remember the rule: heavy things low, light things high, and daily-use things at eye level.
- More shelves = more surface, less overcrowding.
- Door baskets free shelf space and improve visibility.
- Step stool access keeps the top usable, not forgotten.
Create zones and a backstock system that stays organized over time
A simple zoning plan turns random stacks into a reliable system you actually maintain. Start by grouping items by how often you reach for them so daily use becomes obvious at a glance.
Set up everyday zones at eye level and overflow at the back
Place everyday items at eye level and toward the front so you grab what you need in one motion. Keep overflow and extras toward the back so they do not push forward and create clutter.
Place backup items directly behind in-use products
Use a simple backstock rule: put the backup product directly behind the open one. This lets you “shop your pantry” before buying more and cuts wasted purchases and expired products.
- Examples: extra cereal boxes behind cereal containers; extra pasta behind the pasta bin; backup snacks behind the open snack basket.
- Label opaque bins, baskets, and drawers so everyone in the family knows where to return items.
- Mark similar clear containers (flour vs powdered sugar) and allergy-sensitive products to avoid mix-ups.
Labels are the accountability tool that keeps this way of organizing working day after day. With clear zones, consistent backstock placement, and smart labels, your storage system saves you time and prevents lost products on deep pantry shelves.
Conclusion
Simple fixes turn long shelves into usable storage you actually use every week. Start by resetting and measuring, then choose pull-forward access like drawers or drawer-like bins.
Next, add full-depth bins, clear containers, and risers to boost visibility so food and other products are easy to find. Use vertical space and door baskets to keep small things from cluttering shelves.
Maintain zones: everyday items at eye level, overflow toward the back, and backstock placed directly behind open products. Keep a little flex space for hosting or seasonal goods.
When you follow these steps, you waste less food, buy fewer duplicates, and your kitchen runs smoother because you can see and reach what you own.