Gain usable pantry capacity without expanding your kitchen footprint. By using full wall height, the backs of doors, and narrow gaps, you can add shelving and pullouts that lift items off crowded counters and freed-up cabinet floors.
You’ll learn what “thinking vertically” means in real terms: tall shelves, slim pullout towers, and door-back organizers that turn wasted height into useful surface area. Some fixes are fast add-ons like risers and hooks; others are bigger, like floor-to-ceiling cabinetry.
This guide is for you if you want more room, easier access, and less digging in deep zones. We’ll compare open shelves, pullouts, swing-out trays, rails and magnetic strips so you can match solutions to your budget and layout.
Start with measuring, then prioritize access. Choose products by load rating, adjustability, and longevity so your choices work for your home and design over time.
Why vertical storage is the fastest way to add pantry space in your kitchen
Adding height to your kitchen walls is the quickest way to gain shelf space without a full remodel. You can often install a few shelves or a slim organizer in an afternoon and unlock usable zones above existing items.
How storing top-to-bottom adds usable surface area without expanding your footprint
Working top-to-bottom multiplies levels: each new shelf creates more surface area for jars, cans, and appliances. That means fewer wasted inches above cans and boxes and more clear counters for prep.
What “on display” really means for food storage and organization
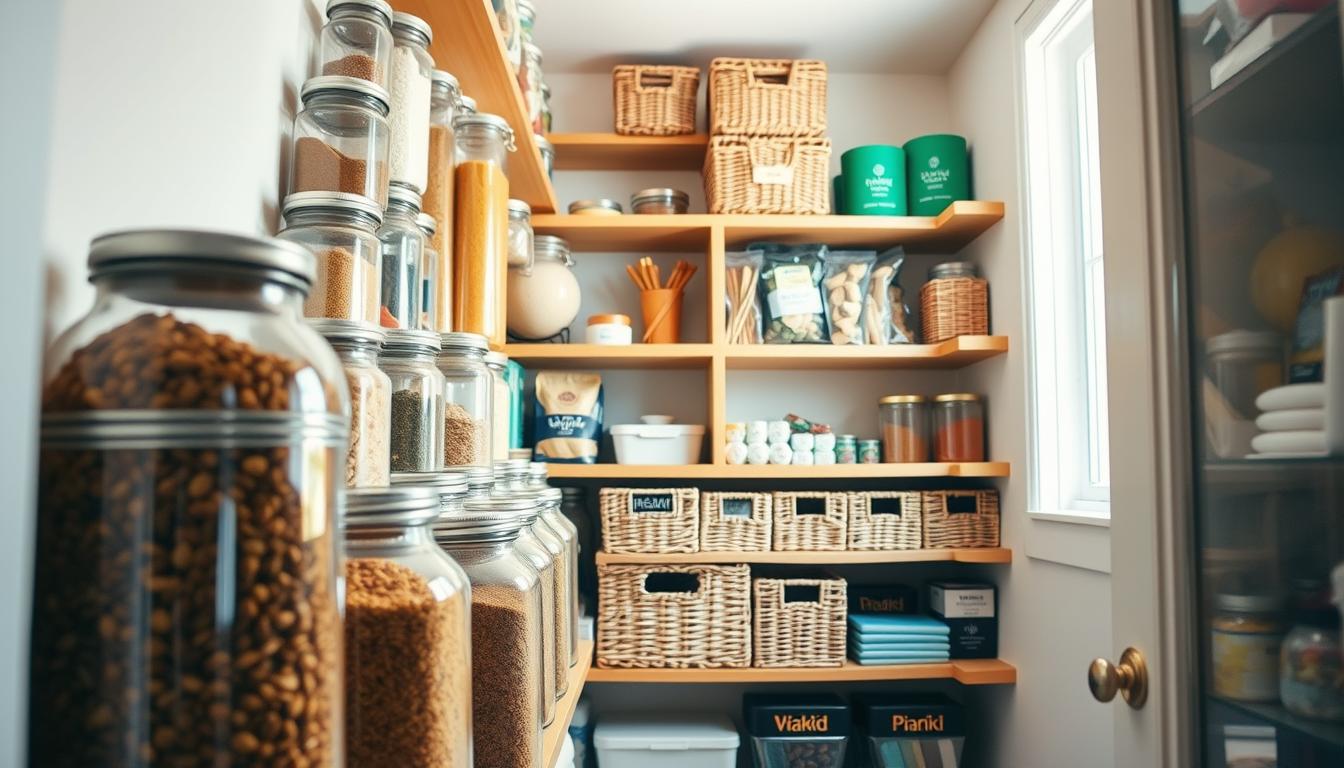
Open shelving turns goods into part of your kitchen look. To keep it tidy, use matching canisters, clear labels, and group similar items together. Consistent containers reduce visual noise and make it easy to see what you need.
- Fast win: add shelves or rails instead of changing layouts.
- Footprint: you keep walkways and work triangles intact.
- Better visibility = less duplicate buying and less waste.

Measure your pantry walls like a buyer, not a decorator
Start with facts, not photos. Measure total wall height, then record usable height from baseboard to ceiling. Note trim, built-in molding, and any obstructions that reduce shelf fit.
Map door swing and clearance. Measure from hinge to nearest cabinet and mark the arc so new cabinet additions won’t collide with doors or appliances.

Full-height, dead zones, and depth
Identify dead zones above existing shelves where a riser or top shelf can hold backstock items you rarely touch.
Compare shallow vs deep cabinet depths. Shallow cabinets work well for spices and cans. Deep cabinets hide small appliances in the back and create hard-to-reach corners.
Find the slivers that add real space
- Measure narrow gaps beside refrigerators and windows for slim cubbies.
- Photograph the items you store most so shelf heights match real containers, not styling ideals.
- Create a simple plan: total height, usable height, door arc, and tight gaps — then shop with those numbers.
Vertical pantry storage solutions that fit your layout and budget
Small changes—like adding a narrow pullout or a magnetic strip—can transform how your kitchen functions. Below are practical options and when each one makes sense for access, capacity, speed, or looks.
Open shelving for blank walls and tight kitchens
Open shelves add storage quickly and cheaply. They work best on empty walls or in tight kitchens where bulky cabinets feel heavy.
Floor-to-ceiling cabinets for maximum hidden storage
Full-height cabinets buy you the most capacity and a clean design. They need careful measuring and a higher budget, but they hide clutter and keep your home looking tidy.
Pullout cabinets for narrow gaps and high-frequency items
Narrow pullout cabinets are ideal near the cooktop for oils, herbs, and snacks you reach for daily. They maximize small gaps and boost access.
Swing-out shelves to improve access in deep cabinets
Swing-out shelves bring food forward so you stop losing tins in the back. They improve visibility and cut down on digging.
Racks, hooks, rails, and magnetic strips
Racks and hooks use the air space between shelves to hold mugs, lids, or utensils. Magnetic strips keep knives and metal tools within arm’s reach at prep zones.
- Speed: Open shelving and rails install fast.
- Capacity: Floor-to-ceiling cabinets win for bulk items.
- Access: Pullouts and swing-out shelves reduce lost food.
- Aesthetics: Closed cabinets give a clean, cohesive look.
Where vertical storage works best in real kitchens
Find the best spots in your kitchen where tall, slim solutions add real capacity without a remodel.
Tall, narrow cabinets that hold more than you expect
Tall, narrow cabinets stack many small categories so you don’t spread items across multiple lower cabinets. They excel for daily cooking needs like oils, mixes, and snack bins.
Between-the-studs shallow cabinets for spices and oils
Between-the-studs shallow cabinets tuck into gaps and keep walkways clear. Finish them with a matching cabinet door and the extra space simply disappears when closed.
End-wall “found space” for bottles and display pieces
End-wall slivers make great spots for bottles, glassware, or serving pieces you use when entertaining. Treat these as both functional storage and a curated display to match how you live.
- Actionable fit: map your cook zones and pick locations that match your needs.
- Performance: tall cabinets beat spreading items across base units for better access.
- Style: between-the-studs doors keep the look seamless when closed.
Cabinet pullouts: the best option when you need order and access
When order and quick reach matter, pullout cabinets are a small upgrade with big returns. They turn slim gaps into usable space and save you time during prep. Install one and you’ll notice the difference every day.
Narrow pullout racks near the cooktop
Place a very narrow rack beside your range to hold oils, herbs, spices, and quick snacks. That keeps key items visible and within arm’s reach while you cook.
What to store: cooking oils, frequently used spices, small condiment bottles, and grab-and-go snacks.
Cleaning-supply pullouts as an under-sink alternative
Use a tall pullout to organize brooms, mops, sprays, and extra cloths. This is a better option than crowding the under-sink zone.
Vertical pullouts free floor space and keep cleaning tools upright and tidy in your home.
Soft-close drawers vs wire-rack pullouts
Soft-close drawer-style pullouts slide smoothly, reduce rattle, and often last longer with quality hardware. Wire racks are lighter and easy to wipe, but they can wobble on cheaper slides.
- Buy-once benefit: better order and reach in limited space.
- Check overall width and interior clearance before buying.
- Confirm cabinet faces and hardware match existing cabinets.
These options make your kitchen and pantry zones more usable. Measure, pick the slide quality you prefer, and you’ll gain neat, accessible space that fits how you live.
Swing-out shelving vs fixed shelves for deep pantry cabinets
If you constantly dig for cans and jars, your deep cabinet layout is working against you. Items drift to the back, visibility drops, and food becomes a chore to retrieve.
When swing-out shelves beat fixed shelving
Swing-out shelving pulls items forward so you see what you own. That makes it ideal for small-to-medium cans, jars, and snack packs in a busy kitchen.
Fixed shelves still win when you need simple, low-cost shelving or high load capacity for bulky boxes and appliances. They are durable and easy to install.
Where to place items by height
- Top: light backstock and overflow that you access rarely.
- Eye level: everyday staples and frequently used food for quick reach.
- Bottom: heavy items like beverages or bulk bags for safety and easy lifting.
Match shelf placement to how you shop and cook to reduce waste and expired items. Before you buy, confirm clearance for swing mechanisms and that cabinet doors allow full motion without hitting nearby surfaces.
Open shelves, tall bookcase-style shelving, and display-friendly pantry storage
Open shelving makes a blank wall earn its keep while keeping your kitchen approachable. Bookcase-style shelves add vertical space and turn everyday items into part of your design.
How to prevent visual clutter with canisters, labels, and consistent containers
Because items are visible, keep the look calm by decanting dry goods into matching canisters. Add simple labels so you and guests find what you need fast.
Tip: limit packaging colors by using clear jars or neutral tins. That keeps the wall from feeling busy and helps your organization last.
Best-use categories for open shelving: dry goods, snacks, and everyday staples
Place daily staples at eye level for quick reach. Put duplicates and serving pieces higher up, and heavier boxes or appliances on lower shelves or in a closed cabinet.
- Ideal: dry goods, snacks, and frequently used food for quick sight-and-grab.
- Avoid: perishable items, anything sensitive to heat or light, and private items you don’t want on display.
- Keep systems simple so visibility supports good habits and easy pantry storage replenishment.
Racks, hooks, and wall rails for vertical kitchen storage beyond the pantry
Convert an empty wall into a cooking-ready area with rails and hooks that free cabinet room and keep essentials at hand. A clear wall gives you usable space and easier access while you cook.
Pot-and-pan rails and hooks: how to use an empty wall safely
Hang pots and pans on a sturdy rack to reduce pressure on base cabinets. Choose rails rated for cookware weight and anchor them into studs or use heavy-duty anchors for safety.
Tip: leave a little gap so lids and handles don’t bump the wall during use. Some systems accept baskets for small items, but respect load limits.
Hanging zones over the stove vs near prep space
Over-stove rails put tools where you work with heat, saving steps between burners and pans. Near-prep rails keep knives, spoons, and frequently used pans within reach for assembly and plating.
- Broaden your buyer’s guide beyond the closet by adding wall racks to free pantry and cabinet room.
- Pair a rail with a shallow shelf below for oils, salts, and quick-grab jars.
- Anchor rails to studs, check load ratings, and place baskets only for light items to protect your home and tools.
Door-back and side-wall add-ons that double storage fast
Door-back add-ons turn hidden faces into instant, usable zones without changing cabinets. They are the quickest way to double functional zones in your kitchen and keep counters clear.
Pocket organizers—think a Misslo-style shoe organizer—hang on the inside of a pantry door and hold spice jars, small packets, and snack pouches. They are low-cost and make food visible at a glance.
Pocket organizers for spices and small items
Use clear pockets for jars so you see labels. Soft fabrics reduce clatter and protect glass. This method helps you avoid duplicates and keeps staples within reach.
Stick-on vs screw-in mounting for cabinet doors
- Stick-on: best for light items, low humidity, and renters who need non-permanent fixes.
- Screw-in: choose these for heavier jars, metal racks, or areas with steam near the stove.
- Measure door clearance so organizers don’t hit shelves or stop doors from closing fully.
Side-wall add-ons inside a cabinet create narrow, vertical racks for lids, cutting boards, or trays where shelves leave gaps. These fixes improve pantry storage visibility and reclaim lost space in your home.
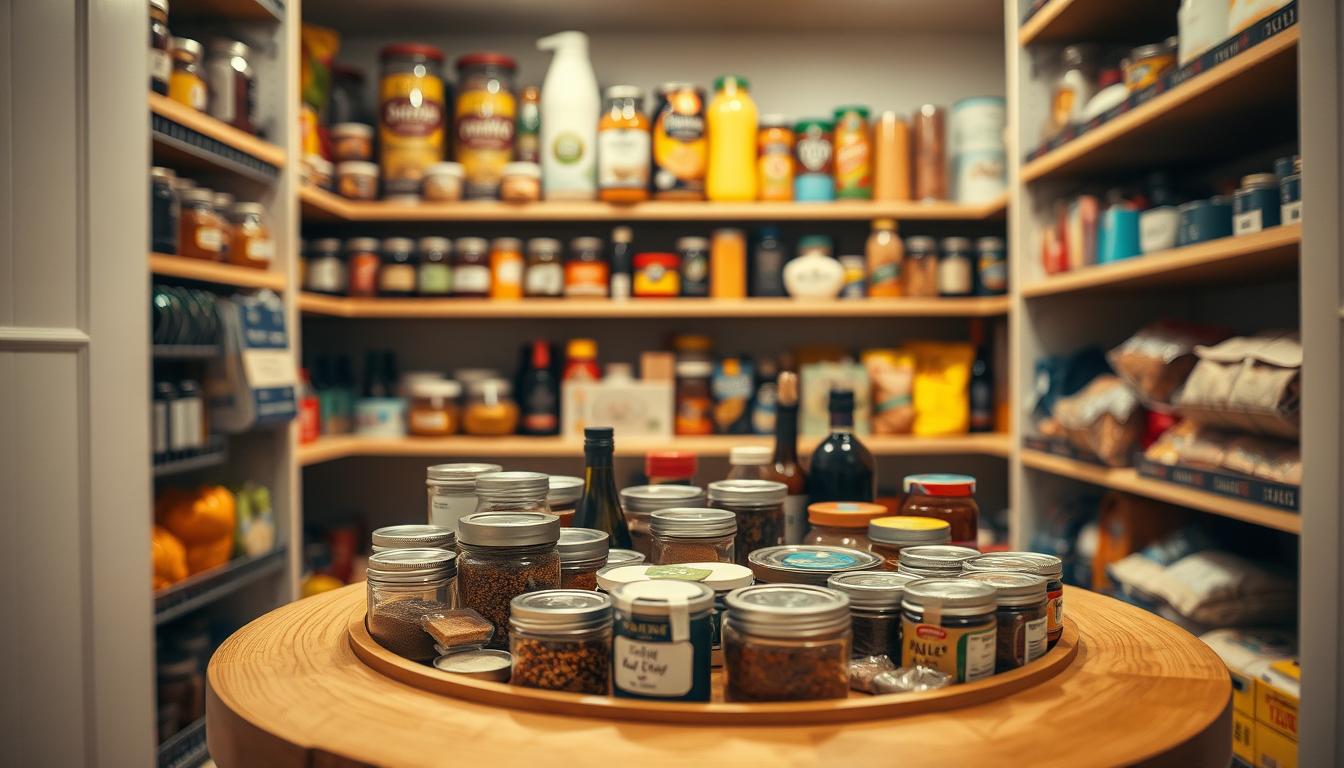
Shelf risers, stackers, and baskets to use wasted vertical airspace
A few inches of empty air above cans is one of the easiest problems to fix in your kitchen. That gap—between the top of your items and the shelf above—counts as wasted space you already own.
Shelf risers create a second level for jars, cans, and small boxes. Brands like Simple Houseware show how a riser can double usable shelf area without new shelving. Pick a riser depth that matches your shelf, a height that fits your tallest jars, and stable feet so stacked items don’t wobble.
Wall-mounted baskets for tight zones
Wall-mounted baskets (examples include Jautokerdar systems) work well on narrow wall segments. Some include built-in shelves, so a single bracket can add two or three usable tiers in a small footprint.
Clear vs opaque bins: visibility and habits
Clear bins help you scan contents quickly and keep restocking on schedule. Opaque bins look cleaner but can hide forgotten items until they expire. Choose clear for frequently used items and opaque for tidy display zones in your home.
- Buyer tips: measure depth, check riser height, and test stability before you buy.
- Use baskets on shallow walls to add shelving where cabinets won’t fit.
- Pick the mix you’ll use daily—good organization depends on solutions you keep using.
Small-space vertical pantry ideas for apartments and narrow kitchens
C. When square footage is scarce, thin, tall shelving turns leftover gaps into everyday assets.
Shallow floor-to-ceiling shelves work well in galley layouts because they add levels without narrowing the path. Install open, shallow shelves that run from floor to ceiling to store packaged pantry goods, spices, and lightweight kitchen items. These fit where full cabinets would block movement.
Micro-cubbies for bottles
Use a few inches of dead space beside a refrigerator or near a window for micro-cubbies. These narrow slots are perfect for wine or water bottles and make the kitchen feel organized, not crowded.
- Match each cubby to your bottle height so the unit looks intentional.
- Store lightweight pantry items on shallow shelves and heavier goods elsewhere.
- Pick finishes that match existing cabinets for a seamless look.
These ideas give you more usable space in a small home and meet your daily needs, whether you cook often, entertain, or need overflow pantry storage.
Build “chef stations” so vertical storage supports how you cook
Set up compact stations that keep the tools you use most within arm’s reach. Organize like a pro by storing items where you use them. That makes your kitchen flow faster and reduces clutter on counters.
Cooking station: oils, spices, pans, and tools within arm’s reach
Place oils and frequently used spices near the range on a narrow shelf or rail. Hang pans and utensils on sturdy hooks so they stay off counters and are easy to grab.
Tip: choose rails rated for cookware weight and anchor into studs for safety.
Coffee station: mugs and supplies stored above the machine
Keep mugs and filters on a small shelf above the brewer to clear counter space. Store beans or pods in a labeled jar nearby so mornings move faster.
Prep station: knives, boards, bowls, and utensils stored vertically
Mount a magnetic knife strip and add vertical slots for cutting boards and mixing bowls. Vertical placement keeps tools visible and makes cleanup quicker.
- Match station locations to your traffic flow, not trends, so routines stay smooth.
- Use cohesive containers and labels to make visible storage feel intentional and calm.
- Place heavy or bulky items lower and everyday items at eye level for safe reach.
Materials and features to compare before you buy
Small details—like anchor type and slide quality—determine whether a rack or pullout performs well. Before you choose, inspect construction, load ratings, and how parts attach to walls or cabinets. These basics affect long-term function and safety in your kitchen and home.
Weight capacity and anchoring requirements
Check load ratings in pounds for shelves and rails. Think in real terms: cans, jars, or a mixer each add weight. Wall rails for pots must be anchored to studs or use heavy-duty anchors to avoid failure.
Adjustability systems to watch for
Prefer shelf pin systems or track shelving that let you change heights without tools. Modular add-ons and interchangeable racks give flexible options as needs shift.
Slides, motion, and what makes pullouts feel premium
Evaluate slide type, extension length, wobble, and noise. Full-extension, ball-bearing slides with soft-close often feel smooth and durable. Test travel for stability before you commit.
- Materials: metal or coated wire for easy cleaning; wood for looks but more care.
- Avoid:shelves too deep that block door closure or rails that lack proper anchors.
Design, finishes, and how to match vertical storage to your cabinets
Design choices—finish, door style, and hardware—do more than look good; they shape daily use. Pick a direction that fits your kitchen: Modern, Traditional, or Transitional. Each approach affects how tall cabinet runs read in the room and how you reach items on high shelves.
Modern, traditional, and transitional looks for pantry cabinetry
Modern designs favor flat fronts, minimal trim, and integrated pulls for a clean silhouette. Traditional styles use raised panels, crown molding, and warm finishes to make full-height units feel built-in.
Transitional blends the two with simple door profiles and mixed finishes, so tall storage suits both classic and contemporary kitchens.
Handles, knobs, doors, drawers, and molding that influence function
Choose pulls that align with the tallest reach you expect. Long vertical handles help open tall faces; offset knobs work on smaller doors.
Drawers on lower bays improve access to heavy items and small appliances. Doors are fine for light-loading upper zones.
- Specify: finish, pull type, and soft-close drawer slides.
- Use crown and toe molding to mask gaps and create a built-in look.
- Mix open shelves and closed cabinets with one shared finish to keep the kitchen cohesive and the home design intentional.
Installation paths: DIY upgrades vs custom pantry systems
Decide whether a weekend DIY refresh or a full custom build fits your budget and daily routine. Many vertical upgrades snap into existing kitchens, while taller, integrated runs need a pro and careful planning.
Quick wins you can add in an afternoon
Start with items that need no major tools. Add door organizers, shelf risers, and hooks or rails you can anchor into studs.
Simple open shelving and magnetic strips also install fast and free counter space immediately. These low-cost fixes improve visibility and access for daily use.
When custom cabinetry makes sense for full-height pantry walls
Choose custom cabinets when you want to use the full wall height, match existing finishes, or eliminate odd gaps in an older home. Custom work fits exact dimensions and squeezes out every inch of usable space.
Hire a pro for between-the-studs builds, complex pullout retrofits, or when you plan to store heavy appliances. Your decision should reflect budget, timeline, and how permanent you want the solution to be.
- DIY-friendly: door racks, risers, hooks, simple shelving.
- Pro-recommended: full-height cabinets, built-in pullouts, between-the-studs installs.
- Decision triggers: accessibility needs, cooking frequency, and whether you keep appliances in the pantry.
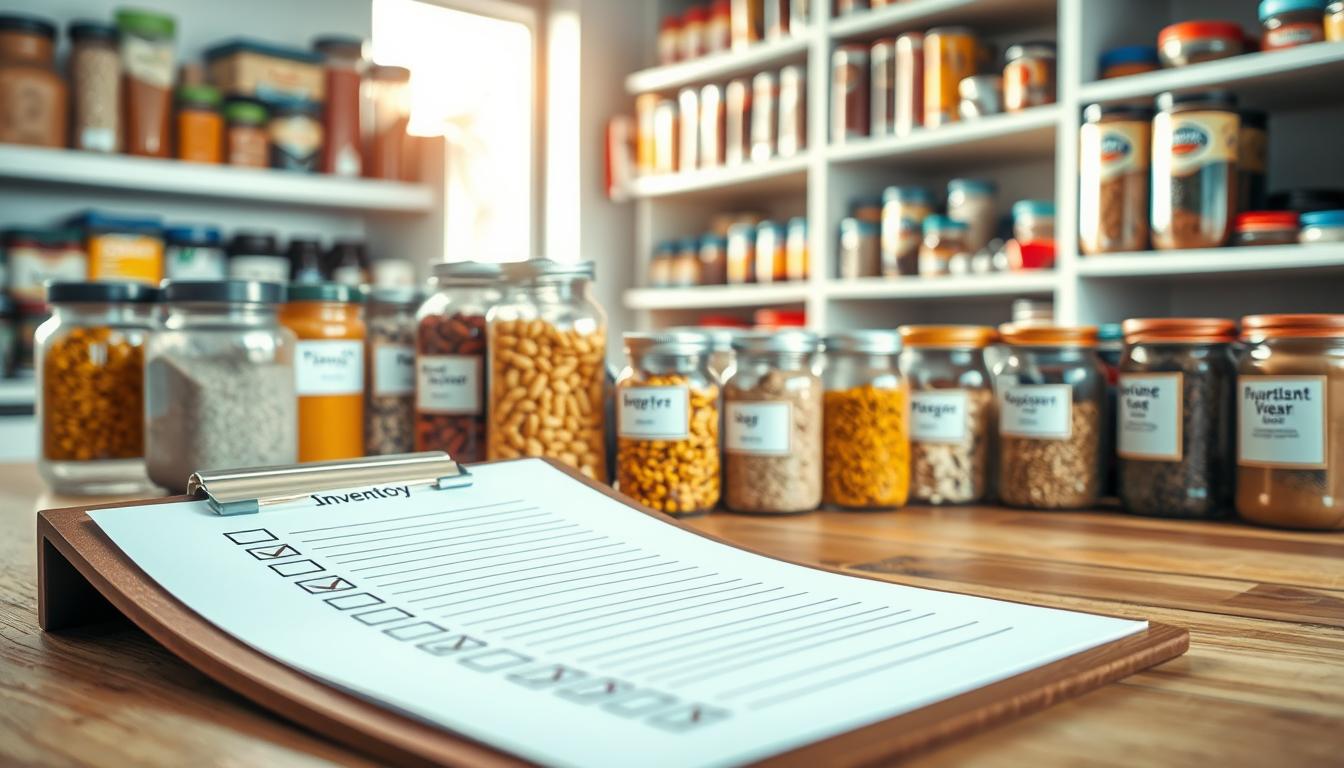
Buying checklist: choose the right vertical pantry storage for your needs
Begin by listing the items you reach for daily so your new units solve real needs. Use this quick, print-friendly checklist to compare options and avoid buyer’s remorse. Match categories to function and measure before you buy.
What you store most: food, snacks, appliances, or cleaning supplies
Decide which category dominates. That choice sets shelf spacing, load rating, and whether you need deep cabinets or a shallow rack.
- Food & cans: prefer adjustable shelves and swing-out options for visibility.
- Appliances: choose sturdy shelves or a drawer with full-extension slides.
- Cleaning supplies: a tall pullout keeps brooms and cleaners organized and upright.
Access priorities: visibility, reach, and reducing digging in deep cabinets
Pick access over pure capacity if you want fewer lost items. A swing-out shelf or narrow pullout beats hidden rows that require digging.
Space priorities: height, depth, and narrow “in-between” gaps
Maximize height first, then check depth. Hunt for thin gaps beside appliances for slim pullouts or a wall-mounted rack.
- Decision points: choose a drawer-style pullout for heavy items, a simple rack for spices, and a swing-out system for deep cabinet visibility.
- Confirm anchor type and weight rating for any wall or door mount.
- Measure door clearance and slide travel; spec it before you buy.
Final note: the best solution fits how you cook and restocks easily. Measure twice, confirm mounting, and buy the option you’ll keep using to maintain order and organization during busy weeks.
Conclusion
Finish with simple changes that match how you cook and what you buy. Use the full height of your pantry walls to create more usable zones without expanding the kitchen. Measure first, then plan for access and safety.
Prioritize open spots for everyday items and tuck backstock up high. Choose a balanced mix of open and closed units so your system feels both neat and practical. Good choices make daily routines faster.
Quick wins include door organizers and risers; bigger upgrades are pullouts, swing-outs, and full-height cabinets. Pick one small project to start, then invest in longer-term builds when you know what works.
Design matters: match finishes, use consistent containers, and choose the right drawer and door hardware so your solution looks intentional and performs well.