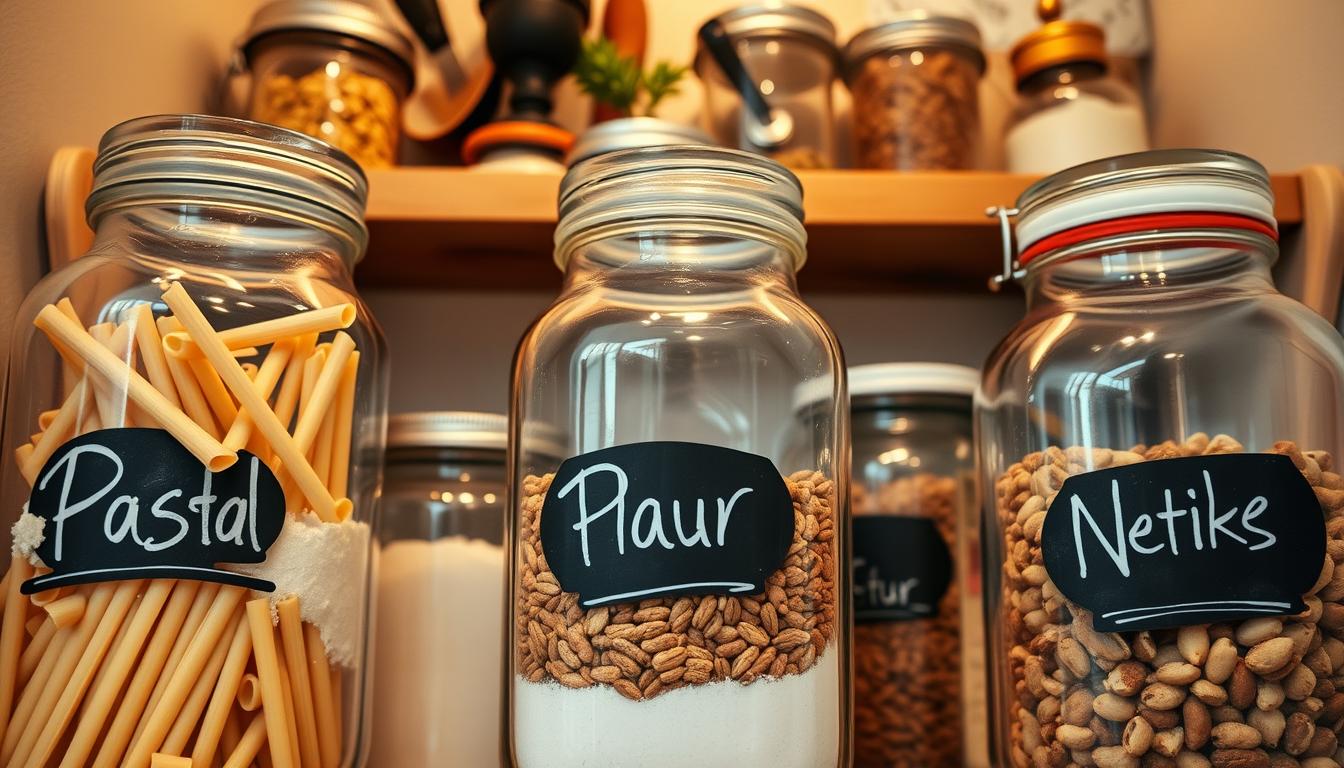
You wanted a pantry that worked as well as it looked. Using chalkboard paint on glass made storage both pretty and practical. You could tell rice from risotto mixes and spot baking staples at a glance.
Painting took several coats and some drying time, but the hands-on work was short. The project was a simple DIY upgrade that improved visual consistency and speed when grabbing ingredients.
Chalk markers gave crisp, paint-like lines with less mess than traditional chalk. They created tidy labels that stayed readable and matched cafe-style signs.
This guide will help you pick the right supplies, prep surfaces, apply paint or sticker labels, and write labels that resist smudging. You’ll also find where to shop in the US, from dollar stores to major online retailers.
Choose the Right Chalk Markers and Supplies for Pantry Labels
Choosing the right marker or paint changes how fast and neat your pantry update will look. Start by deciding if you want a removable option or a painted zone that lasts.

Markers vs. traditional chalk. Markers give cleaner, paint-like lines and less dust. Traditional chalk is cheap and easy to erase, but it smudges more and reads less sharply at a glance.
Where to buy paint and basic supplies
- Find Rust-Oleum Brush-On Black and similar chalkboard paint at craft and hardware stores or on Amazon.
- Keep masking tape, rubbing alcohol, and a soft cloth on hand for prep.
- Choose a durable marker you’ll use often—those give the best long-term results.
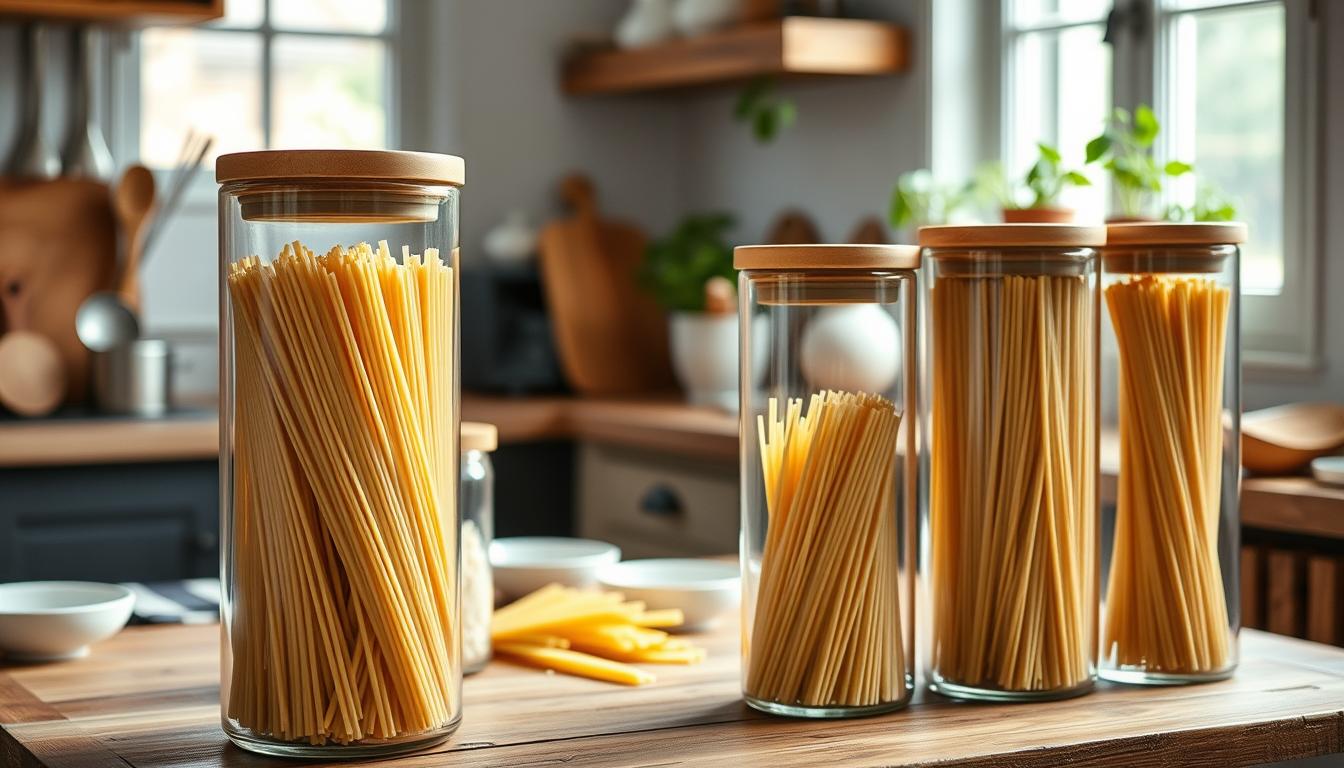
Which containers work best
Budget-friendly options show up at Dollar Tree and Dollar General (quart and half-gallon sizes are common). Some value jars include a raised square that frames your label neatly.
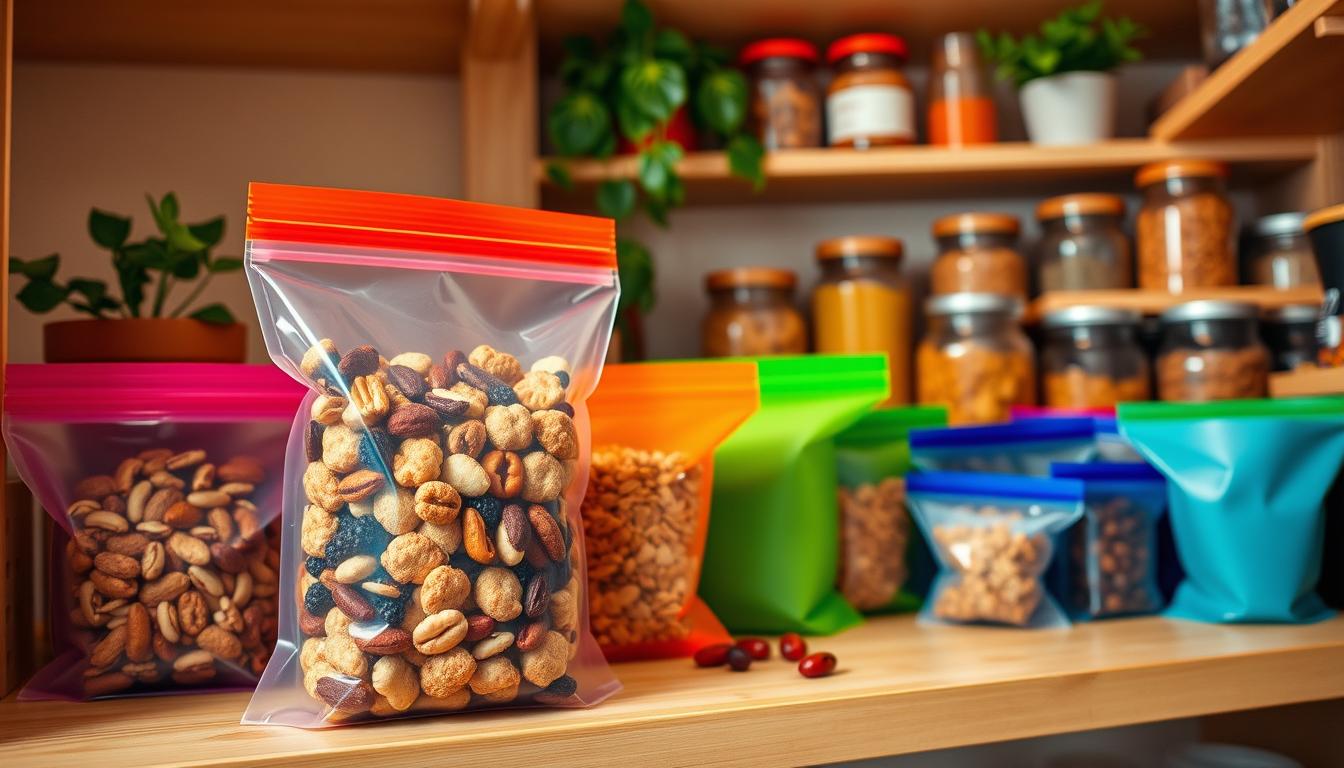
No-paint alternatives
Peel-and-stick chalk paint labels and chalkboard contact paper are renter-friendly and quick. They often include a free marker and let you swap contents without repainting.
Prep Your Jars and Surface So Chalkboard Paint Sticks
Good surface prep makes your labels look sharp and keeps paint from flaking later.
Cleaning and drying the glass
You’ll remove residue and wash each mason or pantry jar with warm, soapy water. Rinse well and let the glass dry fully; paint needs a bone-dry surface to avoid fisheyes or peeling.

To tape or go freehand
Masking a neat rectangle gives crisp edges but adds prep time. Taping 15–20 jars can take about 30 minutes, so plan your batches.
Freehand works if you want to save time and still get a tidy look. Test one jar to set your hand speed and stroke size.
Light sanding for slick areas
If a jar has a raised or glossy label zone, lightly scuff that surface with fine sandpaper. This creates a tooth for the paint to grip and improves long-term adhesion.
- Prep each piece by cleaning and drying before any paint touches glass.
- Plan batch work so drying time between coats fits your schedule.
- Confirm label placement so labels line up visually at shelf height.
Labeling chalkboard jars with paint, stickers, and the best writing technique
Small steps—thin coats, careful drying, and a simple conditioning routine—deliver long-lasting results. Start by choosing whether you’ll brush paint directly on glass or make sticker-style notes with spray. Each method needs patience more than fancy tools.
Brush-on method and curing
Apply thin, even layers of brush-on chalk paint and let each coat dry fully before the next. Some projects reach opacity with two coats, but three often gives a smoother, truer finish.
After your final coat, let the area set for several hours, remove tape, then cure overnight before writing. This prevents tacky surfaces and improves durability.
Spray labels and outdoor setup
For sticker sheets, spray outside in light wind. Use three to four light coats, letting each dry between passes. Allow the full sheet to dry overnight so the coating resists handling.
Prep, write, and avoid smudges
Condition the surface by rubbing flat chalk over the finished area and wiping it clean. This reduces ghosting and makes writing glide easier.
- What to write: add cook time, rice-to-water ratios, or short pantry notes so your labels save kitchen time.
- Choose tools by size: bold chalk markers for large labels, fine paint pens for small notes.
- Let ink dry a few minutes before screwing lids back on or moving the jars to avoid smudges.
Conclusion
A tidy, easy-to-scan pantry starts with a clear plan and the right finish. Pick painted zones or peel-and-stick sheets, prep the surface, apply enough coats of paint, and allow the curing time needed for lasting results.
Condition the chalkboard area before first writing and let marker ink dry briefly before you handle containers. These steps reduce ghosting and keep your labels readable longer.
Choose painted-on labels for a built-in look or chalk paint sheets/contact paper when you want fast swaps. Both routes save you time and make ingredients easier to find.
Keep a marker nearby, update labels as you refill, and use a consistent size and placement for a cohesive pantry. Small habits deliver big daily payoff.