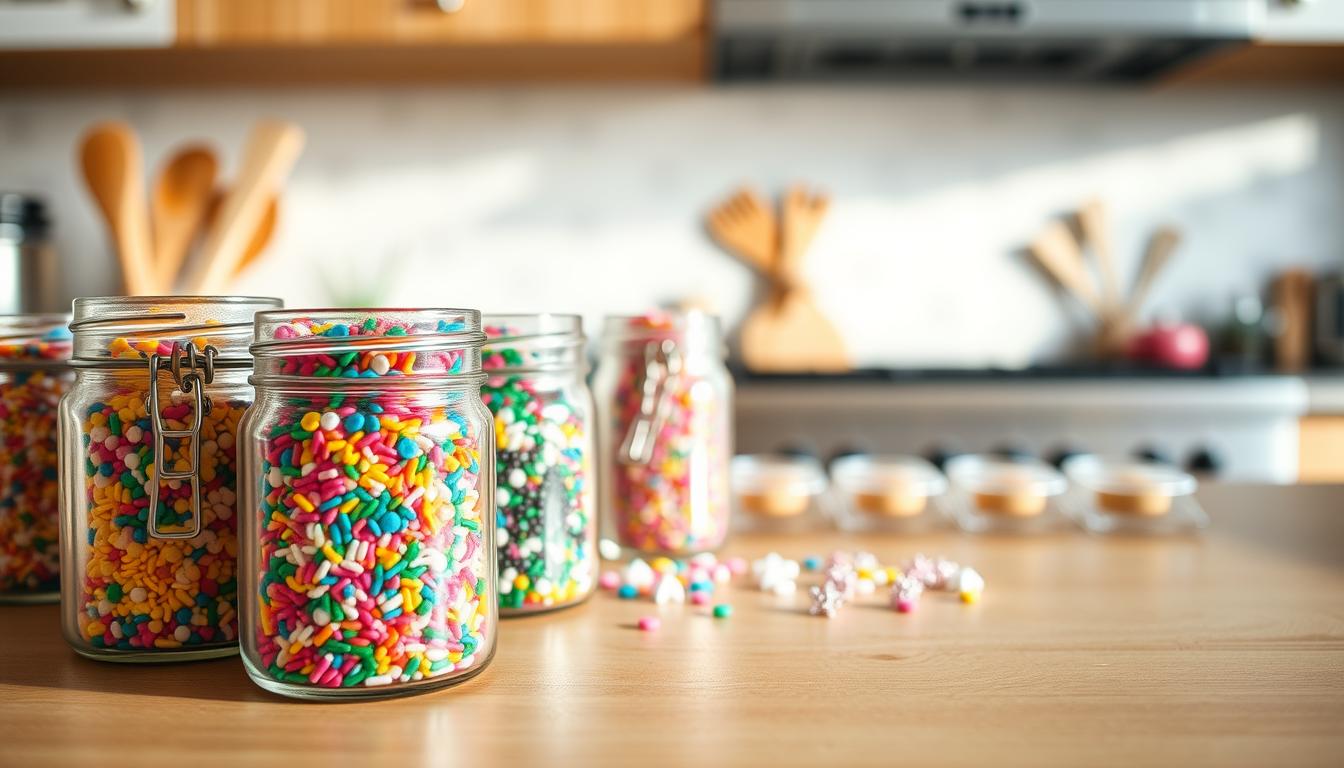
Tiny-jar organization means arranging your sprinkles and small supplies so you can find and use them fast. This approach fits kitchens with limited counter and cabinet space and keeps your workflow smooth.
You’ll get a clear plan: measure and map, empty and sort, pick jars, build a sprinkle station, label, and maintain. Each step stacks on the last so you spend less time hunting through bags and more time decorating.
The method differs from storing large pantry staples. Small items vanish unless you create visibility and simple categories. Your goal is to keep frequently used items front and center, protect textures with tight lids, and contain overflow.
Quick tools to consider: shallow trays, small bins, pull-out shelves, door pockets, and clear labels. Measure first, buy later, and tailor the system to your kitchen and routine.
Plan Your Sprinkle Storage Around Your Baking Space and Workflow
Pick a dedicated spot so your sprinkles and small supplies sit where you actually work. A clear zone saves steps and keeps tools within reach when you are frosting or finishing treats.

Choose your baking zone
Decide whether the zone lives in a single cabinet, a drawer stack, or a small counter area near where you mix. Place daily-use jars at eye level and seasonal things higher or lower.
Map with sticky notes first
Before you buy containers, label sticky notes for categories and move them to cabinets, drawers, and shelves. This test shows if you can grab what you need without emptying a shelf.
Measure cabinets, drawers, and shelves
Measure depth, shelf height, and drawer clearance so tiny jars fit. Note any deep-cabinet pinch points and plan for a pull-out shelf or riser if needed.
- Keep counters clear in small kitchens while preserving an efficient work area.
- Plan “prime real estate” for supplies you use every week.
- Match jar size to cabinet and drawer dimensions to avoid returns.
Take Everything Out and Sort Your Small Baking Supplies
Clear a counter or table and lay out every jar, packet, and tin so you can see what you own. This makes it easy to plan storage and to decide what stays in your main baking zone.

Group like types together
Sort into clear categories: sprinkles, sanding sugar, pearls, toppers, and cupcake decos. Grouping by type mirrors how you shop and how you use these things when you decorate.
Check freshness and toss what’s bad
Open containers and inspect texture and smell. Toss clumpy, stale, or contaminated ingredients; poor texture can ruin a finish or color. Note expiration dates on jars you plan to keep long term.
Separate daily-use from seasonal
Keep everyday items within reach and move holiday or specialty mixes to higher shelves. Use a simple “keep / toss / relocate” staging area so you make fast decisions.
- Prioritize frequently used items for the main spot.
- Relocate bulk or backup jars out of the way.
- Label similar sugars to avoid mix-ups later.
Organizing baking decos with Tiny Jars That Actually Fit Your Collection
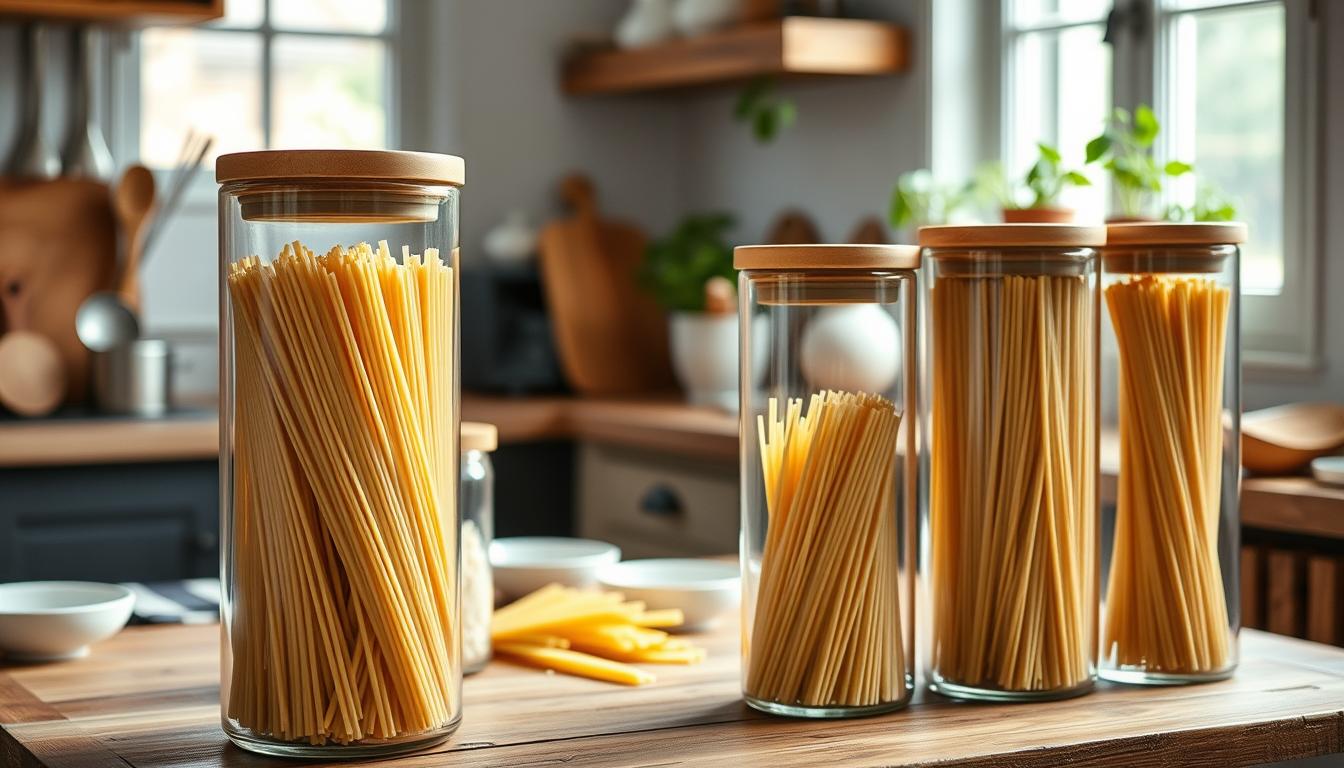
Start by choosing jars that keep your sprinkles crisp and colors true. Pick airtight or clamping lids so moisture and light don’t dull finishes. That single choice protects texture and extends shelf life for your baking supplies.
Choose jar materials and lids that protect texture and color
Compare glass and food-safe plastic for durability and clarity. Glass resists stains and shows color better; plastic can be lighter for high shelves.
Standardize container shapes for easy stacking in cabinets and bins
Use uniform jars so they stack cleanly in a cabinet or inside bins. Matching footprints cut wasted space and boost visibility.
Match jar capacity to how you buy sprinkles
Keep small specialty blends in tiny jars and larger everyday colors in bigger containers. This size approach stops constant refills and keeps your collection sensible.
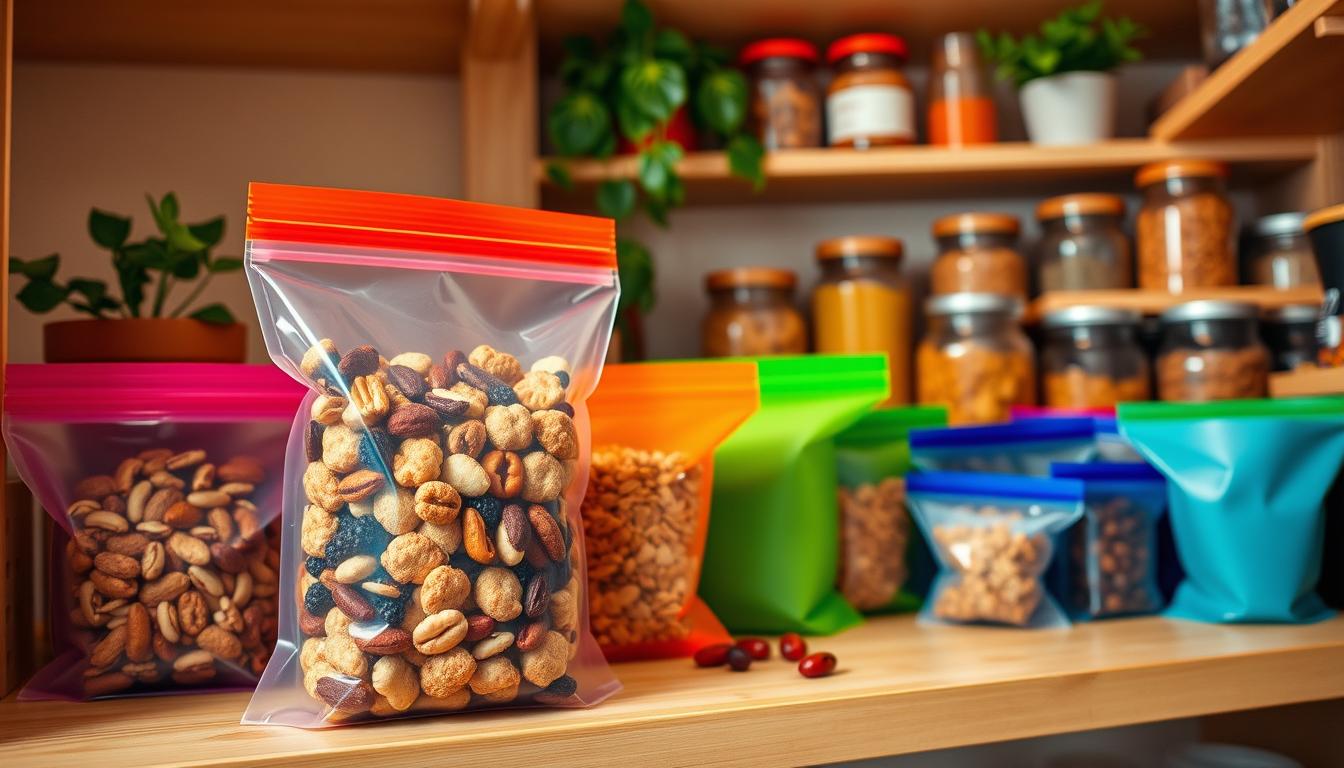
Keep a “working jar” and a backstock container for bulk refills
- Working jar: small, easy to grab at the prep station.
- Backstock: larger container or original package stored in a labeled bin for refills.
- Decide to transfer only frequent-use or easily confused items to premium jars to save space and money.
Set Up a Clutter-Free Sprinkle Station in a Small Kitchen
Create a dedicated sprinkle station near your prep area so finishing touches happen without extra steps. Place the station where you actually finish desserts so you avoid carrying open jars across the room.
Place sprinkles near your most-used tools
Keep tiny jars beside the tools you reach for first. Put spatulas and measuring spoons within arm’s reach so decorating moves quickly and stays tidy.
Store jars inside a cabinet to keep counters clear
When counter space is limited, tuck jars away in a nearby cabinet. Use a shallow tray or labeled bin so you pull out a set and return everything in one motion.
Use pull-out shelves or risers for deep cabinets
Install a pull-out shelf or riser so small containers don’t vanish in the back. This improves access and helps you maintain a steady workflow.
- Place daily-use items at the front for quick grabs.
- Design a one-motion routine: open, grab, decorate, return.
- Set a two-minute reset after each session to keep the station ready.
Use Cabinets, Shelves, and Drawers to Store Tiny Jars Without Losing Them
Make cabinets, drawers, and shelves work together so you never lose a tiny jar again. Choose the best storage home—cabinet, drawer, or shelf—based on how often you reach for each jar and how much weight the shelf can hold.
Create drawer zones with shallow trays so jars don’t tip
Line a drawer with shallow trays or dividers so jars stay upright. Use a dedicated drawer zone for working jars so you can pull out a set without knocking others over.
Use clear bins as “grab-and-go” containers for sprinkle categories
Clear bins keep similar jars together and make lifts quick. Label a bin for Rainbow, Metallics, Holiday, or Whites & Clears to grab a whole group in one move.
Store overflow on higher shelves and keep everyday jars at eye level
Place frequently used jars at eye level for fast access. Move seasonal or overflow jars to higher shelves to save prime space for daily items.
Add door-mounted organizers and go vertical to maximize space
Attach slim racks to the inside of a cabinet door for lightweight items and small tools. Use vertical risers and stacked jars to improve visibility and free counter storage.
- Tip: Keep pans and cutters in a separate zone so they don’t creep into sprinkle storage.
Labeling Tips That Make Your Sprinkle Collection Easy to Maintain
A simple label system saves time and prevents mix-ups when you reach for a jar. Keep labeling minimal and functional so you actually use it.
Label only what you can’t identify at a glance. Focus on similar-looking sugar, whites, and clear mixes that look the same once decanted into matching containers.
Use the exact product name—nonpareils, sanding sugar, pearls—so you restock correctly and avoid duplicates. Add purchase or expiration dates when your baking frequency makes freshness important.
- Set a readable placement rule: front-facing for bins, lid-top for drawers.
- Standardize label language (color + type + finish) to speed grabs during time-sensitive steps.
- Choose a method you’ll maintain: masking tape and Sharpie, removable labels, or a label maker.
Build a quick relabel habit whenever you refill or swap jars. Small upkeep keeps your collection accurate and your containers ready when you need them.
Organize Related Small Items So Your Decorating Tools Stay Together
Create adjacent zones so your tiny jars and decorating tools don’t compete for space. Keep a clear tool area near the sprinkle station so you can grab what you need fast.
Use shallow bins or baskets for icing tips, food coloring, and small cake tools. Group like items together so they don’t form a junk-drawer pile when you are mid-project.
Store cookie cutters and other cutters separately from sprinkles. Cookie work needs fast access to cutters, while sprinkles need spill-safe handling. Sorting them speeds setup.
Add drawer dividers to keep small tools from mixing together. Dividers make it easy to return items to the right spot after washing.
- You’ll keep decorating tools from invading your sprinkle storage by creating adjacent zones: jars, tools, and specialty project items.
- Use bins to group icing tips, food coloring, and small cake tools so they don’t become scattered.
- Sort cookie cutters by theme—letters, holidays, animals—so a full set is ready without digging.
- Choose storage that supports expansion: extra divider space or an “incoming” bin for new things.
Tip: Tie the system back to your baking zone plan so tools live close enough to be useful but separated enough to stay neat. This helps you quickly organize baking supplies and start projects faster.
Handle Overflow When Tiny Jars Aren’t Enough
Overflow happens fast; plan for mobile and stationary options before stuff spreads. Decide which extra unit gives you the most usable room so your prep area stays clear and your tools stay reachable.
Choose a rolling cart or a freestanding pantry
A rolling cart is a flexible way to add storage when cabinet space is limited. You can tuck it beside a counter or roll it into a closet when not in use.
A freestanding pantry cabinet adds serious capacity and keeps a lot of stuff in one place. Pick one with doors to protect delicate items from light and heat.
Move rarely used items out of prime spots
Keep essentials at your station and relocate seasonal mixes, extra pans, and specialty toppers to higher shelves or a hallway closet. This frees room for things you use every week.
Pick adjustable shelves so your system can grow
Adjustable shelves let you fit tall jars, stacked bins, or extra pans as your collection changes. Set a simple overflow rule—one bin per season or theme—to avoid a lot of stuff piling up.
- Label overflow zones so you know where backstock lives.
- Protect delicate decor (like gumpaste flowers) in darker, cooler spots.
- Keep a clear refill path from backstock to working jars to simplify restocking.
Conclusion
When each item has a proper place, your prep and recipes run with less friction. Plan your baking zone, sort and purge, choose jars that fit, store by frequency, and label only what helps you find things fast.
Make the rule simple: every item gets a home, and you return it after use. This keeps clutter from rebuilding and saves time in the kitchen.
Check ingredients and dates now and then, and keep core staples like flour sealed in airtight containers for consistent results. Let bins, dividers, and labels support your routine—not add work.
Revisit the setup as your recipes change seasonally so your storage grows with you. Small, steady habits will keep your baking supplies ready and let you focus on the fun parts of baking and finishing details.