You can—and many people do—if you treat your setup as a system rather than a random pile. Mixing pieces works when you aim for quick access, easy restock, and a consistent look on the shelf.
By “organized,” expect items that are fast to grab, simple to refill, and reliable in day-to-day use. Focus on two success factors: visual cohesion and functional compatibility.
Visual cohesion means a shared color story, similar shapes, or matching lid styles. Functional compatibility covers lids, materials, and sizes that stack or nest well when you use them for paint, epoxy, resin, or kitchen storage.
This article acts as a product roundup and a practical framework so you can shop or audit what you already own. Brand names matter less than shared standards, so you can mix smartly and still look organized.
Why mixing brands can still look cohesive in your space
When you pick a small set of unifying details, diverse pieces read like a single collection. Start by choosing a clear rule or two and apply them across the shelf. That small effort turns a jumble into a useful, calm setup.

When “mix” looks messy vs. intentionally coordinated
A messy mix shows random heights, clashing color choices, and mismatched lids that fight for attention. It makes hunting slower and the shelf feel chaotic.
An intentional approach repeats shapes, favors consistent lid styles, and uses the same label treatment. From a distance, different items read as one system.
The organization payoff: less waste, more usable storage
Shop by specs, not logos. If you stop chasing names and focus on neck size, material, and stackability, you will naturally create cohesion.
- Repeat one silhouette or one lid color so mixes look uniform.
- Use pieces you already own to cut waste and avoid “almost-right” buys.
- Fit storage to shelf depth and how you work, not to trendy sets.
- Later sections will cover choosing lids, materials, and labels to prevent leaks and keep visuals calm.
Your visual game plan for matching containers from different brands
Start by choosing one visual rule and you’ll turn scattered pieces into a calm, usable shelf. Pick a dominant color and let it guide every purchase so different items read as one collection.

Pick a consistent color story
Choose clear, white, amber, or black as your main tone. When most pieces share that hue, mismatched logos fade and the shelf looks intentional.
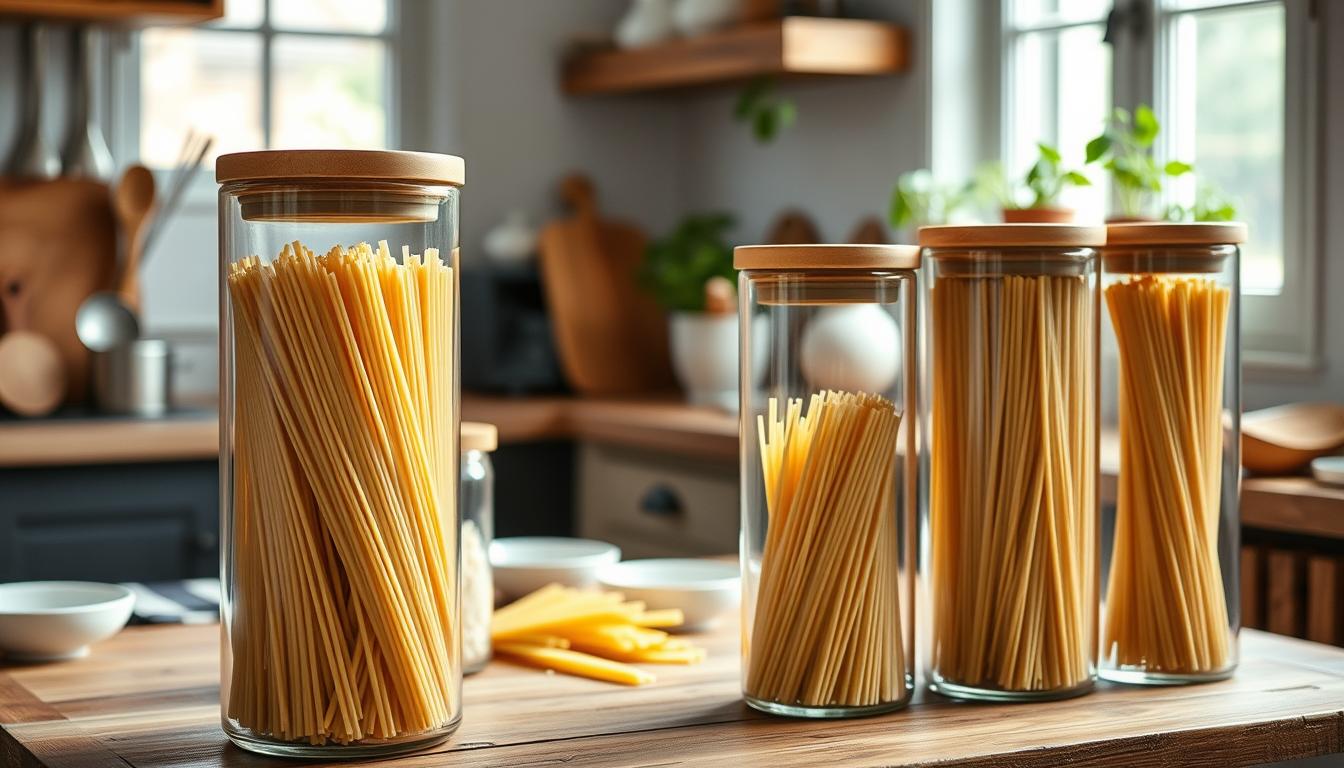
Standardize shapes
Group similar items together: keep your bottles with bottles and your cups with cups. Use jars only for categories that need wide mouths.
Unify lids
Make lids feel like one set by matching finish, dominant color, and profile height.
- Same finish: matte or glossy.
- Same dominant lid color across storage.
- Same profile so stacked rows align visually.
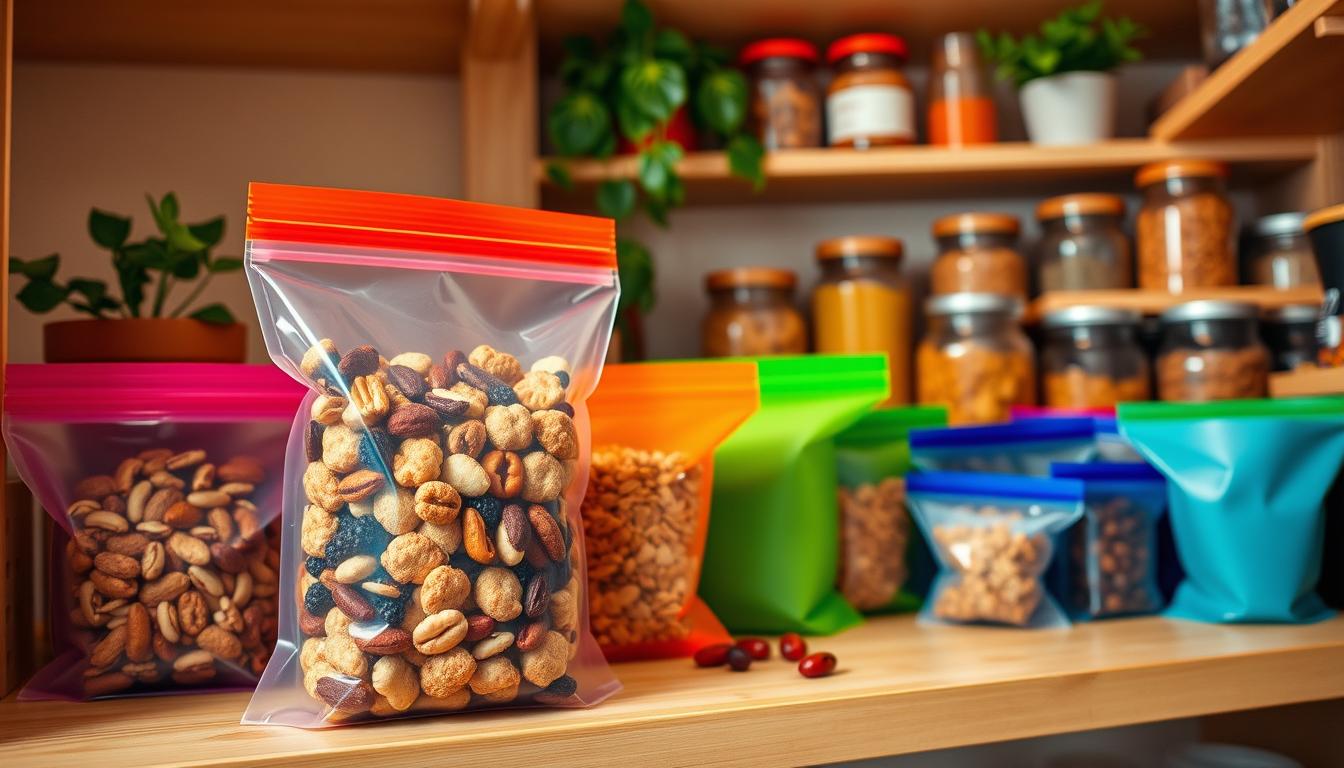
Use labeling to unify everything
A consistent label area, type size, and placement makes different items read as one system. Include contents, ratio/recipe, and date. Use water- or solvent-resistant labels when you work with paint or epoxy.
Next: Once the look is unified, check functional compatibility so your set seals, stacks, and pours well.
Mixing container brands without leaks, wobble, or lid frustration
Fit rules function: a secure lid and a steady base keep your workflow smooth and your shelf calm.
Why lid fit matters more than the logo
Even premium pieces fail if the lids cross-thread, leak, or loosen during transport. You want seals that stay tight when you shake or stack. Standardizing one or two lid types across common sizes cuts daily friction and speeds refills.
Material basics: PET, HDPE, glass, and plastic cups
PET gives clear walls so measurements are easy to read. HDPE resists solvents and handles rough use. Glass offers long-term stability and easy cleaning. Disposable plastic cups work for fast batches and quick cleanup.
What to test before you buy in bulk
- Fill with water, shake, invert, and leave overnight to check for seepage.
- Place filled pieces on shelves and trays to see if any wobble or rock.
- Verify volume markings and measurements if you rely on ratios for paint or epoxy.
Use funnels and labeling tools to keep prep clean and organized. Test first, then buy more of what passes.
Mixing container brands for paint mixing, epoxy, and everyday storage
Set a small routine: mix small amounts, test, then move the successful mix into a sealed bottle. This keeps your bench tidy and your colors consistent.
Paint workflows: from cup to bottle to storage
Start each job in a single, measured cup so you can tweak ratios in small steps. When the color is right, transfer the remainder to a labeled bottle for storage.
Why this works: short batches cut waste and make cleanup fast. A labeled bottle preserves color and keeps repeatable mixes on hand.
Epoxy and resin measuring: why precision markings matter
With epoxy, tiny ratio mistakes change cure time and strength. Use clear, accurate marks when you measure resin and hardener.
Tip: always test a small batch first and record exact volumes and cure notes on the label.
Kitchen and home uses: when disposable beats reusable
For messy one-offs, disposable mixing cups save time and cleanup. For repeat tasks, reusable bottles and jars earn their keep.
- Decision filter: Frequency of use, required accuracy, cleanup tolerance, and how long contents must stay stable.
- Prefer mixing cups for experiments and quick batches; use bottles for stored paint and leftover epoxy.
- Mix only what you need now; transfer and seal leftovers to reduce waste.
Product roundup: mixing cups and disposable containers that stack neatly
A smart lineup of stackable cups makes prep faster and keeps your bench tidy.
Alumilite’s Measure & Mix Containers (Graduated) are a go-to when you want clean measurements and repeatable results. The clear, graduated markings cut guesswork and speed up every batch.
Graduated marks mean faster mixing, fewer errors, and easier replication when you return to a project later. They also work well for recording exact measurements on labels.
Disposable mixing cups for quick batches
Disposable mixing cups are ideal for messy pigments and one-off runs. You save cleanup time and avoid cross-contamination when you toss them after use.
For shops where time is money, disposable options often beat reusable cups on convenience and speed.
Choose pint, quart, and small sizes for how you actually work
Pick small sizes for tests and color tweaks, a pint for medium sessions, and a quart when you mix larger volumes often. Match pack sizes to your frequency to keep price per cup low.
- Stability: favor stacking-friendly shapes that nest without wobble.
- Readability: choose cups with clear measurements for repeatability.
- Value: multi-packs lower the price per cup for US buyers but buy only what you use.
Stacking strategy: keep one daily-driver size at arm’s reach and store larger sizes below. That keeps your most-used shelf uncluttered and your workflow faster.
Product roundup: paint mixing bottles that keep color organized long-term
Choose a reliable bottle as the backbone of your color library to keep paints sorted and easy to find.
SprayGunner offers PET, HDPE, and glass options built for accurate measurement and long-term storage. Each material serves a clear purpose so you can pick what fits your workflow.
Material options you’ll see most: PET vs. HDPE vs. glass (SprayGunner)
PET gives a clear view of volume and color. Use PET when you want quick ID of a mix.
HDPE is tough and resists solvents. It’s the go-to when you need durable plastic for rough use.
Glass is best for long-term storage and low odor carryover. Choose glass when staining and smell matter.
Best bottle features for order and visibility
- Consistent label areas so different items feel like one system.
- Clear walls for fast visual checks of color and level.
- Easy-pour necks that reduce drips and speed transfers.
When to use bottles instead of cups for leftover paints
Move a mix to a bottle anytime the paint will sit past your session. Use bottles when you need to shake, remix, or transport reliably.
Recommendation: pick one material family for your most-used sizes and align height and label placement. That reduces waste and keeps your shelf readable at a glance.
Product roundup: tools that make mixed-brand setups feel “complete”
The right gear turns a mixed shelf into a reliable, repeatable workflow you trust every session. Tools reduce spills, speed refills, and make cleanup predictable so different pieces act like one system.
Pipettes and droppers for precise dosing
Use pipettes and droppers when you need tiny, controlled additions. They help you tune thinner, pigment, or small paint adjustments without overshooting ratios.
Funnels and paint cups for mess-free transfers
Funnels and a reliable paint cup stop drips when you move mixes from cup to bottle or top off stored color. They work best with thicker paint and when you want clean necks and no wasted product.
Mixing balls, stirrers, and mixing sticks for consistent blends
Mixing balls keep pigments suspended during transport. Stirrers and mixing sticks scrape sides and fold pigments for even color across batches.
If you want alternatives, try small battery agitators or nylon spatulas for quick, contamination-free blending.
Labeling tools and stickers to track custom mixes and dates
Finish every bottle and cup with a consistent label: name, recipe, and date. Clear stickers and a permanent marker give traceability and cut repeat errors.
- Tools unite visual order and function: fewer drips, better repeatability.
- Keep a kit of pipettes, funnels, mixing sticks, and labels at arm’s reach.
- Regular use of these items makes varied pieces behave like one organized system.
Brand compatibility checks you should do before you commit
Before you commit to any setup, run a quick fit check so your workflow actually works together.
SprayGunner reports accessories work with Createx, Mr. Hobby, Tamiya, and Iwata, but “compatible” usually means the system flows—not that every cap swaps perfectly. Use product photos and close-up specs to get a clear view before buying.
Matching systems across popular paint lines
Think in systems: paints, thinners, storage bottles, and transfer tools should align with how you work. Check material notes and recommended uses on product pages.
Neck sizes, caps, and realistic swap-ability
- Neck size: measure diameter against a ruler or compare mm specs.
- Thread pitch & cap height: ensure threads seat fully without cross-threading.
- Seal type: gasket, snap, or screw—each affects leak resistance and stacking.
Preventing contamination across paints and thinners
Use separate droppers and funnels for strong thinners. Rinse tools immediately and never back-pour leftovers into master bottles.
If a product page won’t load or reviews are hidden because an extension is blocked, try disabling extensions temporarily so you can view full details before you buy.
How to organize mixed containers so your shelves look intentional
A simple three-zone layout turns varied pieces into a tidy, practical setup. This approach keeps your workflow fast and your shelf visually calm.
Create zones: mixing station, storage, and in-progress batches
Set three clear zones: a mixing station for active work, a storage area for finished bottles, and an “in-progress” space for half-done jobs. Keep tools and labels in the mixing zone so you can grab them without walking away.
Use trays and bins to group different items into one visual unit
Place varied pieces inside the same tray or bin to make them read as one group. Trays make it easy to pull a set out, carry it to your bench, and clean underneath.
Stacking and nesting rules for cups, lids, and bottles
- Nest cups by sizes so packs stay compact and easy to grab.
- Store lids in a dedicated bin and return stray lids during a quick reset.
- Align bottles by height to create clean rows that are simple to scan and handle.
- Keep most-used sizes at chest height and heavier items low so you can handle them safely and quickly.
Maintenance tip: spend two minutes weekly to clear stray lids, discard damaged cups, and wipe trays. Better grouping reduces spills, cuts duplicate buying, and helps you use what you already own.
Shopping smart in the US: price, shipping, and order planning
Think of shopping as system-building—each order should fill a specific gap in your workflow. Buy with use in mind so you pay for usefulness, not clutter.
When multi-packs lower your per-item cost
Calculate true cost by dividing the total price by usable pieces. Include lids and the hidden cost of failures like leaks or unreadable markings.
If you mix frequently, multi-packs usually win. If you experiment, buy smaller packs so unused items don’t clutter your shelf.
How to plan lids, containers, and tools in one order
Combine lids, core sizes, and tools into a single order to cut shipping fees and avoid split shipments. This lowers the shipping cost per item and speeds arrival.
- Order checklist: confirm neck/lid compatibility, pick core sizes, add funnels or droppers, and include labels.
- Start with a small standard kit so you can test fit and function before larger orders.
What to check in reviews and product details before you click shop
Scan reviews for repeated mentions of leaks, poor thread fit, cloudy plastic, unreadable measurements, or damaged packaging.
Read product details carefully: dimensions for shelf fit, material type, whether lids are included, and exact pack counts. Verify photos and measurement markings on the product page so you can view critical details.
If a page blocked message appears because of a blocked extension, try disabling extensions or use a different browser so you can view full reviews and photos before you place orders.
Budgeting note: build one small, reliable kit first. Expand only after you confirm lids, sizes, and materials work together in real use.
Conclusion
,Clear visual rules and quick fit checks are the fastest path to a shelf that reads as one set.
Standardize color, shape families, and label areas so mixed pieces look intentional. Also verify lid fit, materials, and reliable measurements to keep function steady.
For most work, start with mixing cups and move finished batches into bottles for storage. For epoxy you must use precise markings and careful ratios to protect cures and strength.
Plastic, glass, and disposable options each earn a place depending on cleanup, batch size, and how long you store mixes. Choose small, pint, and quart sizes to match real use and avoid overbuying.
Before you buy, do one quick audit: confirm lids, confirm labeling space, confirm stackability, and re-check product details so everything plays well together.
Next step: build a minimal starter system now—mixing cups, a few reliable bottles, basic tools, and labels—then expand only after real-world testing proves what works for you.