You want a calm, practical storage area that feels elevated without a full remodel. This section shows simple steps you can take to blend style and function in your pantry.
Start by defining goals and matching materials to your kitchen palette. Small changes stack: consistent containers, zones for quick resets, and a few smart upgrades will change how the space works and feels.
Expect a budget approach: repeat a few finishes, standardize containers, add pull-outs or better shelves, then finish with labels and lighting. These moves improve organization and speed up cooking.
The main payoff: less waste, faster meals, and a space that feels put together even on busy days. Everything should have a dedicated place and complement—not compete with—your kitchen.
Decide what “high-end” means for your pantry and your daily routine
Decide which practical habits you want your pantry to serve first. Make your plan based on how you and your family actually move through mornings and evenings.

Map real routines: note where coffee, breakfast, snacks, canned goods, and backstock live now. A quick inventory shows what belongs at eye level, what can go up high, and what needs a lower drawer for heavy items.
Map your real habits
Walk through a typical day and mark the zones you use most. If mornings center on coffee and kids’ cereal, create a dedicated morning side so those items are easy to grab.
Identify pain points
List annoyances—lost cans, snack avalanches, coffee clutter—and give each thing a single, assigned place. Turning each pain into a rule makes reset simple and fast.
Plan for growth
Leave a growth buffer for new small appliances and changing family needs. Measure frequent goods like broth cartons and cereal so shelves and drawers fit actual goods, not guesses.
- Use shelf height to solve common food storage problems.
- Put heavy items low and everyday items within easy reach.
- Keep a small reserve space for new appliances or bulk buys.
Create cohesion between your pantry and kitchen design
Make your storage feel like a seamless extension of the kitchen by matching key finishes and tones. A cohesive approach reads as intentional design, even when you use budget-friendly containers and shelving.

Choose a simple, timeless palette
Pick one dominant color, one neutral, and one metal or wood accent. This three-part rule keeps the space intentional and calm.
Quick rule: dominant color for walls or shelves, neutral for trim, metal for hardware or small accents.
Use contrast where it matters
Add depth with darker countertops, brass pulls, or a few woven baskets. Contrast on hardware and counters gives dimension without visual chaos.
- Repeat the same cabinet hardware finish to tie the kitchen and storage together.
- Echo your kitchen paint tone on pantry trim or shelves for a subtle match.
- If the pantry is visible, keep tones quieter; tucked-away spaces can be moodier.
Checklist: matching hardware, echoed paint tone, one accent metal, and a darker countertop or shelf stain so the pantry complements adjacent cabinets and finishes.
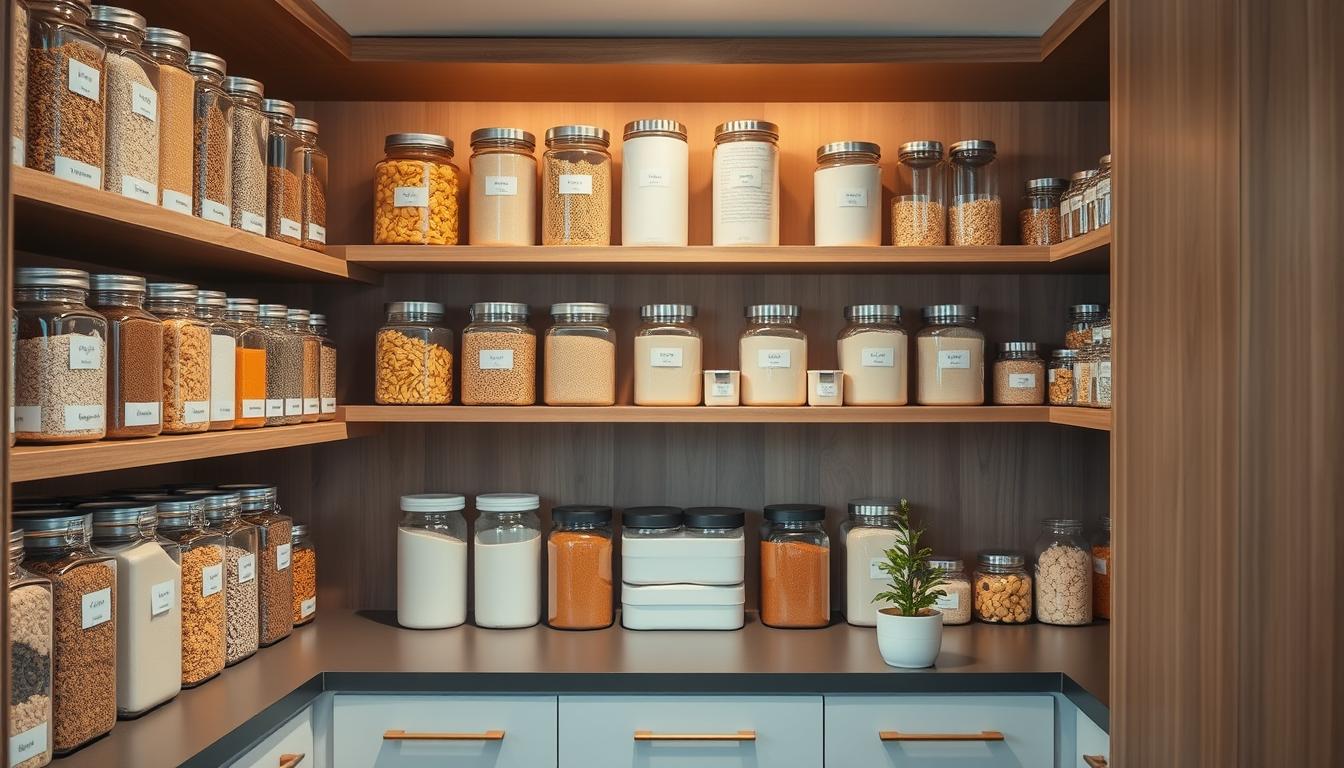
Uniform pantry look basics that cost less than you think
Small, consistent choices transform cluttered shelves into a calm, useful space. You don’t need new cabinetry—just a plan for containers, spacing, and placement.
Limit container styles so shelves look calm and curated
Choose 1–2 container shapes, one basket style, and one label style. This simple rule makes your storage read as intentional without a big spend.
Repeat materials and finishes across shelves and bins
Use clear jars for staples, woven baskets for awkward bags, and matching bins for snack packets. Repetition reduces visual clutter and feels premium.
Consistent spacing and like-with-like groupings
Align labels, keep equal gaps between jars, and group similar items together. Even spacing makes a shelf view feel high-end.
- Keep heavy boxes low and face labels forward.
- Corral branded packaging into matching bins.
- Place most-used items at eye level for easy access and faster maintenance.
Plan pantry zones so organization stays effortless
Divide your storage into clear zones so tasks happen without thinking. Treat the space like a tiny market with defined departments. This makes returns simple and keeps the shelf view tidy for everyone in the family.
Create a morning station
Set up a mini bar-style spot for coffee, mugs, cereal, and quick breakfast items. Keep the coffee maker, filters, and pods together. Add a single shelf for mugs and a shallow drawer for spoon and napkins.
Build a kid-friendly snack zone
Use low bins kids can reach and reset themselves. Label each bin plainly so snacks go back to the right place. This reduces torn bags and crumbs across the space.
Rules for heavy goods and bulk food
- Keep cans, broth, and large staples low for safety.
- Use sturdy drawers or deep shelves so goods don’t hide in the back.
- Plan depth so food storage stays visible and rotated.
Reserve a household extras spot
If you have room, dedicate a place for paper goods and linens. Use clear labels and a simple zone label map so everyone knows where things belong.
Upgrade shelves for a custom look without custom cabinetry
Well-planned shelving turns wasted vertical space into useful, visible storage. You get better proportions and easier routines without new cabinets.
Use open shelving for daily staples
Open shelves keep staples in view so restocking is faster and maintenance is simple. Use open runs where you reset items often and save closed doors for messy overflow.
Adjust heights to match real packaging
Measure cereal boxes, jars, and small appliances before you set a shelf. Create one shelf for tall boxes, one for medium jars, and one for small appliances.
Go vertical and keep a step stool handy
Floor-to-ceiling shelving captures unused wall space in a small room. Store seasonal goods up high and keep daily items at eye level for easy access.
Keep depth practical so nothing hides in the back
Use moderate shelf depth—about 12 inches—so items don’t get lost in the back. This reduces duplicates and keeps the space efficient.
- Why it reads custom: right proportions, clear sight lines, and less wasted space.
- When to use open shelving: daily zones and items you grab every day.
- Quick setup method: measure, group by height, set shelves, test reach with a step stool.
Make lower cabinets feel luxury with pull-out drawers and sliding solutions
Deep base cabinets hide a lot of useful food—until you add a system that brings it forward. Pull-out hardware and slide shelves turn wasted depth into visible, usable storage. This is an affordable way to add a high-end touch without new cabinetry.
Use pull-out drawers to avoid losing items in deep cabinets
Pull-out drawers let you see everything at once, so nothing disappears in the back. Retrofit kits slide into existing cabinet boxes and give you full access with one pull.
Try slide-out shelves to convert a cabinet into a mini pantry
Slide-out shelves are an easy way to make a deep cabinet work like a small pantry. Choose shallow shelves for jars and deeper ones for bulk items to keep things visible and rotated.
Consider a tall pullout pantry for small kitchens and tight spaces
A tall pullout is a compact solution when floor space is tight. It fits between appliances or at the end of a run and stores bottles, spices, and cartons upright.
- Three budget paths: retrofit pull-out drawers, install slide-out shelves, or fit a tall pullout pantry depending on your cabinet layout and kitchen size.
- Group drawer contents by job: heavy cans, broth cartons, snack bags, and baking supplies so each drawer has one role.
- Measure cabinet depth, height, and door swing before buying hardware to avoid wasted purchases.
- Use narrow baskets inside drawers to keep small items upright and tidy for easy maintenance.
Use the pantry door as hidden storage space
The back of your door is often wasted space that can hold dozens of small essentials. Installing on-the-door shelving creates a compact solution that frees main shelves for larger items and helps keep the room tidy.
Add on-the-door shelving for spices, small bottles, and small items
What to store: spice jars, extracts, small bottles, single-serve packets, and other items that are awkward to stack. Keep most-used spices at eye level for quick access and place baking or sauce items on separate racks.
Prevent sagging with strong hinges and a sturdy installation
Door racks add weight fast. Choose industrial-strength racks and anchors, and upgrade hinges if you plan to load multiple bottles. In heavy installations, add a support strip or a second hinge to prevent sag over time.
- Why it helps: bonus storage you probably underuse in small spaces.
- Layout tip: one category per rack so resets are simple and organized.
- Access rule: avoid oversized containers that block door swing or internal shelving clearance.
Result: door storage keeps main shelves calmer, improves access, and gives you a neat, practical solution for spices and small items.
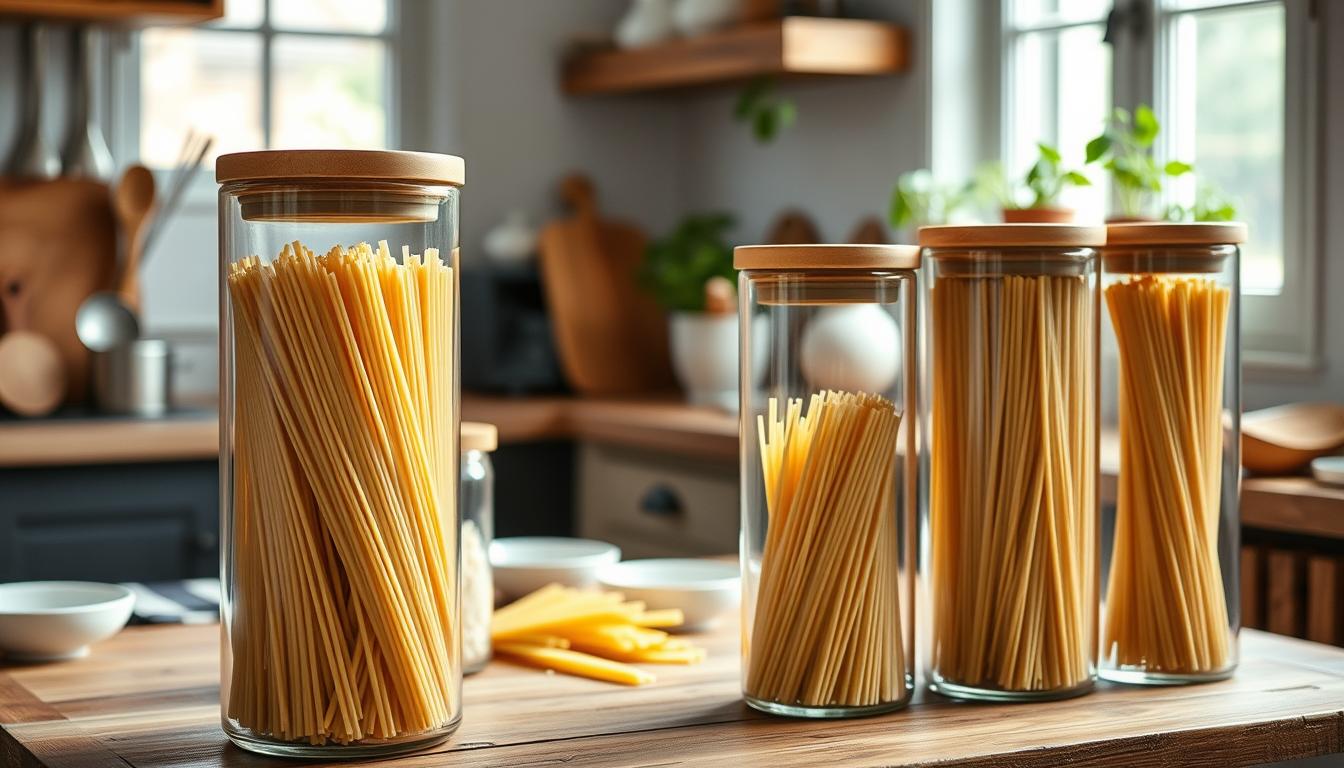
Decant dry goods into matching jars and canisters for an elevated pantry
Start by clearing a single shelf and replacing mismatched packaging with clear containers to see instant results. Decanting is both aesthetic and practical: it improves visibility and often stores more efficiently.
What to decant first
High-impact items: pasta, rice, flour, sugar, oats, and baking essentials. These staples create the most visual noise and give a big return when moved into jars.
Choose the right containers
Pick clear, airtight, stackable jars sized to match how you buy goods. Favor glass when possible for durability and clarity. Match capacities so you avoid half-empty containers that add clutter.
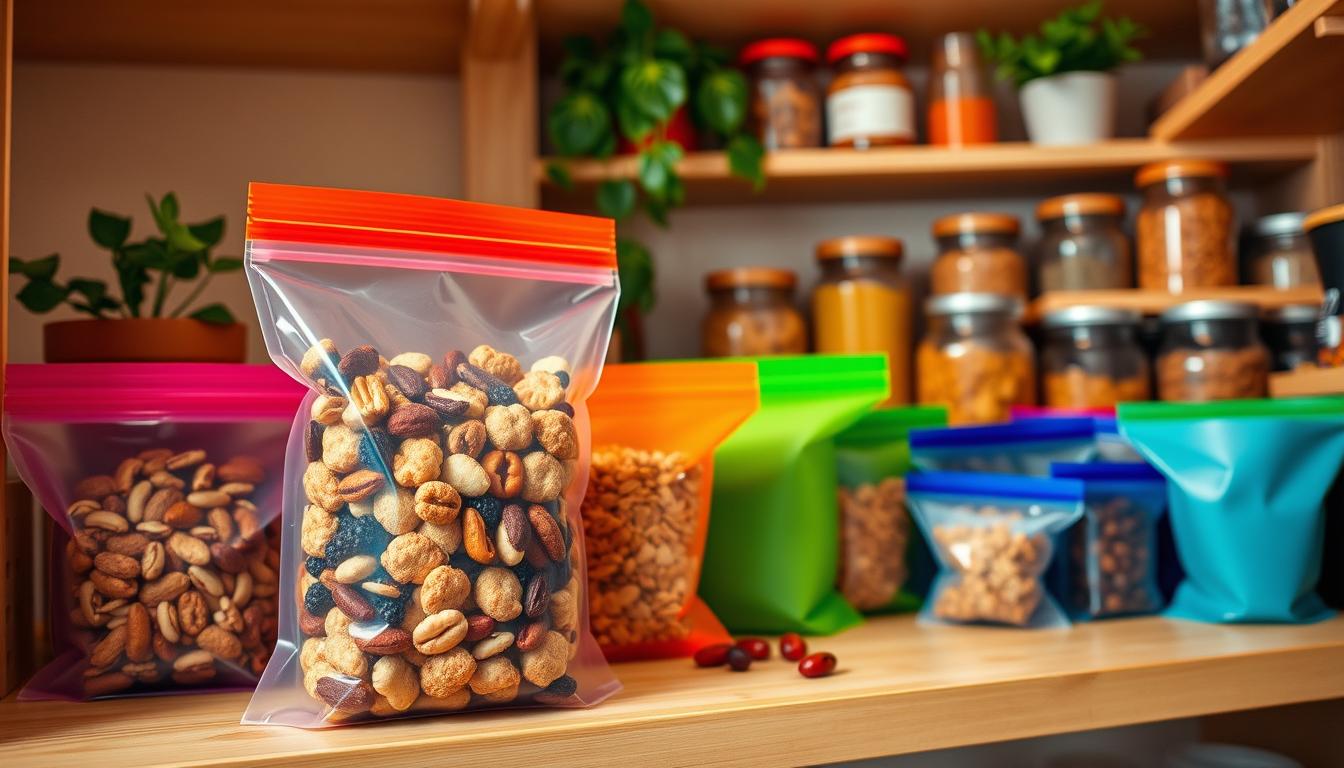
Mix systems and save money
Use glass jars for staples and baskets for bags and odd boxes you won’t decant. Buy a small set of matching jars first, then expand over time. This phased approach keeps cost low and results cohesive.
- Labeling: a consistent style finishes the look and prevents mystery containers.
- Keep a small decanting kit (funnel, scoop, label pen) in the shelf for quick maintenance.
- Rotate goods by date and refill jars from bulk to keep organization simple.
Labeling that looks expensive and actually helps your family
Labels are the small detail that turns messy shelves into a functional system your family will use. A clear plan makes resets fast and keeps your pantry tidy with little effort.
Make category labels do the heavy lifting
Use broad category labels on shelves and bins—snacks, baking, breakfast, canned goods—so putting items away becomes automatic. Category labels reduce decision time and help everyone return things to the right place.
Standardize placement for a refined view
Pick one corner, one height, and one orientation for every label. This small rule makes shelves line up cleanly and gives a surprisingly high-end finish.
Smart spice sorting for faster cooking
Choose the way you cook: alphabetical on the door, grouped by cuisine, or by frequency of use. Keep frequently used spice jars at eye level so reaching for dinner is faster and less chaotic.
- Pretty vs. working labels: use the same template for both—clear font, durable material, and a tidy border.
- Family-proofing: larger font for kids’ zones and plain words so helpers never guess.
- Maintenance rhythm: quick weekly reset and a monthly expiration check to keep labels accurate.
Master awkward corners with lazy susans and smart shelf layout
A simple turntable changes a shadowed corner into a handy condiment station. Corners often become black holes where bottles tip and boxes vanish. A lazy susan brings those goods to the front, making the space useful again.
Use lazy susans for condiments, oils, vinegars, and small jars
Store oils, vinegars, condiments, nut butters, and small jars on a lazy susan so everything rotates to you. This reduces spills and keeps frequently used items at easy reach.
Store bulky appliances low and lightweight items up high
Place heavy, bulky appliances on lower shelves to avoid lifting injuries. Put lighter items up high so you can grab them without a step stool. This vertical rule improves safety and quick access.
- Why corners fail: flat shelves hide items in the back; a lazy susan creates visibility and movement.
- Sizing tip: measure the corner footprint and pick a turntable diameter that spins without hitting supports.
- Reset habit: rotate and wipe monthly to prevent sticky buildup and keep the corner from reverting to chaos.
- One-touch rule: if you can’t reach it easily, it doesn’t belong in the corner—move it nearer the front.
Lighting and visibility tricks that make any pantry feel more premium
Good lighting instantly makes a small storage room feel intentional and easy to use. Bright, even illumination helps you find items, read labels, and keep stock rotated so you waste less. A well-lit space reads as higher quality and saves time every day.
Brighten dark pantries with a strong overhead fixture
Choose a strong overhead fixture that fills the room with even light. If shelves cast shadows, add under-shelf LED strips to brighten backs and corners.
Use frosted or glazed doors to borrow light while softening clutter
Swap a solid door for a frosted or glazed option to borrow natural light from adjacent rooms. Frosted doors hide busy packaging while increasing perceived size.
- Pick clear glass if you keep a tight, curated design; pick frosted glass if you want forgiveness for real-life mess.
- Place the switch near the door for instant access and minimize shadowing by centering the fixture over the main shelf run.
- Match bulb temperature to your kitchen—warm or cool—to keep the wall and shelves feeling cohesive.
Visibility reduces waste: when you can see what you have, you buy fewer duplicates and keep rotation simple. Better lighting equals better access and smarter shopping.
Paint, paneling, and small finish upgrades that add instant “designer” polish
Small finish changes—paint, paneling, and new pulls—deliver big perceived value fast. A fresh color and a few trim moves make the whole room feel intentional without changing shelving layout.
Why paint is high ROI: paint covers a lot of visual real estate and transforms how shelving and items read. Try a moody satin like Sherwin‑Williams “Slate Tile” to make busy packaging recede and add depth.
Use darker color to hide visual clutter
Darker tones mask varied packaging and make the space feel cozy and curated. If your kitchen is bright, a moody wall creates contrast without feeling heavy.
Add texture with beadboard and trim
Install beadboard—vertical or large-scale horizontal—to add subtle texture that looks custom. Beadboard is inexpensive but reads like built-in paneling.
Character with brackets, peg rails, and hardware
Bracketed shelves and shaker-style peg rails let you hang baskets for garlic or onions. Swap cabinet hardware for a single metal finish to tie things together and make cabinets feel upgraded.
- Quick plan: paint walls, add beadboard on one wall, fit two bracketed shelves, and change pulls.
- Keep function first—don’t add trim that blocks shelf depth or reduces usable storage.
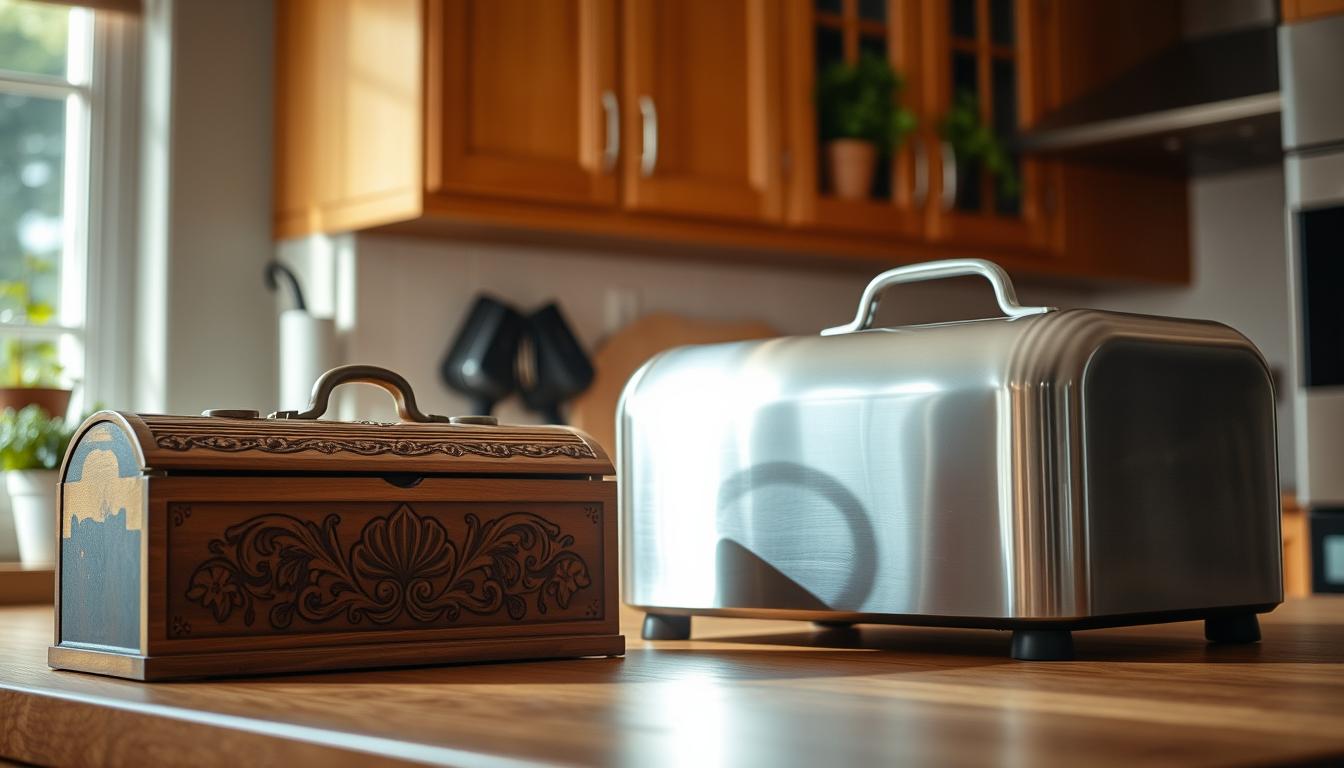
Budget countertop ideas for a pantry bar, coffee station, or prep spot
A small counter inside your storage room can become the home’s go-to coffee and prep station. It gives a dedicated space for a coffee maker, toaster, or a tiny serving bar without moving appliances into the main kitchen.
Butcher block for warmth and affordable surfaces
Butcher block is warm, budget-friendly, and easy to install. Choose it when you won’t do heavy chopping or wet prep on the surface.
It needs periodic oiling but hides scratches with sanding. This makes it ideal for a coffee corner or a small bar that sees light use.
Use leftover kitchen materials to keep things cohesive
If you have leftover Carrara or a slab from your kitchen counters, using it here instantly ties the rooms together. It reads as high-end because the material matches your main surfaces.
- Stone (darker granite) is forgiving around coffee drips and stains.
- Butcher block is cheaper but less durable for wet or acidic work.
- Leftover kitchen material gives the most cohesive finish with minimal extra cost.
Cost-control tip: simplify edges and avoid seams when choosing stone to lower fabrication costs. Also, plan for outlets near the counter so small appliances stay put and don’t migrate back into the kitchen.
Make a small pantry feel bigger with layout and storage strategies
Tight storage can feel spacious when you prioritize layout over simply adding more bins. Think in terms of movement, sight lines, and shelf proportions. Small changes to depth and openings create a larger, calmer space you use every day.
Use a narrow built-in shelf run when square footage is tight
Install a slim, floor-to-ceiling run along one wall to gain linear storage without crowding the doorway. Keep shallow ledges near the front for snacks and daily items. Reserve deeper sections for bulk goods and small appliances.
Remove the door when it improves flow
If the swing blocks traffic or forces you to step around it, remove the door or swap it for a curtain. An open entry gives instant visual access and speeds up retrieval, which feels like more room.
Deep back shelves and narrow side ledges for visibility
Put the deepest shelving on the back wall for boxes and large bins. Use narrower side ledges for cans, bottles, and jars so labels face out. This keeps nothing hidden behind other items.
- Single-pass restock: design your walk-in path so groceries go straight into assigned zones without reshuffling.
- Limit container types and colors to two styles to keep the compact area calm and coherent.
- Measure shelf depths before buying bins so each item fits and stays visible.
Add personality without breaking the uniform look
A single curated shelf can make your pantry feel personal while keeping everything useful. Displaying a few serveware pieces and books adds warmth and gives you a place to show items you actually use.
Display serveware, platters, and cookbooks in a controlled, curated way
Choose one shelf or a single corner for display so the rest of your storage stays consistent. Keep display items practical: platters, cake stands, frequently used glassware, and a small stack of cookbooks you reference often.
Include a small decor moment that won’t interfere with storage or access
Curated, not crowded: leave negative space around displayed pieces. That breathing room is part of the high-end feel and makes maintenance easier.
- Pick 3–5 display items and keep them grouped together on one shelf.
- Use a small tray, single vase, or a framed print tucked away from heavy traffic.
- Choose wipeable, durable decor so dust and food splashes are easy to clean.
- Keep display pieces you use for hosting so they serve a purpose, not just decoration.
When the space reflects your taste and stays practical, you’re more likely to maintain order and reset quickly. That small investment in personality makes the kitchen and pantry feel like part of your home, not just storage.
Conclusion
Bring everything together with one clear plan that prioritizes function, then adds finishing details. Start by defining what high-end means for your routine, then create cohesion between the kitchen and storage areas. Use consistent containers, sensible shelf heights, and clear zones to make maintenance easy.
Focus on budget wins: matching jars, door racks, simple pull-outs, and a brighter light made the biggest change fastest. Those small upgrades improved access and reduced wasted goods.
Make a weekly 5–10 minute reset: return items to their assigned place, face labels forward, wipe a shelf, and rotate older goods to the front. Prioritize function first; add paint, hardware, or a small decor moment after the system runs smoothly.
When organization and storage are settled, your kitchen will feel bigger, calmer, and much easier to use every day.