You likely keep staples in your pantry, but “Storing dry goods” in a typical U.S. home needs a bit more care than canned food. Flour, sugar, and grains behave differently: they can absorb moisture, pick up oxygen, or invite pests even when they look fine.
The goal of this article is to set clear expectations for long-term freshness. You will learn that cool temps, low humidity, and sealed containers matter. You will also see why limiting how often you reopen packages helps keep quality high.
This piece previews a practical approach: control the space (temperature, humidity, light), pick the right containers, and match your plan to how you cook—recipe-sized portions, bulk buys, and rotation. The big takeaway is simple: keep your foods cool, dark, sealed, and insect-proof, and use a rotation system so older items get used first.
Later in the article you’ll find what ruins pantry items, the ideal pantry setup, container choices, tips for flour, sugar, and grains, and multi-year bucket + Mylar storage methods.
What ruins dry foods over time in your home pantry
Most spoilage in your pantry comes from things you can control: moisture, air, heat, and pests. Learn the common failure modes so you can stop them before they start.

Moisture reabsorption and condensation risks
Humidity, damp scoops, or warm food put into a sealed container can cause condensation. That tiny bit of water leads to clumping, off-odors, and even mold, even when the product looks bone-dry.
Cool completely first before sealing to avoid trapped sweat turning into problems on the inside.
Oxygen exposure after opening bags
Every reopening adds oxygen and moisture to the headspace. Repeated access speeds staling and rancidity, especially in whole grains and nuts.
Reduce headspace or reseal portions to slow quality loss over time.
Heat and sunlight as shelf-life accelerators
Warmth and light speed oxidation and nutrient loss. Items stored near ovens, sunny shelves, or in a hot room will age far faster than those kept cool.
Insects, larvae, and cross-contamination
Pantry moths, weevils, and larvae spread quickly from one torn bag to others. A single infested package can contaminate nearby products.
- Keep similar ingredients separated to avoid look-alike mix-ups.
- Use tight lids and clean scoops to prevent spillover and cross-contamination.
- Inspect packages regularly for signs of an insect problem on any side.
Bottom line: most mystery pantry problems trace to four variables you can control: moisture, oxygen, heat/light, and pests.
Set up an ideal storage space for long-term storage
Choose a steady, cool corner in your home and you cut spoilage risk dramatically. A good zone keeps temperature and humidity stable and blocks light. That simple control extends shelf life and reduces waste.

Target temperature and why cooler is better
Keep rooms between 50–70°F. Cooler slows chemical changes; every +18°F can roughly halve shelf life. Lower temps mean your food and pantry products stay fresher for months or years.
Humidity goals and when to use AC or a dehumidifier
Aim for humidity at or under 15% when practical. In humid climates use air conditioning, a dehumidifier, or moisture-impervious packaging to protect items. Less moisture means fewer clumps and less mold risk.
Light, placement, and ventilation
- Avoid direct sunlight: light speeds oxidation and quality loss—choose closed cabinets or cover windows.
- Placement rules: keep products at least 6 inches off the floor and 18 inches from exterior walls to cut condensation and ease cleaning.
- Ventilation and clearances: keep the zone away from water heaters, uninsulated pipes, or condensing units so temperature stays steady.
Match the space to your cooking habits. If you make many meals at home you’ll need more shelf space; if you cook less, a single interior closet or cabinet may suffice.
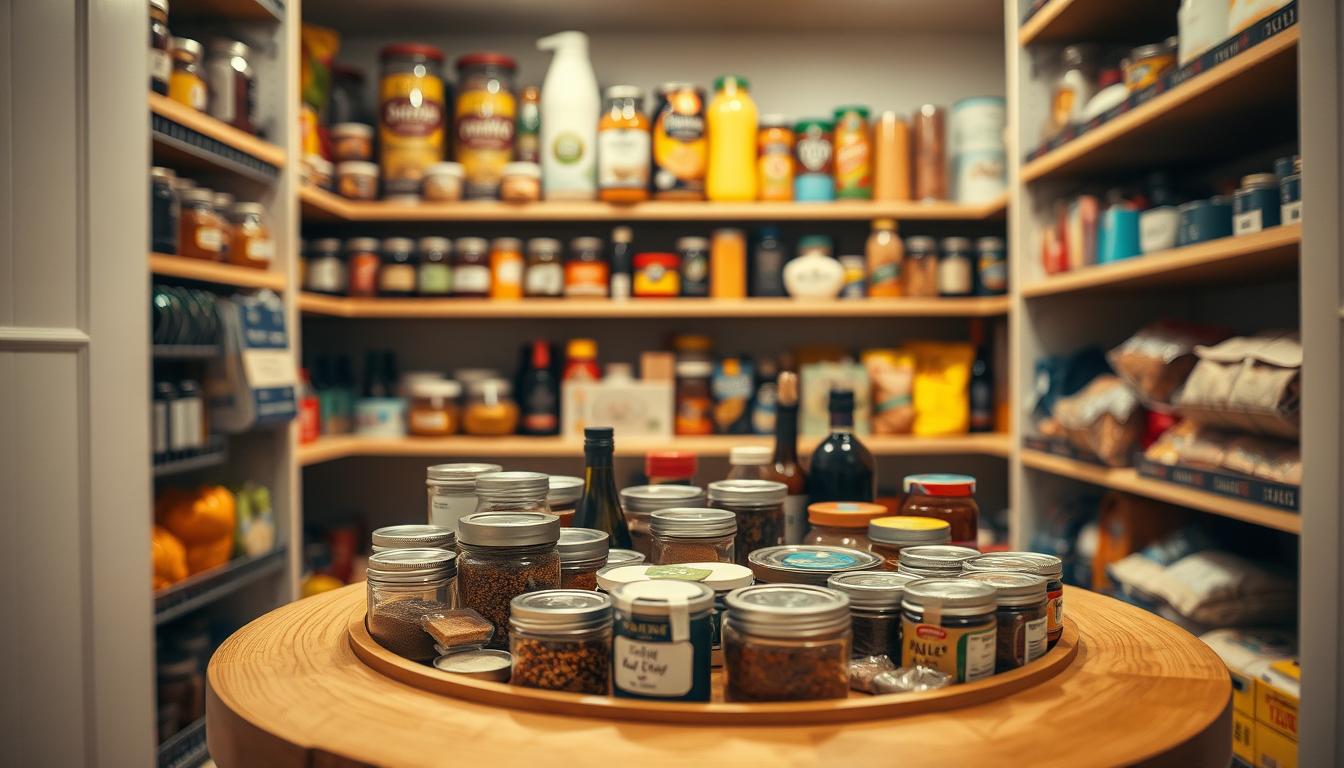
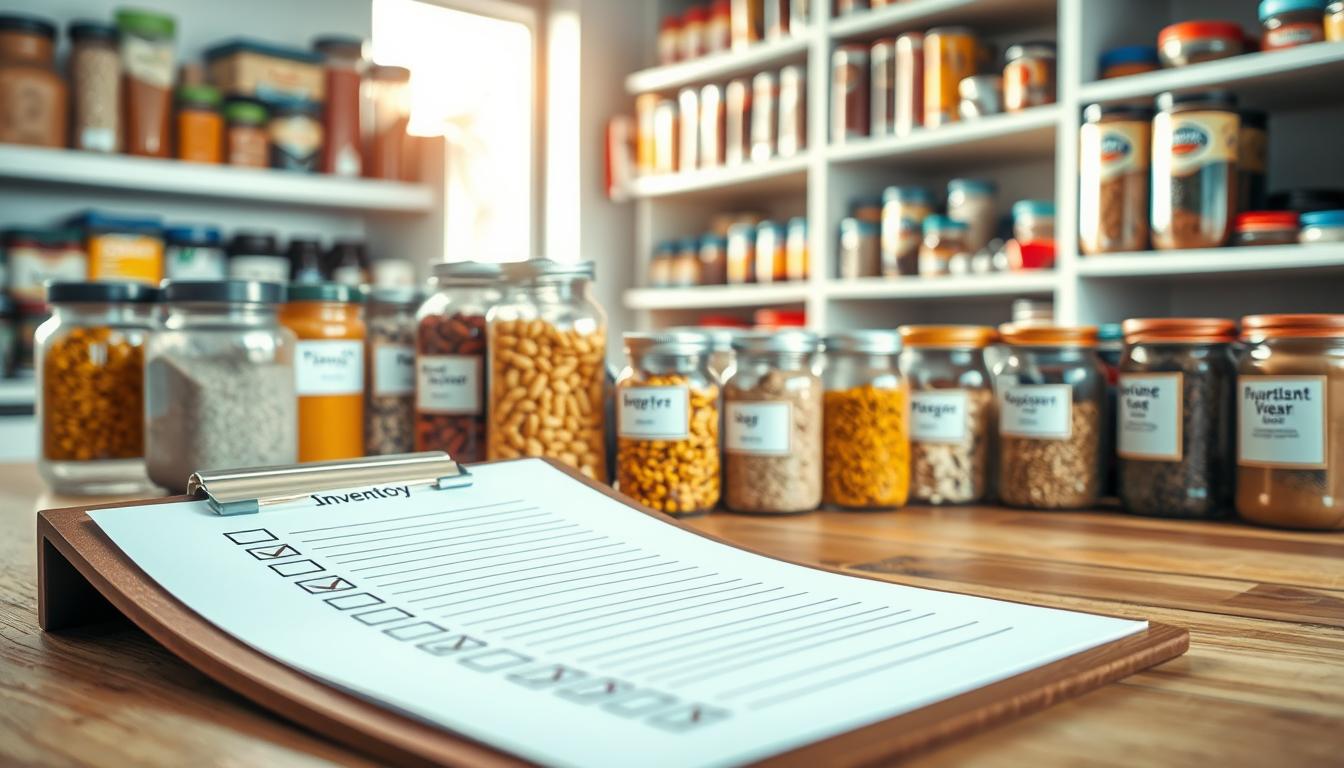
Storing dry goods with the right containers and packaging
Pick containers that match what you store—powders, crystals, and kernels all behave differently.
When to keep original packaging vs transfer
If the original bag is intact and you’ll use it within a few days, leaving it closed can be fine. For longer storage, transfer to sealed containers to block pests and humidity.
Glass jars vs plastic containers vs freezer bags
Glass jars give visibility and resist odors, but they can break and are heavy. Plastic containers are lightweight and stackable; pick models with tight lids. Freezer bags work for short use and small batches.
Vacuum packaging and portioning
Vacuum is a good option for short-to-medium storage because it removes most air. It’s less handy when you scoop daily.
- Portion by recipe size: pack amounts you will use at once to reduce repeated air exposure.
- Use clean, totally dry scoops and wipe rims; make sure lids seat firmly.
- Match container size to the product: powders like flour need wider openings; kernels stack well in taller containers.
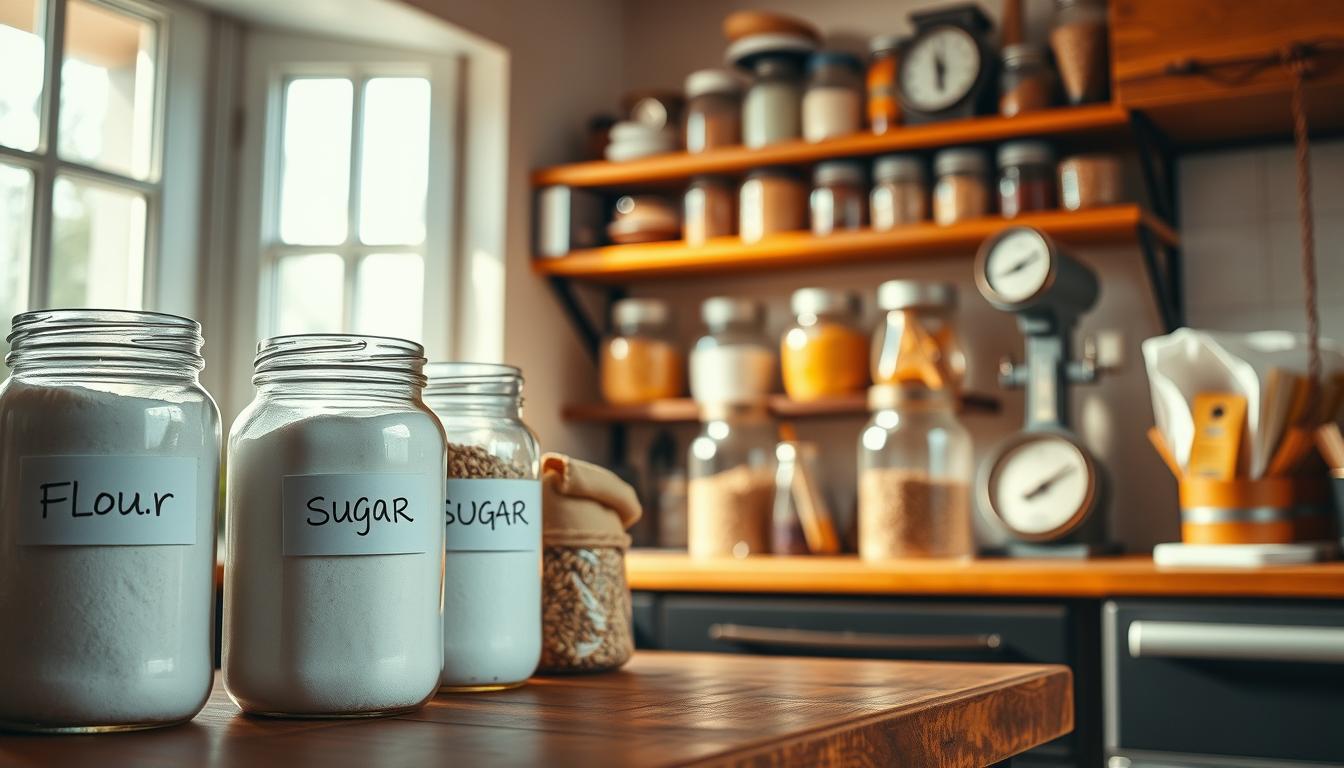
How to store flour for maximum shelf life and better baking results
Flour keeps best when you match the container to how often you bake and how much you buy. Use an airtight option that fits your routine so you open only what you need.
Choosing airtight containers (jars, bins, or buckets)
Countertop jar: a glass or plastic jar works for daily use. It gives easy access and quick checks for clumps.
Pantry bin: pick a wide-mouth bin for weekly baking. It balances convenience and protection from insects.
Large buckets: use food-grade buckets for bulk purchases. Seal with lids and consider Mylar liners for multi-year storage.
Preventing moisture clumps and off-odors
Keep flour away from steam sources like dishwashers or kettles. Never scoop with a wet cup and avoid hot spots near ovens.
- Clean containers before refilling to avoid odor transfer, especially from strong-smelling foods.
- Glass helps you spot early moisture; if you see dampness and no mold, use immediately or redry and repackage.
- Discard any moldy product—don’t try to salvage it.
Open-bag routine: transfer a recipe-size portion to a small jar and keep the main bag sealed. That reduces oxygen and keeps the rest fresher.
Better storage equals better baking: consistent hydration, fewer lumps, and no mystery flavors—so the extra care pays off at the oven door.
How to store sugar so it stays dry, scoopable, and pest-free
Sugar behaves well when you control air and humidity—simple habits keep it scoopable for months. Use airtight jars or bins so the product never reabsorbs moisture and forms hard lumps.
Moisture management: stopping hardening without adding water
Why it hardens: sugar draws water from the air, then clumps. Avoid “fixes” that add liquid; they create fermentation and spoilage.
Instead, keep sugar in tight-seal containers and transfer recipe-sized portions to a small jar for daily use.
Separate look-alikes to avoid mix-ups
Store salt and sugar in different zones and label each container clearly. When you decant bulk products into matching jars, add permanent labels to prevent accidental swaps.
- Choose containers: wide-mouth canisters for granulated sugar, airtight tins for brown sugar, and shaker jars for powdered sugar.
- Use a dedicated, dry scoop and close lids immediately after measuring.
- Inspect for torn bags, clean rims, and isolate any suspect package to stop insect spread to nearby foods and products.
Place sugar in a cool, dark spot away from exterior walls and heat sources. Good sugar storage protects the rest of your pantry by reducing pest and moisture risk.
How to store grains and rice for months to years
How you handle a big sack of grain at home decides if it lasts months or years. Follow simple steps on arrival to protect flavor, texture, and nutrition.
Best practices for rice, oats, and whole grains in bulk bags
Inspect the bulk bag at purchase for holes or pests. Avoid keeping food in paper long-term; transfer to sealed containers the same day.
Know the categories: white rice stores longest, brown rice spoils faster because of oils. Rolled oats and steel-cut oats differ too—steel-cut keeps longer than milled oats. Whole wheat berries last longer than milled flour.
Monitoring for moisture: why glass jars make it easy to spot problems
Use glass jars or clear containers so you can see condensation early. Spotting moisture lets you redry or use the batch before it spoils.
If you find dampness but no mold, cook or bake the grain immediately or dry it in a low oven and repack.
How temperature shifts shorten storage time
Temperature swings—like a hot garage or an exterior-wall closet—create condensation and speed rancidity. Keep grain storage in a steady, cool room to extend shelf life.
- Minimize headspace and reseal quickly to limit oxygen exposure for higher-fat kernels.
- Do a quick check every few months: look, smell, and feel for normal texture and aroma.
- When containers alone aren’t enough, move to barrier packaging for true multi-year storage.
Repackaging bulk goods for multi-year freshness with Mylar, oxygen absorbers, and buckets
If you plan multi-year reserves, the right combo of buckets, Mylar bags, and oxygen absorbers makes a big difference.
When multi-year storage makes sense
Buy in bulk from warehouse clubs or when you get 25–50 lb sacks. Paper bags fail over time, so repack for long-term storage and emergency pantry goals.
Why 5-gallon buckets work
Five-gallon plastic buckets act as a physical shield against water, sunlight, and pests. They are sturdy, stackable, and easy to move.
Use a waterproof lid for extra protection; a gamma-seal lid is convenient for frequent access.
Mylar, absorbers, and sealing
Mylar is a metalized polyester barrier that blocks gases and moisture far better than household plastic. Line the bucket with a 5–6 gallon bag, pour in contents, and settle the product to leave about 2 inches of headspace.
Add a 2000cc oxygen absorber per bucket. Open absorber packs only when ready; store extras in an airtight Mason jar.
Step-by-step sealing and storage
- Line bucket with Mylar bag.
- Fill, tamp, leave headspace, add absorber.
- Heat-seal the bag with a household iron (cotton setting) over a board; leave a small gap to squeeze air out, then finish the seal.
- Close the bucket (seat with a rubber mallet), label date and quantity, and store in a cool, dry room out of sunlight.
Insect control and what changes after opening
Oxygen reduction helps kill active pests, but eggs can survive. As extra steps, freeze unpacked sacks or buckets for 3 days, or mix food‑grade diatomaceous earth at 2 tsp per pound before sealing.
Once opened, you usually don’t need new absorbers if you’ll use the contents in several months. Keep the container sealed, dry, and pest-free.
Conclusion
A simple routine protects staples and cuts waste, so your pantry works for daily meals and long-term needs.
Control the big five: temperature, moisture, air (oxygen), light, and pests. Do this by picking a cool room, using airtight containers and jars, and limiting how often you open packages.
Make a three-step plan: improve the storage room first, upgrade everyday jars and bins, then move bulk items to buckets or sealed bags for multi-year protection. Label everything and rotate by date so older items get used in regular meals.
If you spot condensation, clumping, insects, or off-odors, act fast—use, redry and repackage, or discard moldy items. Small, consistent habits save money, reduce waste, and keep foods like rice, grains, sugar, and flour reliable in your home.