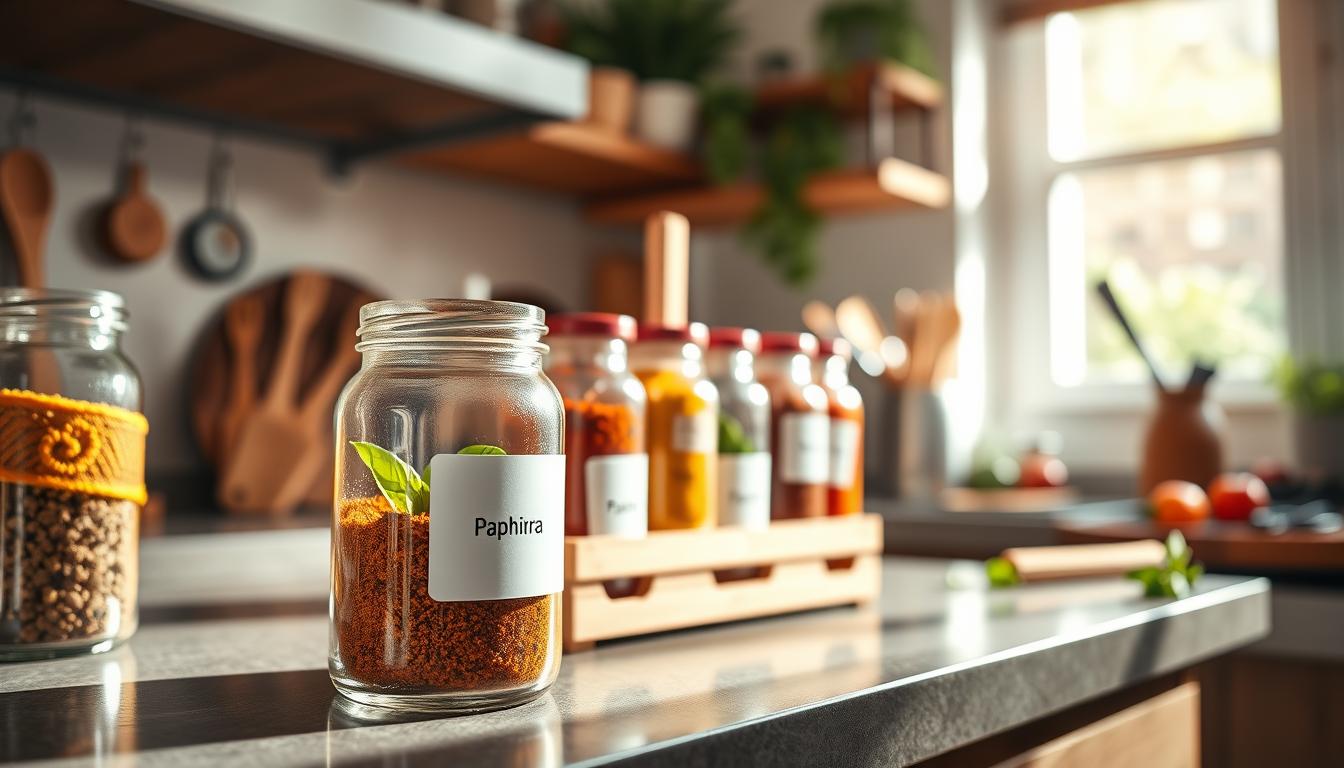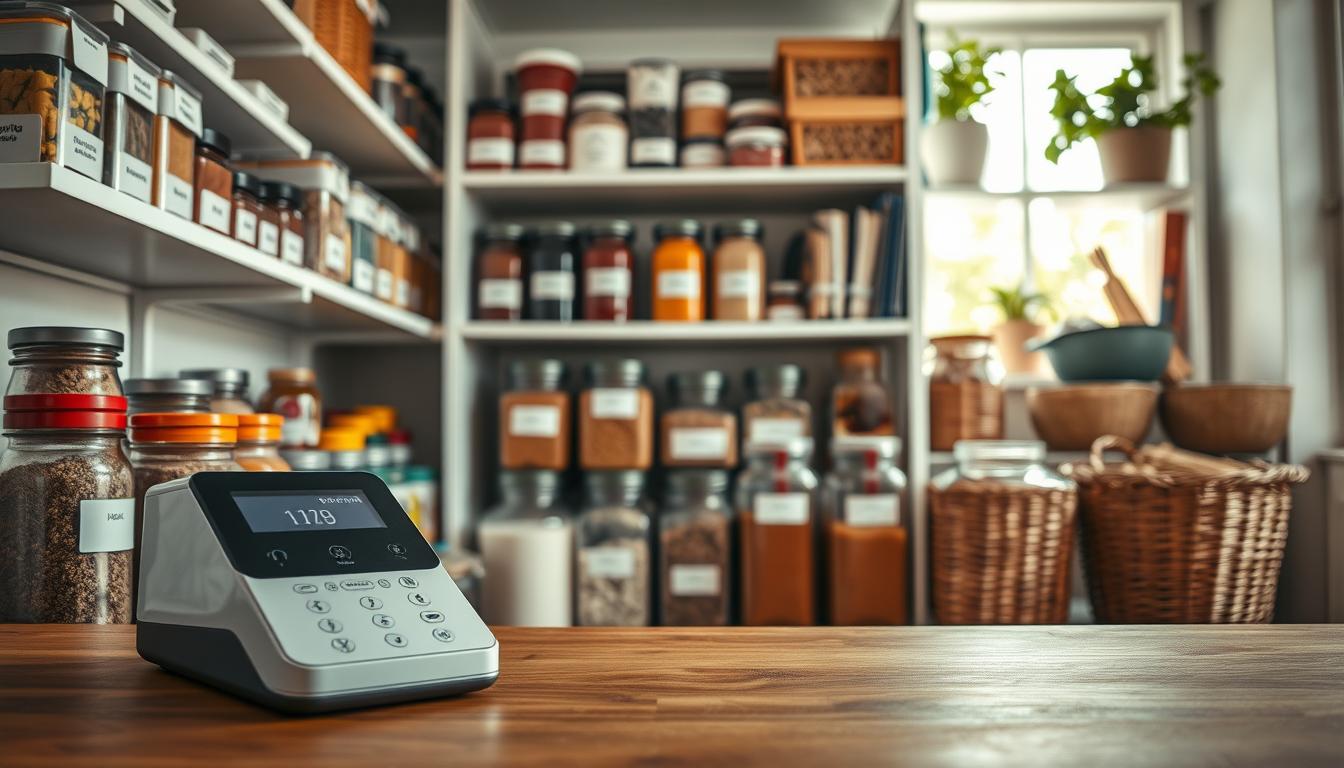
Professional-quality pantry organization looks like tidy rows of jars and canisters with clear, matching stickers you can read at a glance. In a typical U.S. kitchen, that clarity helps you find ingredients fast and cut food waste.
You’ll choose a device based on your workflow. If you like quick handheld tags, a compact printer wins. If you batch-print on a desk, a robust desktop is better. App-connected units give smartphone templates and QR options for a modern, polished look.
Below, I preview five top picks and who should use each one: an all-around winner, a solid handheld value, a portable smartphone-friendly unit, a wide-format feature-rich option, and a desktop built for big projects.
This guide is based on real-use tests of setup, editing, durability on jars and bins, and value. Expect practical buying factors ahead—tape types, width, power source, and app vs no-app—so you know what matters before you buy.
Why a Label Maker Is the Secret to a Pantry That Stays Organized
When every jar reads the same way, decisions in the kitchen get faster and calmer. Clear, consistent labels shave minutes off meal prep and stop you from opening multiple containers to find one ingredient.
Save time and cut decision fatigue: With readable tags like “Basmati Rice” or “Brown Sugar,” you grab the right item instantly. That small win stacks across weekly cooking and reduces wasted time.
Faster restocking: Labels make low-stock obvious. You see what you need at a glance and avoid buying duplicates. This keeps your home shopping trips shorter and smarter.

Meal-prep and rotation: Consistent labeling helps you rotate staples and use older items first. Reprinting matching tags is easier than handwritten scraps, so the system lasts.
What professional-quality labels look like
Professional-quality means consistent font size, aligned placement, high contrast, and a repeatable format across jars and bins. Durability matters too—labels should resist wiping and brief water exposure without peeling.
- Style guide: Pick Title Case or ALL CAPS, decide whether to include dates, and choose simple icons.
- Durability tips: Use waterproof tape, clean surfaces before applying, and reprint identical tags when needed.
- Daily use: A compact device makes reprinting quick, so you keep a tidy system without extra effort.
How These Label Makers Were Evaluated for Real Home Use
We tested each device the way you would in a busy kitchen: quick setup, a few prints, and real-world wear. The goal was to show which options give the most reliable performance and value in everyday use.

Setup and Bluetooth pairing
Easy setup meant inserting the tape, feeding it correctly, and powering on without the manual. For Bluetooth models, we timed pairing, checked connection stability, and measured how fast printing starts from your phone.
Editing, fonts, and clean tearing
We judged menus, font choices, borders, and the cutter. You need an intuitive editor, quick access to templates, and a cutter that gives a clean tear mid-session.
Functionality and templates
We verified available fonts, frames, symbols, memory for reprints, and size options. That shows whether a model can handle diverse projects and save you time.
Durability and value
Labels were applied to glass, plastic, metal, and textured surfaces, then exposed to soapy water to check fading and peeling. Finally, we weighed performance against price to help you decide when an upgrade is worth it.
- Clear evaluation framework so you can compare similar models online
- Practical tests that mirror real kitchen use
- Value guidance tied to how you plan to use the device
Best label maker for pantry: What to Look for Before You Buy
Think about whether you need quick one-off tags or large batch runs when choosing a unit. Your workflow drives the right features and avoids wasted expense.
Handheld vs desktop workflows
Handheld models suit spot labeling and fast refills. They are light and often battery powered.
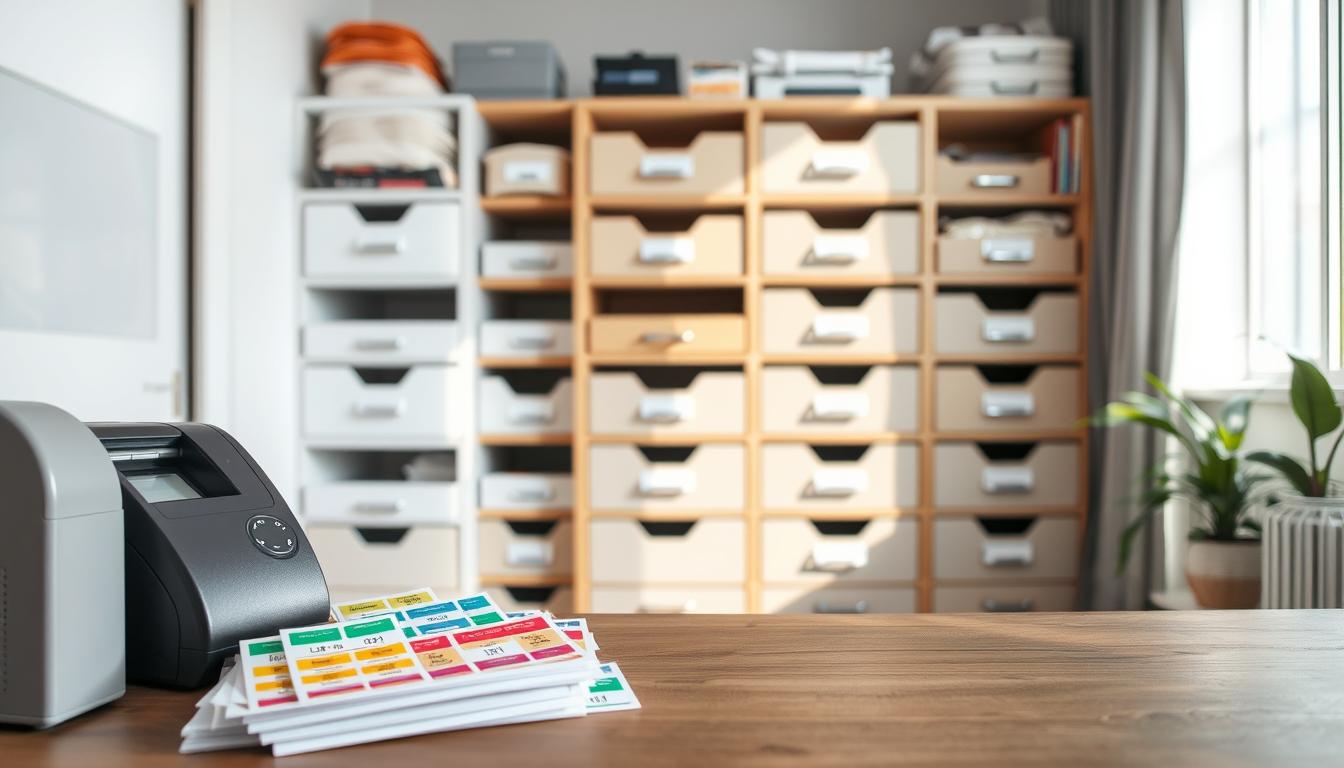
Desktop models shine when you batch-print. Use them at a counter to create matching sets with wider sizes and more templates.
Keyboard styles and screen previews
QWERTY keyboards speed long entries and mimic a laptop. Alphabetic layouts can cut cost but slow typing.
Choose larger screens if you need an on-device print preview. Good readability matters when you stand at shelves under kitchen light.
Sizes, tape, and design options
Plan label widths so jars and canisters get readable text. Measure narrow spice jars and wide canisters before you buy.
Pick waterproof tape for rinsed jars and water-resistant tape for dry goods. Check adhesive on glass versus plastic.
Use consistent fonts, borders, icons, frames, and templates to keep a uniform look. Models like the Brother P-Touch offer many symbols and frames to match your style.
- Quick checklist: workflow type, keyboard, screen size, tape material, max label size, font options.
Power and Portability: Batteries, Rechargeable Packs, and Plug-In Options
How a device gets its energy controls whether you label on the shelf or at a desk. Think about where you work and how often you stop to reprint. That will guide which power choice fits your routine.
Replaceable AAA batteries for quick, grab-and-go labeling
Replaceable AAA batteries are common in handheld units. They let you keep a spare set and swap mid-session without waiting to charge.
They are ideal when you move around the house and only print a few tags at a time.
Rechargeable packs for smartphone-connected models
Rechargeable battery packs pair well with app-based machines. You get steady performance and no frequent shopping for cells.
The tradeoff is that a drained pack pauses work until you recharge.
Adapters and desktop power for high-volume work
AC adapters give constant power and fewer interruptions during big runs. Use this option if you batch-print many matching tags at a counter.
Consider hybrid models that accept AC or batteries so you can label in place or at your workstation.
- Match power to workflow: carry-and-print vs counter batch.
- Swap AAA batteries for quick restarts, but plan spares.
- Rechargeable packs make app-driven design smooth; AC keeps large jobs steady.
App vs No-App Label Makers: Which Is Better for Pantry Labeling?
Your comfort with phone-based design often determines whether an app-connected option helps or hinders. If you like visual editing, an app on a smartphone gives a larger preview and makes layout work simpler. If you prefer quick, offline printing, a no-app unit keeps setup minimal and avoids account steps.
Why a smartphone can make design easier
On a phone you edit text, change fonts, and see a full preview before printing. This saves time when you copy and tweak repeated items like “Flour” or “Sugar.”
What to expect from app experiences
Templates and saved designs speed labeling and keep formatting consistent. Many apps include a template library and simple duplication tools, but some interfaces feel clunky or slow during edits.
Privacy and account trade-offs
Check sign-in needs. Some apps request email or phone for verification codes. Others let you skip personal data but may ask to send notifications (you can opt out).
- App advantage: clearer previews and reusable templates.
- No-app advantage: simple, offline setup with fewer steps.
- Privacy tip: review verification and notification prompts before you accept.
Top Pick Overall for Professional Pantry Labels: Brother P-Touch D220
If you want professional consistency without a phone, this desktop option delivers.
The Brother P-Touch D220 fits a tidy countertop workflow. Setup is simple and switching the tape is smooth. You get a two-line preview screen to catch typos before printing, which saves tape and time.
Customization is strong: 14 fonts, 99 frames, and over 600 symbols let you match a clean look across jars and bins. Vertical printing helps with narrow bottles and shelf-edge tags.
- Max label width: 0.50 inches
- Storage: up to 30 saved labels
- Power: AC adapter (no app required)
The supplied tapes are waterproof, so your labels stand up to rinsing and wiping. That durability boosts overall label quality and keeps your system consistent.
One real-world snag: the preview screen is harder to read when the device lies flat, so angle it while you edit. Choose this label maker if you want many design options and durable labels without relying on a phone app.
Best Value Handheld Label Maker: Brother P-Touch H103W
A dependable, low-cost unit can cut setup time and deliver steady results on everyday jars. The Brother P-Touch H103W is the value pick when you want dependable labels without paying extra for app features.
Why it’s a strong budget choice for everyday home organization
Compact and comfortable: This Brother device fits in one hand and feels light during quick runs. Setup is simple — insert the cassette and you’re ready to print.
AAA batteries and lightweight handling for quick pantry projects
The unit runs on six AAA batteries (sold separately), so you can label shelves and bins without an outlet. That battery power gives true portability and keeps you working where your jars live.
Tradeoff to know: manual toggling between uppercase and lowercase
The main tradeoff is typing: switching cases requires a manual toggle, which slows long entries. Menu navigation also takes practice, though the preview-before-print flow helps you avoid wasted tape.
- Key specs: max label width 12mm; stores up to 9 labels; no app required.
- Design tools: borders, pictographs, and multiple languages (EN/FR/ES/PT) keep your system consistent.
- Durability: printed labels are water-resistant and handle typical wiping and kitchen spills.
At its price, this Brother P-Touch offers solid value. If you want steady performance, simple controls, and battery-powered convenience, it’s a practical choice that helps keep your home organization tidy without a big investment.
Best Portable Smartphone Label Maker: Nelko Bluetooth Label Maker Machine
If you design on your phone and print while standing at shelves, a pocketable printer changes how fast you finish a project.
Ultra-slim portability: The Nelko has an ultra-slim body and wrist strap so you can tuck it in a drawer or carry it room to room. Its compact size makes on-the-spot printing simple and keeps your setup light.
App-driven features that matter
The companion app gives you 90+ fonts, borders, QR codes, icons, images, and barcodes. It supports 14 languages and stores designs in the device’s 8 MB memory.
Printing tech and setup
This machine uses ink-free thermal-style printing, so you skip cartridges and lower ongoing costs. Setup is straightforward: insert the small paper roll, power on, pair with your phone, and print within seconds.
Sizes, limits, and real-world tradeoffs
- Available sizes include 15x30mm, 12x40mm, 14x40mm, 14x50mm, and 14x75mm—pick the size that fits spice jars and wide canisters.
- Convenience note: Rechargeable power keeps the unit ready, but it has no color printing.
- Usability tip: The app can feel clunky at times, though it delivers the layout and font options you need.
Recommend this device if you want to design on a phone and print fast at the shelf. Its portability, font variety, and ink-free printing are the core options that set it apart.
Best Feature-Rich Option: NIIMBOT B1 Label Maker for Wider, More Custom Labels
If you want wider, design-forward tags that read like mini signs, the NIIMBOT B1 gives room to craft clearer layouts. Its 50 mm (2 inch) tape size lets you add longer names, a secondary line like “Use By,” or an icon without crowding the text.
Templates and elements for polished style
The companion app includes many pre-made templates and 13 element types, so you build consistent sets fast. Use saved templates to keep a uniform style across jars, bins, and boxed goods.
Color printing and ink-free convenience
The B1 prints in color while remaining ink-free. That makes at-a-glance sorting simple—use color to separate baking, snacks, and grains without extra supplies.
Price, subscription, and who should upgrade
Core features work out of the box, but a subscription ($4.99/month or $35/year) unlocks all elements and advanced templates. If you label often or need product-quality designs, the upgrade adds clear value. If you only print a few tags a month, the base setup may be enough.
- Best use: households or small products projects that need polished, reusable designs.
- Power: rechargeable battery and app-driven workflow.
- Size advantage: wider tape gives space for hierarchy and cleaner text layout.
Best for Larger Desktop Projects: Brother P-Touch Business Professional Connected Label Maker
For large projects with dozens of matching tags, a desktop unit offers the speed and comfort you need.
When a desktop printer makes sense
If you plan a full pantry overhaul, pick a desktop device that handles long runs without slowing down. The Brother P-Touch Business Professional Connected label maker gives you faster typing, fewer interruptions, and tidy, consistent results when you print many items at once.
Connectivity and workflow
Bluetooth plus PC/Mac compatibility means you can design on a computer or phone. The color screen and full QWERTY keyboard speed edits and reduce wasted tape during batch printing.
Power flexibility and protection
You can use the AC adapter for steady sessions or install four C batteries to move the device around. That power flexibility helps when you switch between counter work and shelf checks.
- Key specs: max label width 1 inch; stores up to 99 labels; app available.
- Price note: higher upfront cost (~$100+), but strong long-term value if you print often.
- Protection tip: no hard-shell case included; buying one separately helps protect this investment.
Alternative Picks Worth Considering for Pantry Labeling and Beyond
If your top five don’t match your workflow or budget, these runner-up options add useful features and fresh choices.
Phomemo D30
Fast app-driven printing: The Phomemo D30 can produce a tag in under ten seconds and supports pictures, barcodes, and date/time stamps. That makes rotation and freshness tracking simple.
It ships with a charged lithium battery and easy-tear labels. Note: the app may ask for an email or phone verification during setup, and larger tape sizes are limited.
Brother P-Touch Cube Plus
Convenience-first features: Hands-free cutting and label ejection speed long sessions. The Cube Plus accepts wider tape up to 24 mm and stores up to 30 labels for quick reprints.
It’s heavier but durable, rechargeable, and works with Windows/macOS via a friendly app with troubleshooting prompts.
Cricut Joy
Craft-level customization: Vinyl cuts and advanced templates give very durable, stylish tags that help you stick with an organization system.
Expect a steeper learning curve, account sign-in, and optional subscription costs for the full image and font library. Materials are sold separately and raise the total spend.
- Why consider these: they expand tape and size options, add barcode or vinyl durability, and match different workflows.
- Tradeoffs: app sign-ins, subscriptions, or a small time investment to learn craft tools.
Conclusion
Think about where you stop most in the kitchen—at the counter, by the jars, or on your phone—and pick a label maker that lives there.
Use the quick handheld for spot touch-ups, a desktop for full overhauls, and an app-connected device if you want style-forward templates and color. Match tape width to jar height, and pick materials that survive rinsing.
Prioritize three things: durable labels, easy editing and preview, and the right widths for clear text. Paying more often buys wider prints, faster batch printing, and better screens, but budget models still deliver clean results.
Final step: set simple style rules, measure your containers, then choose the device you will actually keep using to maintain order at home.