Start by dividing your storage into areas that match how you live and cook. Pick spots for weeknight dinners, portable lunches, and baking essentials so the items you use most stay within easy reach.
This approach stops hidden food and duplicate buys because you arrange items by how you actually prepare meals. You’ll see faster meal prep, simpler grocery planning, and fewer expired products.
In short, prep and purge first, add a few clear containers and bins, then assign each area by daily routines in your kitchen. Use labels and see-through storage to scan your shelves at a glance and know what to add to your list.
Why pantry zones make your kitchen faster and less stressful</h2>
Organizing your shelves by function saves minutes each week and cuts daily stress. Grouping like items together creates a clear, practical layout you can use every day. This method helps you spend less time searching and more time cooking.

How zoning improves visibility, meal prep, and grocery planning
Clear groupings boost visibility. When staples and snacks live in marked areas, you immediately spot low or duplicate items. That means fewer wasted purchases and faster grocery lists.
- Define each area so you spend less time rummaging and more time on meal prep.
- Scan a section to build a shopping list quickly and avoid expired food.
- Keep weeknight ingredients together to speed up cooking and reduce stress.
- Put grab-and-go items at kid-friendly height to simplify busy mornings at home.
What “easy reach” means for the items you use every day
Easy reach is your prime shelf space—about between shoulders and hips. Place daily items there for the fastest access.
This placement reduces clutter because you won’t hide regular items behind rarely used boxes. It’s a repeatable way to keep order in a busy home and keep your routines running smoothly.
Prep your space before you create zones</h2>
Clear the shelves fully so you can see exactly how much usable space you have. This reset helps you stop rearranging around old clutter and makes the next steps simple.

Empty everything, toss expired food, and give shelves a quick clean
Remove all items from the shelf so you can assess the room and true inventory. Check expiration dates and toss expired or stale food and anything you won’t realistically use.
Wipe surfaces with a mild cleaner, dry thoroughly, and sweep crumbs to reduce pests. A clean shelf protects storage containers and makes items easier to spot.
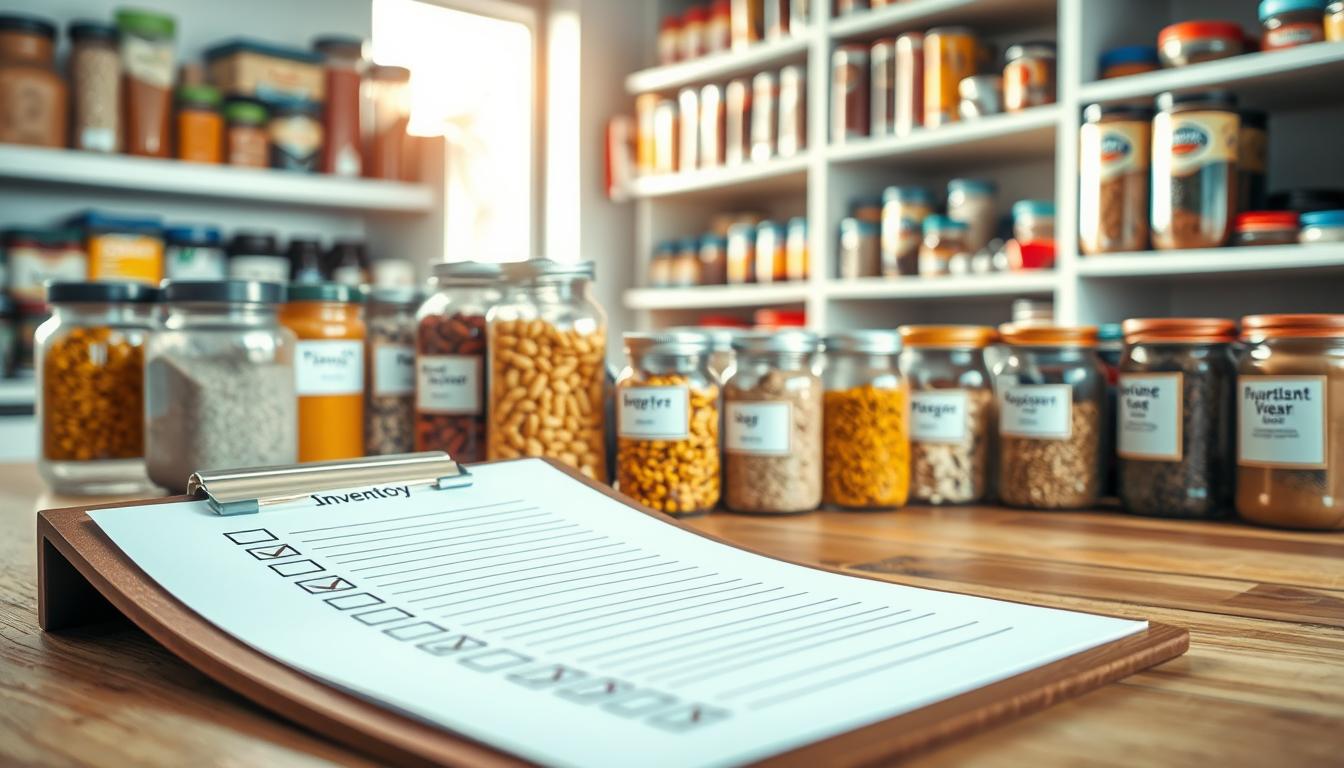
Sort what’s left into broad categories so you know what you have
Group supplies on the counter into categories like canned goods, grains, baking, snacks, sauces, breakfast, and spices. Seeing piles of similar items reveals duplicates and half-used bags.
- Step-by-step reset: empty shelves, sort, clean, and then plan placement.
- Why sorting matters: grouping lets you keep items you actually use and prevents buying extras.
- Start broad: use a few simple categories to keep the process fast and clear.
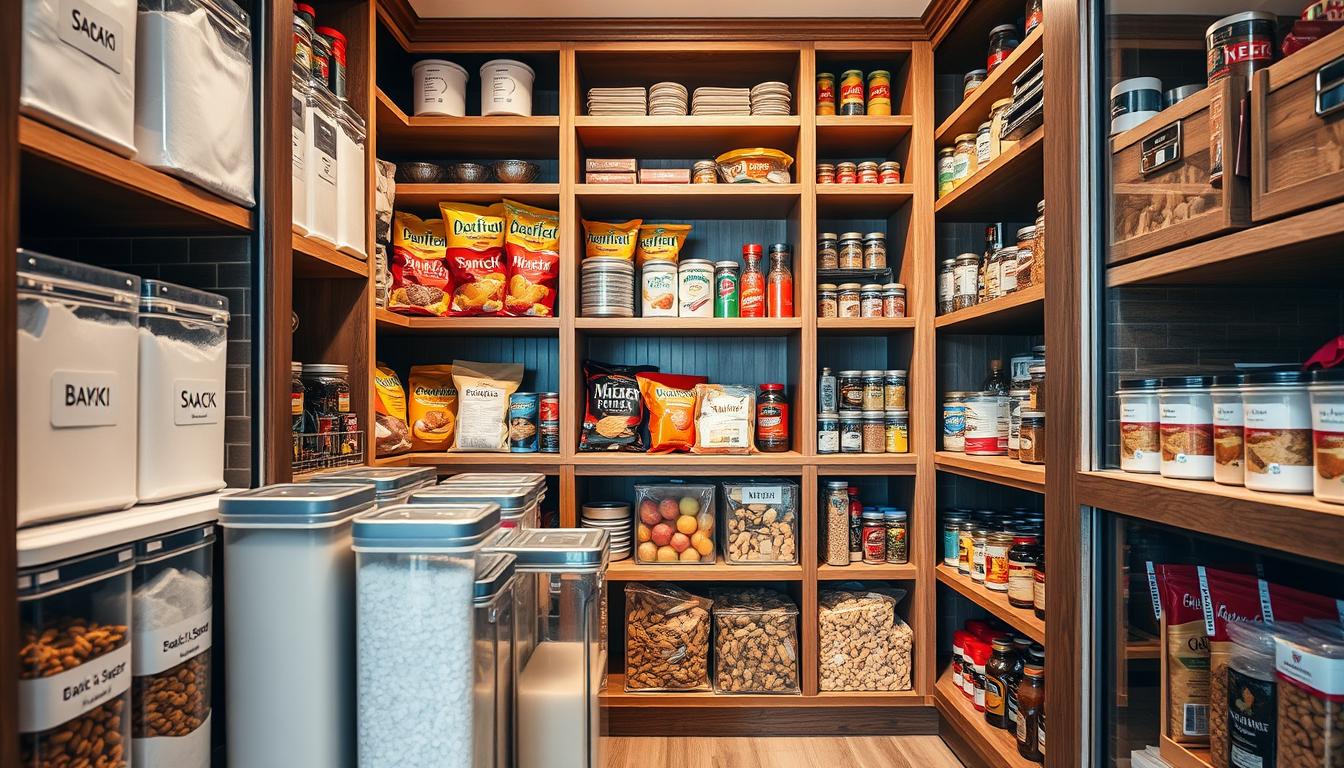
Pantry storage tools that make zones work on real shelves</h2>
Clear airtight containers keep dry goods and baking ingredients fresh, stop torn bags from leaking, and make low inventory easy to spot. Label each container with expiration or purchase dates so you use older items first and cut waste.
Baskets, bins, and bag-friendly solutions
Use inexpensive rectangular plastic baskets and woven bins for awkward packages like chips, boxed mixes, and sauce packets. Pull a bin out like a drawer to grab what you need without digging.
Gain shelf space with vertical upgrades
Shelf risers, under-shelf baskets, and stackable organizers create front-row/back-row visibility. They let shorter bottles and jars sit in front while taller things stay behind, so nothing gets lost.
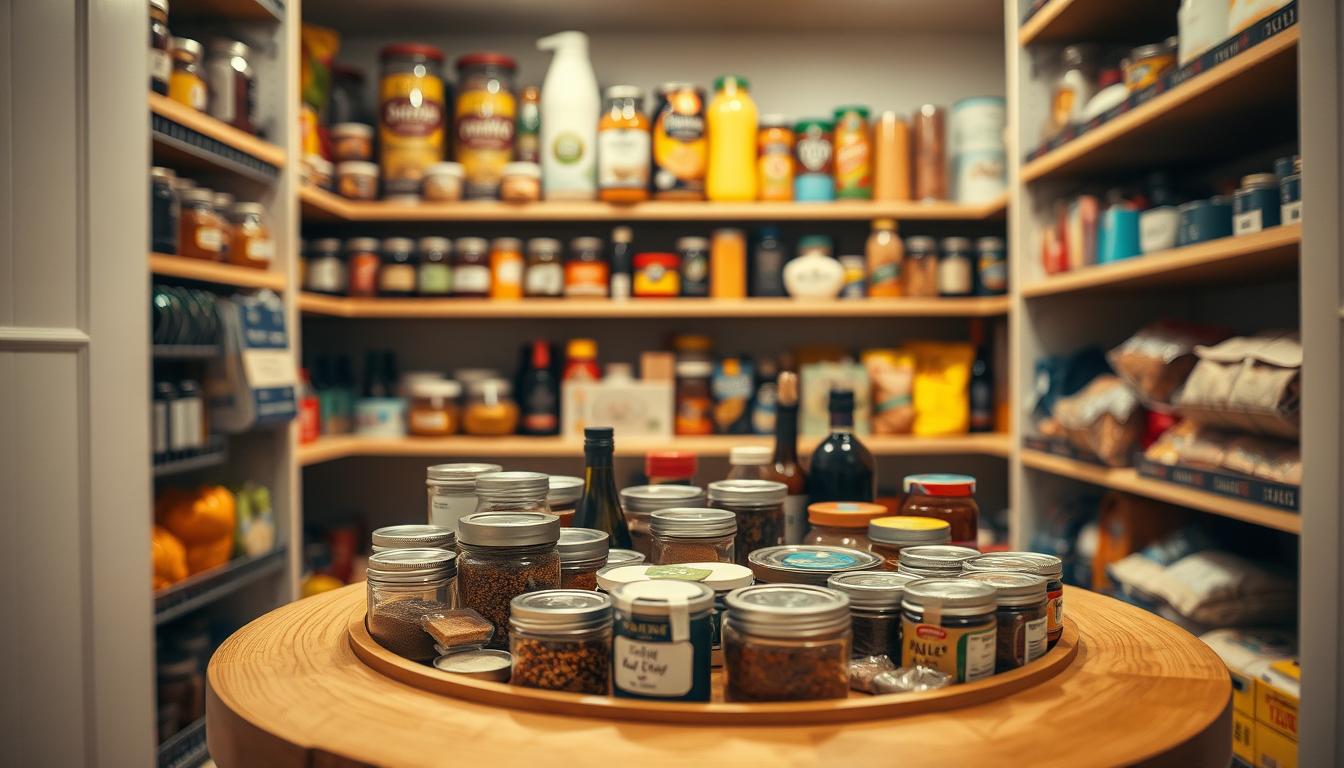
Turntables and quick access
Lazy Susans or small turntables are ideal for nut butters, honey, spices, and small jars. Spin to reach products fast and avoid knocking over nearby items.
- Labeling tip: use a label maker or painter’s tape + Sharpie to note contents and dates for fast updates.
- Oils: store oils in a cool, dark area away from heat and light to slow rancidity and protect flavor.
Pantry zones system setup: map your shelves by how you cook</h2>
Treat your shelves like a kitchen workflow: daily needs near hand, occasional items higher up. This makes meal prep faster and keeps clutter from creeping back in.
Choose zone real estate by frequency
Put weekday staples on prime shelves at eye level for easy access. Store backup stock and guest supplies on top shelves where you can reach them with a step stool.
Keep heavy or bulky cases on the floor so they don’t steal prime shelf space.
Create a simple layout for small spaces
Limit yourself to a few major areas. Use clear bins to form mini-areas within each shelf so items stay grouped and visible.
Overlapping sections work fine in tight rooms when you keep things predictable and labeled.
Assign clear boundaries so items don’t drift
Give each shelf, bin, or basket a defined purpose. A guest basket on the top shelf is a great example: napkins, toothpicks, and quick appetizers live together for entertaining.
When you can pull an item in one motion and put it back the same way, your pantry stays tidy longer.
- Daily items = prime shelf.
- Occasional use = top shelf.
- Bulky goods = floor.
Create a baking zone that keeps ingredients fresh and easy to grab</h2>
Design a dedicated baking area so you can pull ingredients and start mixing in one smooth motion. Keep commonly used goods and tools together to make baking a single, efficient activity.
Group baking essentials
Define what belongs here: flour, sugars, baking powder and soda, yeast, chocolate chips, cocoa, sprinkles, and extracts. When you keep these items together, you stop hunting across shelves and save time.
Use clear airtight containers and label dates
Move dry ingredients into clear containers so you see quantities instantly and protect goods from moisture and pests. Mark expiration or transfer dates on each container to avoid stale leaveners and reduce waste.
Store mixes and decorations nearby
Keep mixes, frostings, cupcake liners, and decorations on a nearby shelf so baking stays a single activity. Group similar products together for quick access.
Maximize vertical room and maintain order
- Use shelf risers and neat stacks to use vertical room safely.
- Place heavier containers lower and lighter ones above for easy lifting.
- After baking, return items to this area so your organization stays intact.
Build a snacks zone that supports busy days and grab-and-go routines</h2>
Create a dedicated snack area so grab-and-go moments feel effortless for everyone in your home. A clear spot reduces daily friction because you (and others) know exactly where to find quick food without disrupting other places.
Use door organizers and bins for after-school and lunchbox items
Mount a door organizer to hold small packs and individual servings. Pair that with clear bins on a shelf to keep loose bags upright and contained.
Make sub-areas for sweet, salty, and healthy options
Create three labeled groups so choices are faster and less impulsive. Keep portionable snacks and bars at kid-friendly height so children can self-serve safely.
- Why this helps: you avoid rummaging and keep other meal areas undisturbed.
- Packing tip: store variety packs upright in a drawer-style container or bins to stop slumping bags from scattering.
- Crossover items: move cereal or breakfast bars into this snack place only if you reach for them as snacks; otherwise keep them with breakfast.
Set up a dinner zone for weeknights, meal prep, and pantry staples</h2>
Make one shelf your weeknight command center to cut decision time for busy evenings. Use this area for pasta, grains, sauces, broths, and the staples you reach for most during cooking.
Use meal bins and label with the recipe
After shopping, pack sturdy mesh bins with all shelf-stable ingredients for each planned meal. Label each bin with the meal name and tuck a printed recipe or note card inside so you grab and go.
Organize canned goods and improve visibility
Group canned goods by type—vegetables, beans, soups, tomatoes, fruit—and place similar items together on stair-step shelves. That layout gives quick sightlines to the back row and speeds up meal decisions.
Rotate stock with FIFO and protect shelf space
Practice FIFO: put new products behind older ones and pull older items forward. This simple step cuts waste and keeps food moving.
Store oils, bulky items, and preserve prime shelf space
Store oils and vinegars in a cool, dark place away from heat and light to protect flavor. Keep cases and large containers on the floor so your best shelf space stays free for items you need immediate access to during cooking.
- Define the dinner area: a single place for weeknight prep and grab-ready items.
- Meal bins: labeled and recipe-ready for fast night-time cooking.
- Canned goods: grouped, stepped, and rotated for easy use.
Conclusion</h2>
Wrap up your setup by creating simple habits that keep items in their place and cut clutter fast.
Recap the process: you cleaned shelves, grouped categories, picked storage tools, and mapped areas by frequency. This organize pantry approach saves you time in the kitchen because you can see food at a glance and plan meals faster.
Keep it working with a quick monthly scan for expired products, rotate stock (FIFO), and return items after use. When you unload groceries, group like things, refill containers, and push newer products to the back.
Small pantries hold up when you protect space with bins, tidy drawers, and keep spices dated and visible. Choose one zone—baking or dinner—to set up today, then add the next after a week of living with the process.