You live in a compact home and you want calm, usable storage. This introduction shows clear steps to make that happen. Small pantry solutions focus on real changes you can keep up with.
Start by defining your space, measuring shelves, and emptying the cabinet. Next, declutter and clean. Then rebuild with zones for snacks, baking, and staples. In the kitchen, visibility is key.
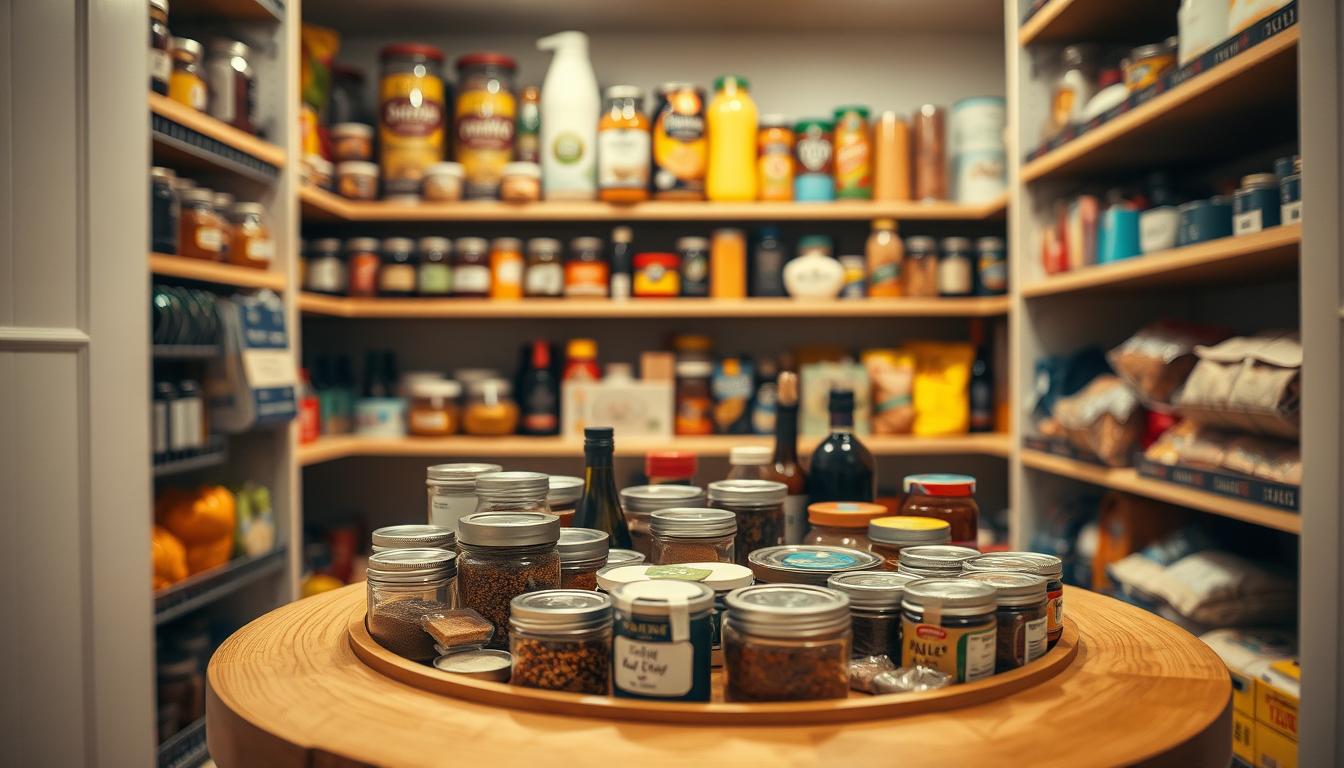
Use clear bins, lazy Susans, risers, and vertical holders so you can see items at a glance. Good pantry organization saves time at meal prep and cuts duplicate buys. It also helps reduce waste.
This guide fits apartment kitchens, older homes with few cabinets, and any closet-style shelf. You’ll get practical ideas and actionable tips on bins, containers, turntables, and risers. The goal is a maintainable system that makes putting things back easy on busy days.
Why tiny pantries get messy and cost you time, money, and space
A crowded shelf steals time every morning and silently wastes your groceries.
When you can’t see what’s on the shelf, a few extra cans or boxes block sightlines and hide what you already own. That quick cover-up turns into duplicates, forgotten items, and expired food at the back.

The real cost is practical. You spend more money rebuying staples, and you throw away food that went unnoticed. Limited space magnifies the issue: there’s no room for backstock, so one duplicate causes overflow fast.
A place for everything isn’t a styling tip here — it’s a rule. Assign fixed spots for snacks, baking goods, and canned items so you stop scattering things across cabinets.
- Clutter blocks visibility and hides items.
- Hidden goods lead to overbuying and waste.
- Disorder adds minutes to grocery unpacking and meal prep.
Think of pantry organization as a visibility system, not just neatness. Before you buy containers, decide what belongs in your cabinet so you stop spreading food across the kitchen.
Decide what “pantry” means in your kitchen cabinet setup
Deciding where food lives in your kitchen stops the daily scavenger hunt. Pick one cabinet, a cabinet bank, or a small closet as your dedicated food home base and commit to it.

Keep food in one place so you stop forgetting items across cabinets and closets
When food stays in one spot, you reduce duplicates, avoid expired goods, and make meal prep faster. Scattering items leads to hidden potatoes, extra purchases, and messy counters.
Choose what belongs here: snacks, dry goods, baking, canned foods, drinks
Use simple zones that match your habits. If you rarely bake, give baking a small shelf. If kids grab snacks often, give snacks priority at eye level.
- Pick a single pantry home base (cabinet, cabinet bank, or closet).
- Keep daily spices near the stove, not in the food zone.
- Common categories: snacks, dry goods, baking, canned foods, drinks.
- Right-size each category to your routine and household needs.
- Measure and plan next—what you keep determines the organizers you need.
Plan before you buy bins
Start with a tape measure and a quick sketch before you buy containers. Measuring first stops awkward returns and wasted money. A clear plan also makes your system easier to maintain.
Measure every dimension
Measure shelf width, shelf depth, and usable vertical height so organizers fit your cabinet—not the other way around. Note door clearance; bins that stick out can block the door or cause spills.
Account for wire shelving
Wire shelves let small items tip or fall through. Plan to use liners or solid-bottom bins to stabilize jars and packets.
Match layout to your routine
Sketch the cabinet and assign rough zones before shopping. Think where you unload grocery bags, how you prep meals, and what kids grab for snacks.
- Plan prime real estate at eye level for everyday items.
- Choose container sizes that fit what you actually store.
- Avoid buying matching sets unless the sizes match your needs.
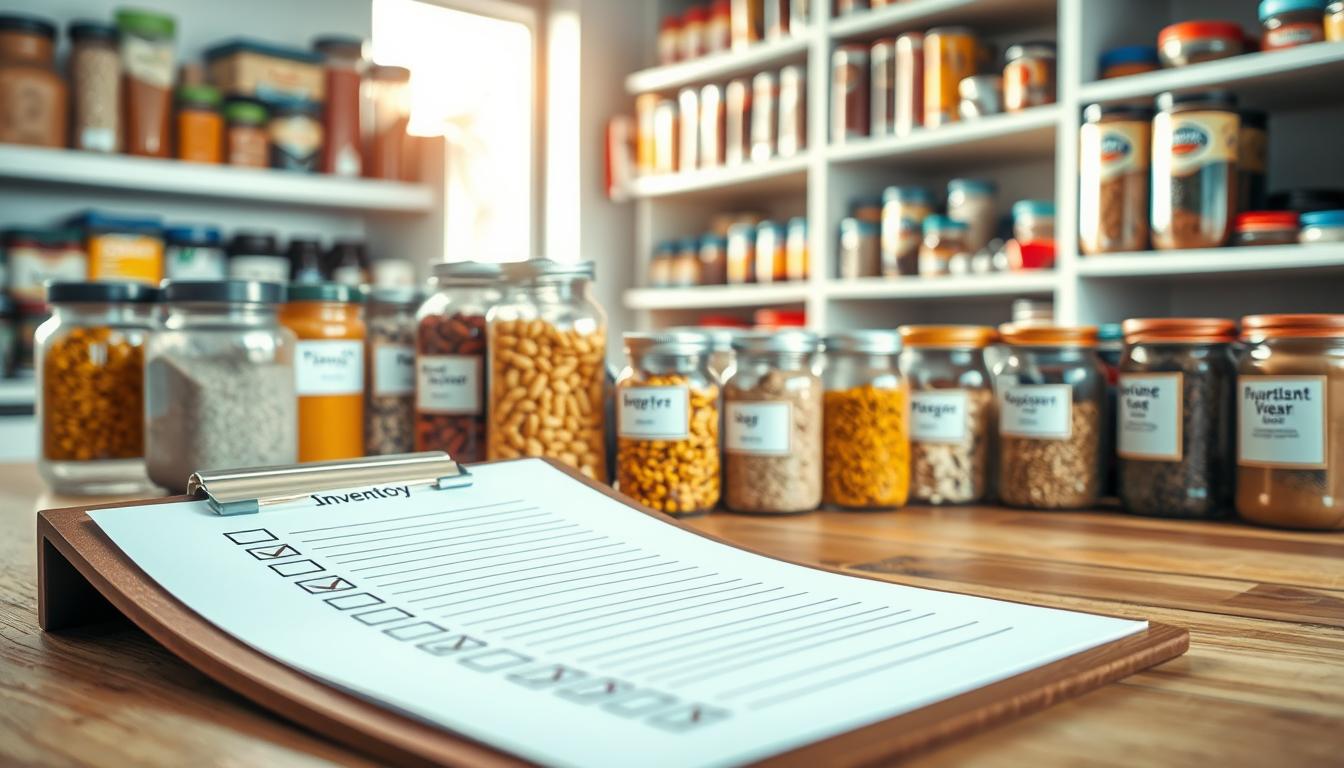
Empty everything out for a true reset
Clearing every shelf gives you a true picture of what’s actually hiding in your cabinet. This full pull-out reset was the most important step I used to fix clutter and wasted food.
Do it right before a grocery trip
Plan the reset the day before shopping so your cabinet is closer to empty. You won’t be tempted to restock into a broken system.
Sort by category on the counter
Spread all foods across the counter and group like with like: breakfast, baking, grains, canned goods, snacks, drinks.
- Pull everything out so you can see the real inventory, not just front-facing items.
- Group duplicates together to decide what to keep on hand.
- Flag “one-recipe” things that rarely get used and reclaim that premium space.
Why this matters: seeing quantities informs container choices later. This reset is about clarity and function, not perfection, and it makes future organizing and pantry organization far easier.
Declutter like you mean it
A real reset begins when you admit which items are clutter and which you actually eat.
Check expirations first. Pull everything out and scan dates quickly. Toss anything expired and anything you haven’t used in a year.
Check expiration dates and toss foods you won’t realistically use
Work shelf-by-shelf and move fast. If a jar or box is old and you won’t make that recipe, let it go.
Donate unopened extras when you’ve clearly got too much for the space
Unopened duplicates are better off at a local food bank than crowding your cabinet. Donating clears room and helps others.
Reduce duplicates and backstock so your cabinet can breathe
Limit backstock to what fits your shopping rhythm. Too much backup hides items at the back and wastes your time.
- Check dates consistently and focus on what you’ll eat soon.
- Remove “fantasy pantry” goods—things no one likes or never uses.
- Donate unopened extras to free up valuable room.
- Keep only sensible amounts of staples based on household size.
Payoff: Fewer goods means faster meal planning and less money wasted on rebuying. Next, clean the shelves so your new system starts on a fresh surface.
Clean your cabinet so your system stays fresh
A quick, thorough clean turns a messy cabinet into a reliable storage zone. Do this after emptying so you start with a blank slate and avoid trapping crumbs under new bins.
Wipe down every shelf and corner with a mild cleaner. Vacuum crumbs and loose debris so sticky spots and pests don’t migrate into containers later.
Wipe shelves and vacuum crumbs before you add organizers
Address sticky patches and food residue now. Let the cabinet dry completely before you return any paper-wrapped goods or cardboard, which can absorb moisture.
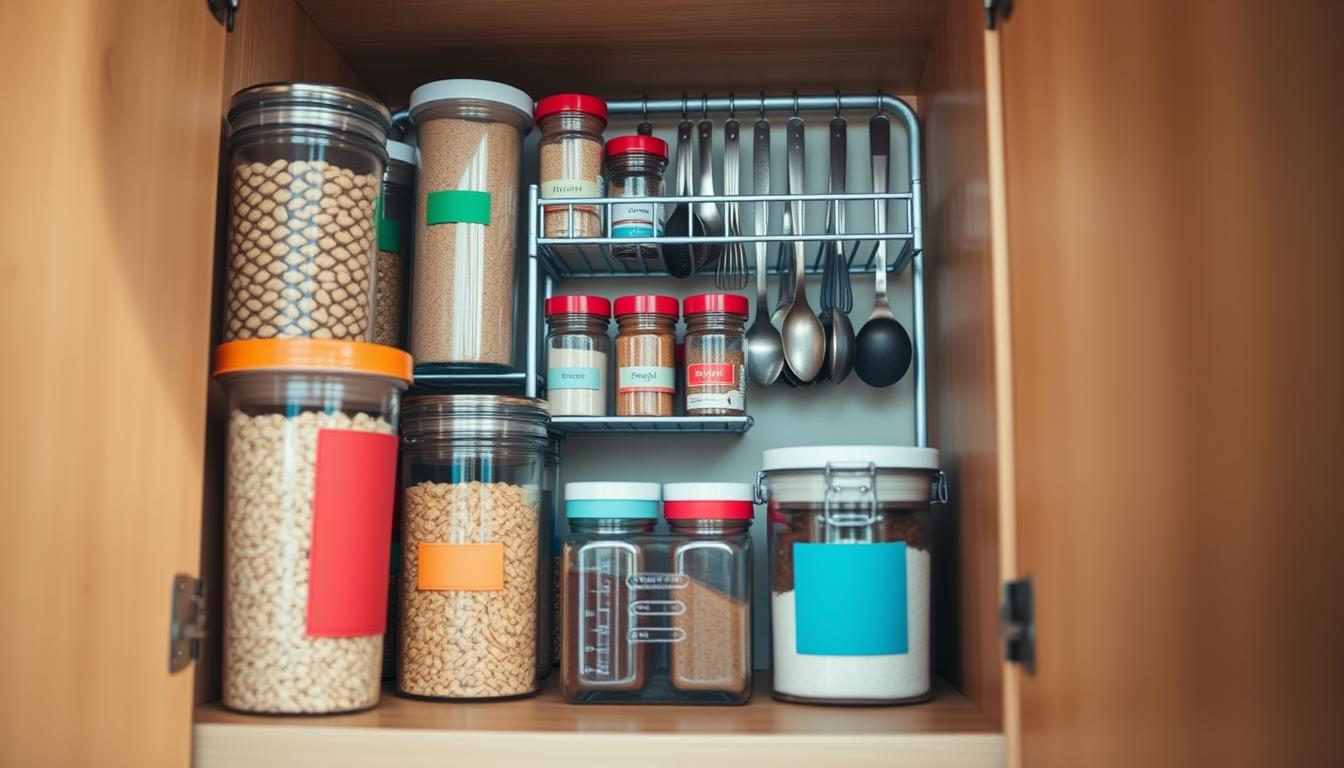
Use shelf liners on wire shelves to prevent tipping and falling
If you have wire shelving, add plexiglass or solid liners so cans, jars, and small packages don’t tip or slip through. Liners also help sliding bins move smoothly and reduce wear on container bottoms.
- Choose liners you can wipe easily and cut to the shelves depth.
- Let surfaces dry fully to avoid moisture issues around packaging.
- Clean first, then install liners and organizers for best long-term organization.
Once clean and stable, your cabinet is ready for the rebuild. That small next step is where you apply the rest of the ideas that maximize space in your home.
Small pantry solutions that maximize every inch of a tiny kitchen cabinet
Treat your cabinet like a tiny grocery aisle so every item has a logical home. Start by mapping quick zones that match how you cook and shop.
Create grocery-style zones for breakfast, baking, grains and pasta, canned goods, and snacks. Place like with like so you can restock fast and avoid duplicates.
Prioritize visibility on deep shelves: avoid high stacks and keep tall boxes at the back. If an item hides behind another, it will be forgotten.
Reserve prime real estate for everyday items—coffee, cereal, and cooking oils—so you grab them without digging. Less-used goods belong higher or lower.
- Use clear bins to corral loose packs, bars, and small pouches so they don’t spread across your shelves.
- Label fronts and keep contents visible to “shop your pantry” quickly before a grocery run.
- Adjust zone sizes to match what you actually eat, not an idealized setup from social media.
With this layout, your cabinet becomes a functional mini store. The next step is to build zones that match your household habits so the system stays useful.
Build zones that match your household and eating habits
Designing zones that fit how your household actually eats keeps the cabinet useful day after day. Start by watching what you grab most. Let daily routines guide shelf placement so the cabinet becomes a helpful part of your kitchen.
Give snacks the space they deserve
Kids and adults reach for snacks often. In a family, snack items move fast and can spill into other shelves when they lack room.
Give snacks an accessible shelf at eye or lower level. Use an open bin so bars, packets, and single-serve treats stay corralled and visible.
Keep occasional categories smaller
Reserve tight space for specialty goods like holiday baking or rarely used ingredients. That prevents them from crowding everyday items.
- Prioritize: daily items get the most accessible space.
- Size zones: base shelf size on one week of real use.
- Set boundaries: mark an occasional shelf for specialty goods only.
- Stay flexible: reassign shelves as routines change.
These pantry organization ideas work only if they match the way you live. Next, go vertical with risers and stackable storage to gain more usable space without remodeling your system.
Go vertical with shelving, risers, and stackable storage
Look up: the air above each shelf is often wasted real estate you can reclaim. Vertical fixes let you double usable storage without a remodel.
Add shelf risers to create a second level
Install shelf risers to make a second plane for cans, jars, or short containers. A riser keeps items visible so you stop digging.
Stack bins and containers safely
Stack only stable, lidded boxes. Avoid top-heavy piles that topple when you grab one item. Handled bins let you pull a whole category forward.
Use magazine file holders for long boxed goods
Magazine files keep foil, parchment, and long boxed goods upright. They tame awkward packages and make grab-and-go easier.
Tame wire shelving with baskets or wooden boxes
Wire shelves often let small items tip or slide. Add baskets or wooden boxes to create a steady footprint and hide odd shapes.
- Turn air space into real storage with risers and stackables.
- Keep stacks low and stable; prioritize lids and flat surfaces.
- Use holders and baskets to organize long or fragile goods.
Once vertical space works, decanting staples into uniform containers frees more room and keeps your cabinet efficient.
Decant dry goods into clear, airtight containers for space-saving storage
Move frequent items into airtight jars so you see what you have at a glance. This simple step saves space, speeds meal prep, and keeps baking and cooking staples fresher longer.
What to decant every time
Keep flour, sugar, rice, oats, and snacks you buy often in clear, airtight containers. These items are bulky in original boxes and stack inefficiently on a deep shelf.
What to skip
Skip decanting occasional items, one-off ingredients, or goods already in sturdy zip bags or canisters. Don’t create extra work for items you rarely use.
Why pop-top containers are a smart choice
Pop-top containers open with one hand, stack neatly, and reduce friction during busy routines. Place them at eye level so your inventory is visible and easy to grab.
How to handle expiration dates
Use small labels or tape on the back or bottom to record purchase or open dates. This keeps fronts clean while letting you scan for freshness during quick checks.
- When to decant: staples you buy constantly or bulky boxed goods.
- Practical list: flour, sugar, rice, oats, pretzels, bars.
- Storage tip: keep pop-top containers at eye level for fastest access.
Use lazy Susans to make deep shelves and dead corners usable
A single spin can make the farthest reaches of a deep shelf usable again. Lazy Susans restore visibility on awkward cabinet surfaces so you stop digging for hidden bottles and jars.
Best items for turntables: oils, vinegars, sauces, and glass jars
Turntables work especially well for heavy or slippery glass jars and tall bottles. Put cooking oils, vinegars, sauces, and condiments on a lazy Susan so one quick spin shows everything.
How a quick spin prevents “lost in the back” pantry chaos
Why it helps: deep shelves create dead zones where tall bottles block sightlines and hide smaller goods in the back. A rotating tray removes that barrier.
- Add one or two turntables to reclaim corners and deep areas you avoided.
- Best candidates: oils, vinegars, sauces, condiments, and glass jars that are heavy or slippery.
- Choose a size that fits shelf depth and leaves clearance for the door to close.
- Group by use—keep cooking oils together and sauces together—to avoid a random bottle pile.
Once bottles and jars are corralled, use bins and baskets to keep smaller packages from taking over and to maximize storage. This combo makes the whole cabinet feel like it was redesigned, without a remodel.
Corral chaos with bins and baskets that fit your cabinet
Containment changes behavior: when things have homes, you and your family put them back. Use containers to create clear boundaries so packages stop spreading and toppling across shelves.
Open bins for grab-and-go items
Open bins work best for snacks, packets, and bars. They make mornings faster and are easy for kids to use without help.
Labeled backstock bins
Create one labeled backstock bin so duplicates live in a single place instead of creeping into every zone. Labels cut decision friction and speed restocking.
Task baskets you can pull out
Make task baskets—like a smoothie basket with powders, add-ins, and blenders—so you pull a whole set in one move and put it back the same way.
- Use larger baskets for heavy drinks or awkward items so they don’t roll around.
- Keep nothing loose on the closet or cabinet floor; bins protect items and simplify cleaning.
- Place bins where door storage or shelves make access easiest for your routine.
Max out door storage without a remodel
You can reclaim valuable square footage without a remodel by using the door. The back of your pantry door is prime real estate for lightweight goods that clutter shelves.
Over-the-door racks and slim shelves for light goods
Choose over-the-door racks or slim door shelves for small, light items that won’t shift when the door moves. Good candidates include snack packs, spice refills, wraps, and single-use packets.
Plan for door clearance so nothing bumps or spills
Measure door depth and shelf projection before you buy. Check where bins or shelves might collide with the cabinet frame, hinges, or adjacent doors. Clearances under an inch can cause spills and dents.
- Treat the door as usable space when shelf room is limited.
- Store only lightweight items on doors; keep heavy glass off the door for safety.
- Door storage reduces shelf crowding by moving small packages out of the main cabinet.
- Place items by frequency—everyday goods at easy reach—so the system works on busy days.
Place items by frequency so your system works on busy days
Put what you use most where your hand naturally reaches. This simple rule cuts wasted motion and saves time during meal prep. Place less-used goods out of the way so daily routines run smoother.
Eye level: everyday essentials you reach for constantly
Keep everyday items at eye level so you scan and grab them in seconds. This reduces the time you spend hunting during breakfast and dinner.
Bottom: heavier items and kid-friendly snacks
Store heavy goods like drinks and bulk bags low so lifting is safe. Put kid-friendly snacks on lower shelves so children can help themselves without climbing.
Top: rarely used items, plus a step stool plan if needed
Reserve the top shelf for occasional or seasonal goods only. If you use high space, keep a dedicated step stool nearby to avoid tossing things up there and creating clutter.
- Frequency rule: most-used items at natural reach.
- Keep duplicates and backstock out of prime room so daily zones don’t get crowded.
- When reach is poor people shove items up high—prevent that with a simple plan.
Once placement is set, add labels and lighting the same way to boost visibility and keep your home system working every day.
Labels, lighting, and quick visibility upgrades that keep you organized
Clear, visible labels and a little light turn a messy cabinet into a usable part of your kitchen. These small tweaks help everyone in your household put things back where they belong and stop the slow slide into clutter.
Label bins for the people you live with
Labels are mainly for other people in your home. When wording is simple, guests, partners, and kids can return items to the correct zone without guessing.
Label by category: snacks, baking, dinner ingredients. Keep it obvious so decisions are fast and correct.
Face labels forward like a store
Turn labels to the front so you can scan shelves in seconds. Facing labels forward mimics a store layout and saves time before you cook or shop.
Remove bulky cardboard to create room
Cardboard boxes often waste space and collapse into mess. Decant items into bins or clear containers to reclaim room and prevent spills.
Add battery-powered lighting for dark cabinets and doors
If a cabinet or pantry is dark, use stick-on battery lights to brighten back corners and top shelves. Better visibility cuts overbuying because you can see what you already have.
- Why it works: labels + lighting reduce mistakes and speed restocking.
- Quick rule: simple labels, forward-facing, and compact packaging free up room.
- Maintenance: check labels monthly and replace batteries seasonally so the system stays useful.
Maintain your tiny pantry cabinet with a simple reset routine
A brief, repeatable routine keeps your cabinet tidy without stealing your morning. When upkeep takes minutes, the system stays useful and clutter never compounds into a big job.
Weekly: quick restock and return
After groceries, put items away into their zones right away. Return stray items to their homes so clutter doesn’t build up between visits to the store.
Monthly: expiration scan and crumb sweep
Once a month, check dates and pull anything near expiry. Wipe shelves and sweep crumbs so pests and sticky messes never take root.
Seasonally: reassess categories and containers
Every few months, ask whether zones match what you actually eat. Resize shelves, swap or add containers, and move categories if routines have changed.
- Why this works: organization only sticks if it’s a short, repeatable step in your kitchen rhythm.
- Maintenance prevents backstock creep and temporary piles from becoming permanent problems.
- Treat these checks as simple habits that save you time and keep visibility high.
Conclusion
A few focused moves will turn a tight cabinet into a reliable, everyday food hub.
Define your pantry space, measure carefully, empty the shelves, declutter, and clean. Then rebuild with clear zones and visibility so you stop hunting and overbuying.
These pantry organization ideas center on matching storage to your real habits. Use clear bins for grouping, pop-top containers for staples, lazy Susans for deep corners, and vertical risers to add capacity.
Place items by frequency so daily picks sit at reach. Start with one shelf or one category to see fast progress and build confidence.
Maintenance wins: weekly returns and monthly scans keep the system working. A functioning small pantry is better than a perfect one that won’t last.