You want a simple spot in your kitchen that makes mornings easier. A streamlined setup means a single, repeatable place where you pour cereal, prep oats, and brew coffee without hunting for supplies.
This is about saving time and clearing clutter. You’ll see layout options, storage fixes, and style upgrades that fit small and large kitchens. Think containers for dry goods, a landing zone for bowls and mugs, and an easy cleanup plan.
A compact coffee station can be a countertop espresso maker, a tray hidden behind cabinet doors, or a mobile cart. Start with a corner and expand as your space and routine grow.
By pairing cereals, oats, toppings, and a coffee station in one area, you cut decision fatigue and smooth your morning flow. Treat this as a “set it once, use it daily” solution that makes your home feel calmer.
What a streamlined breakfast station does for your morning routine
When your daily tools live together, prep becomes predictable and quick. A defined area collects bowls, jars, and your brew gear so you spend less time hunting and more time eating and leaving.

Less counter clutter, fewer steps, faster mornings. You cut steps because oats, cereal, toppings, and coffee gear stay in one spot instead of scattered across the kitchen. That single landing zone reduces small spills and crumbs.
Why grouping these items works
- You avoid micro-messes by prepping in a controlled area rather than hopping between counters.
- A dedicated coffee station and a small caddy keep filters, spoons, and creamer together, preventing counter creep.
- Speed improves: start your coffee while you portion oats, then add toppings as the machine runs.
- The setup supports both quick solo mornings and easy self-serve family routines.
- Keep daily supplies on the counter and backups tucked away so the area stays useful without becoming clutter.
Breakfast station ideas that fit your kitchen space and layout
Find a compact corner or wall and turn it into a reliable morning hub that keeps essentials within reach. This approach helps you spot underused areas and choose the best place for daily prep.

Using a countertop corner when you’re tight on space
Place your coffee station and the day’s essentials in one countertop corner. Keep the machine, mugs, and a jar of oats or cereal together so you gain speed without taking over the whole counter.
Turning a blank wall into a coffee-and-breakfast zone
Fit a freestanding cabinet or slim console against a wall to add prep surface and storage. A small shelf and drawer make this area a tidy, dedicated spot for mugs, jars, and filters.
Setting up outside the main work area to reduce traffic
Move the coffee station away from the cooktop and sink so people can serve themselves without crossing the chef’s path. This reduces interruptions and keeps the kitchen workflow smooth.
Making your breakfast station the “fourth point” in the kitchen workflow
Position the spot as a fourth point alongside the sink, fridge, and cooktop. That way the new area complements the work triangle and clears traffic from main prep zones. Choose the best location based on who uses it most—kids, guests, or early risers—to make the space work for your routine.
Choose the right spot: counter, cabinet, pantry, or dining room nook
Locate the area where your morning routine naturally flows. Pick the place you touch first—fridge, sink, or doorway—so you cut steps and keep the setup useful.
Near the refrigerator for milk, creamer, and cold add-ins
Putting a coffee station beside the fridge keeps milk and creamers one step away. That makes pouring cereal and topping coffee faster and cleaner.
Near a prep sink for easy filling and quick wipe-downs
A spot next to a prep sink gives quick water access and an easy place to rinse mugs. Spills are simpler to wipe, which helps you maintain a tidy counter.
Between kitchen and dining room for self-serve flow
Positioning the setup between the kitchen and dining room improves access for family and guests. It reduces traffic through the cooking zone and keeps service smooth.
Quick checklist:
- Reach: Is milk and mugs within arm’s length?
- Outlets: Can you plug in a coffee maker safely?
- Water access: Is a sink nearby for filling and rinsing?
- Traffic: Will this place avoid crowding the main prep area?
Countertop breakfast station setups that stay clean and functional
Start by deciding which items you actually reach for every morning so your counter stays useful, not cluttered.
Keep only daily essentials on the countertop: the brew machine you use, a small stack of mugs, and a tight selection of cereal, oats, or toppings that earn real counter space.
Keeping a “clean counter” look with only daily essentials
Limit what remains out by containing supplies in a caddy or tray. Trays make it easy to move everything for a quick wipe and keep countertops visually calm.
Creating a landing zone for bowls, mugs, and spoons
Designate one small spot where bowls, spoons, and mugs always go. This reduces random piles and speeds up cleanup.
- Define “daily essentials”: machine, top cereals/oats, and a few toppings.
- Choose easy-wipe surfaces and a washable mat under jars to catch crumbs.
- Adopt a simple reset: wipe, restock, and return items so your kitchen stays functional.
- Minimum viable setup: a compact coffee station, one mug, and a small caddy for grounds and spoons.
The payoff: a tidy look that keeps things within reach while making countertops easy to maintain.
Hidden breakfast stations behind doors for an uncluttered kitchen look
Hide your morning gear behind doors so your counters look calm but your routine stays fast. A concealed setup keeps cups, jars, and brew gear ready without visual clutter. This approach gives you the speed of a coffee station with a minimalist look.
Appliance garage and pocket-door mechanics
Appliance garage designs use lift-up or pocket doors that retract when you brew. The machine sits inside the garage, you operate it, then close the door to hide crumbs and cords.
Slide-up cabinet doors that stay out of your way
Slide-up cabinet doors tuck above the opening so they never block your prep. They work well when you need full access for jars and mugs while pouring or prepping oats.
Outlet planning inside cabinetry and sizing tips
If a cabinet lacks power, an electrician can add an outlet so your espresso machine or other machine runs neatly inside. Plan cabinet depth and height so an espresso machine fits with room for cups and a small landing zone.
- Use doors to hide filters, pods, and sweeteners for a tidy daily setup.
- Keep messiest items behind cabinet doors to maintain the uncluttered look.
- Consider built-in coffee power for cleaner cord control and convenience.
Open shelving and wall storage to maximize vertical space
Open wall storage turns unused vertical real estate into a tidy place for jars, mugs, and everyday gear. You reclaim counter space and keep items visible so you restock before you run out.
Floating shelves for jars, mugs, and everyday items
Floating shelving raises storage where you need it. Use airtight jars for coffee and tea to keep freshness and clear containers so you can see inventory at a glance.
Hanging mug racks and wall-mounted cup storage
Install a hanging rack under a shelf to display mugs and free shelf room for jars and toppings. Place kid-used cups on lower hooks so they can reach them safely.
Styling open shelving so it looks intentional, not messy
- Limit the palette: repeat a few colors for a clean look.
- Use matching containers and leave breathing room on each shelf.
- Keep heavier jars on lower shelves and lighter items higher.
- Align shelves near your coffee station so everything is in one line of sight and you cut extra steps each morning.
Pantry and butler’s pantry breakfast station ideas for high-traffic homes
A pantry can become the calm hub where drinks and quick eats are prepped away from the busy cook zone.
Why this placement works: putting your coffee gear in the pantry removes traffic from the main kitchen. People can pour drinks and grab jars without crowding the cook. This keeps the cook’s workflow smooth and counters clear.
- Arrange mugs, beans/grounds, and favorites on one shelf or counter run so everything is within reach.
- Use behind-the-door storage for small items—sweeteners, stirrers, filters—to free main shelf space for larger jars and appliances.
- In a butler’s pantry near the dining room, stage cups, mix-ins, and snacks for easy self-serve during gatherings.
- Adopt a simple restock rhythm: check anchors (beans, filters, milk) weekly so you never hunt for supplies.
Close-it-up living: choose doors or cabinet panels to hide the setup when guests leave or cooking ramps up. A quick shut keeps the room tidy and lets the kitchen focus on cooking.
Mobile breakfast stations you can move when you need the counter space
If counter crowding is your problem, a mobile setup gives you the freedom to clear space in seconds. A tray or cart corrals gear so you can use the area for cooking, cleaning, or serving.
Tray-based setup for quick lift-and-go use
Keep it portable: place your coffee maker, sweeteners, stir sticks, and two to three daily mugs on a shallow tray. Lift the whole tray to wipe the counter fast.
Rolling cart options for flexible storage
Use a bar cart with a top shelf for the machine and jars and a lower shelf for backups and extra cups. Add small bins to the cart so items don’t spill when you move it.
- Park the cart near an outlet but out of the main prep path so it won’t block workflow.
- Use bins or baskets to prevent “travel clutter” while rolling across the floor.
- Rule of thumb: if you can’t move it in 30 seconds, edit what’s on it.
Tip: these coffee station ideas keep your coffee routine flexible and give you back valuable counter space when you need it.
Storage essentials for cereals, oats, and toppings
Visible containers and smart placement help you spot low supplies before they become a problem. Matched clear jars make beverage and breakfast supplies easy to grab and keep your shelf tidy.
Clear airtight jars and labeled containers for freshness and speed
Airtight, clear containers lock in freshness and let you see when cereal, oats, or beans run low. Use matching jars on one shelf for a cohesive look and a second shelf for matching cups to finish the visual.
Bulk cereal, instant oats, and granola: organize by frequency
Keep daily cereals and instant oats at eye level. Place backups higher or deeper in the cabinet so you reach what you use most without digging.
Dedicated topping bins for nuts, seeds, dried fruit, and chocolate chips
Use small bins or stackable jars for toppings so bags don’t clutter the counter. A labeled bin for each category speeds choices for kids and guests.
Keeping scoops, measuring cups, and spoons within reach
Adopt a scoop strategy: one scoop per main jar or a single measuring set kept in the same drawer. Store bowls and measuring cups near the cereal/oats zone so everything is within one easy reach.
- Why airtight matters: fresher grains and visible inventory.
- Frequency rule: daily items front, backups tucked away.
- Label tip: clear, simple labels help kids and guests avoid mix-ups—especially for decaf vs. regular coffee.
Drawer and cabinet organization that keeps small items sorted
Well-planned drawers and cabinets make it easy for everyone to grab what they need. A small layout change stops clutter from taking over and speeds morning routines at your coffee station.
Drawer dividers for pods, tea bags, sugar packets, and stirrers
Drawer dividers stop small items from becoming a junk pile. They make pods, tea bags, sugar packets, and stirrers visible so you know when to restock.
Map a drawer so pods and tea live on one side and sweeteners plus stirrers on the other. Keep filters nearby if you use drip coffee.
Pull-out drawers and inset trays for cups, filters, and sweeteners
Pull-out drawers and inset trays give full access without moving the machine or clearing the counter. An inset tray near a built-in espresso setup can hold sugar, cream, cups, and silverware.
This layout lets you reach mugs and supplies fast while keeping cords and crumbs contained in the cabinetry.
Kid-friendly lower drawers for bowls, mugs, and restocking
Place a lower drawer for family use so kids can fetch mugs and help restock safely. Lower pull-outs reduce spills and keep top shelves for bulk storage.
- Dividers reveal inventory and cut duplicate purchases.
- Logical drawer map helps multiple people use the coffee station without bumping elbows.
- Inset trays mean you can access cups and sweeteners without moving the machine.
- Kid-accessible drawers encourage family members to pitch in with restocking.
Build in a coffee station without derailing your breakfast flow
Choose a coffee setup that balances speed, taste, and the space you can spare in your kitchen. A clear choice up front keeps your routine fast and repeatable.
Pick the right machine for your mornings
Single-serve machines win for speed. Drip makers handle volume. French press offers ritual and body. An espresso setup gives café-style drinks but may need more attention.
When whole beans and a grinder matter
Freshly ground coffee beans improve flavor. Only add a grinder if you value that extra step. To save time, grind once or buy a burr grinder with timed dosing.
Smart storage and a mix-in tray
Keep beans, grounds, and filters in one place so your cup coffee is grab-and-go. Use airtight canisters for coffee beans to stay fresher longer.
Create a wipeable tray for sugar, creamers, and stir sticks next to the machine. A compact tray keeps mix-ins tidy and easy to restock.
Test the workflow
- Place your coffee station near the microwave if you warm water or oatmeal.
- Time your routine once, then shift items until the path feels smooth.
- Keep the most-used machine and supplies within arm’s reach.
Create a self-serve setup for family and guests
Create a grab-and-go layout so people can help themselves without asking. Keep a simple path from cup storage to pourables so the flow is obvious.
Regular and decaf options with clear labels
Label regular and decaf clearly in airtight canisters so busy mornings avoid mix-ups. Use bold tags or chalkboard labels that are readable at a glance.
Adding tea, cocoa, and light snacks for non-coffee drinkers
Include a small tea basket and hot cocoa canister so non-coffee people feel included. Add a simple snack bin with granola bars or muffins to pair drinks with a light bite.
- Keep coffee cups and mugs together on an open shelf or mug rack so they’re easy to grab.
- Place labeled beans/grounds, sweeteners, and stirrers in one reachable zone next to the machine.
- Maintain a quick “guest-ready in 2 minutes” reset: refill jars, top off sweeteners, and clear the landing area.
Design details that elevate your breakfast station style
A well-chosen accent color can instantly define the area and make the setup feel intentional.
Limit your palette to two or three coordinating colors for jars, mugs, and accessories so the shelf looks curated, not cluttered. Choose a single statement color for one wall or shelf to act as an anchor.
Tile choices that brighten and wipe clean
Pick glossy tile or subway tile for a reflective tile backsplash that bounces light around an espresso niche. Glossy surfaces wipe easily when splashes happen behind pour-over and topping zones.
Practical picks:
- Shiny gray subway tile for reflection and a modern feel.
- Large-format tile to reduce grout lines and simplify cleaning.
- Accent patterned tile behind a small machine to create a focal point.
Light upgrades for function and mood
Add under-cabinet light for task-focused prep, a pendant to frame a nook, or a small lamp for warmth and style. Good light improves visibility and makes restocking and wipe-downs faster.
Blend vintage touches with modern cabinetry
Mix brass or gold hardware, a vintage tray, or retro signage with clean modern cabinetry to balance charm and polish. These small vintage elements add personality while the cabinetry keeps the overall look streamlined.
Design for real mornings: prioritize wipeable finishes, visible canisters, and a lighting plan that supports speed. A few curated choices will elevate your style and keep the area practical for daily use.
Breakfast nook and corner station ideas that add seating and storage
Turn an unused nook into a cozy eating and prep corner that helps your mornings move faster. A well-planned nook doubles as a landing-and-eating zone so you can serve, sit, and reset without crossing the kitchen.
Banquettes with built-in drawers
Built-in banquettes add seating plus hidden drawers for napkins, extra bowls, and seasonal backups. Drawers keep less-pretty items out of sight while you keep daily essentials within reach.
Curved seating and round tables for awkward corners
Make an awkward corner functional by choosing a rounded banquette and a round table. Curved seating fits tight angles and eases traffic flow so people pass without squeezing.
Kid-friendly materials and easy-clean surfaces
Pick wipeable upholstery and durable finishes so the nook survives spills and sticky hands. Use glossy tile or a washable tabletop in high-splash zones to speed cleanups.
Use a cork wall for schedules and menus
Add a small cork or bulletin wall to keep menus, lists, and schedules visible. This turns the nook into a practical command center for your home and helps everyone know the plan for the day.
- Seat near a window for natural light and a pleasant room feel.
- Prioritize drawers and covered bins to limit clutter in the nook.
- Choose family-friendly fabrics and surfaces to keep the space usable every day.
Keeping countertops clear while still having everything in one place
Set a simple rule: if you use an item every day, it earns a visible spot; if you use it weekly, it lives on a nearby shelf or cabinet; if it’s occasional, move it to backup storage. This decision rule removes guesswork and keeps your kitchen usable.
What to leave out vs. what to store behind doors
Daily essentials—your primary brewer, one mug, and the most-used mix-ins—stay in the open. Keep bulky boxes, overflow bags, and rarely used gadgets behind doors to reduce visual clutter.
Remove original packaging and decant into matching jars so the spot looks calm and consistent.
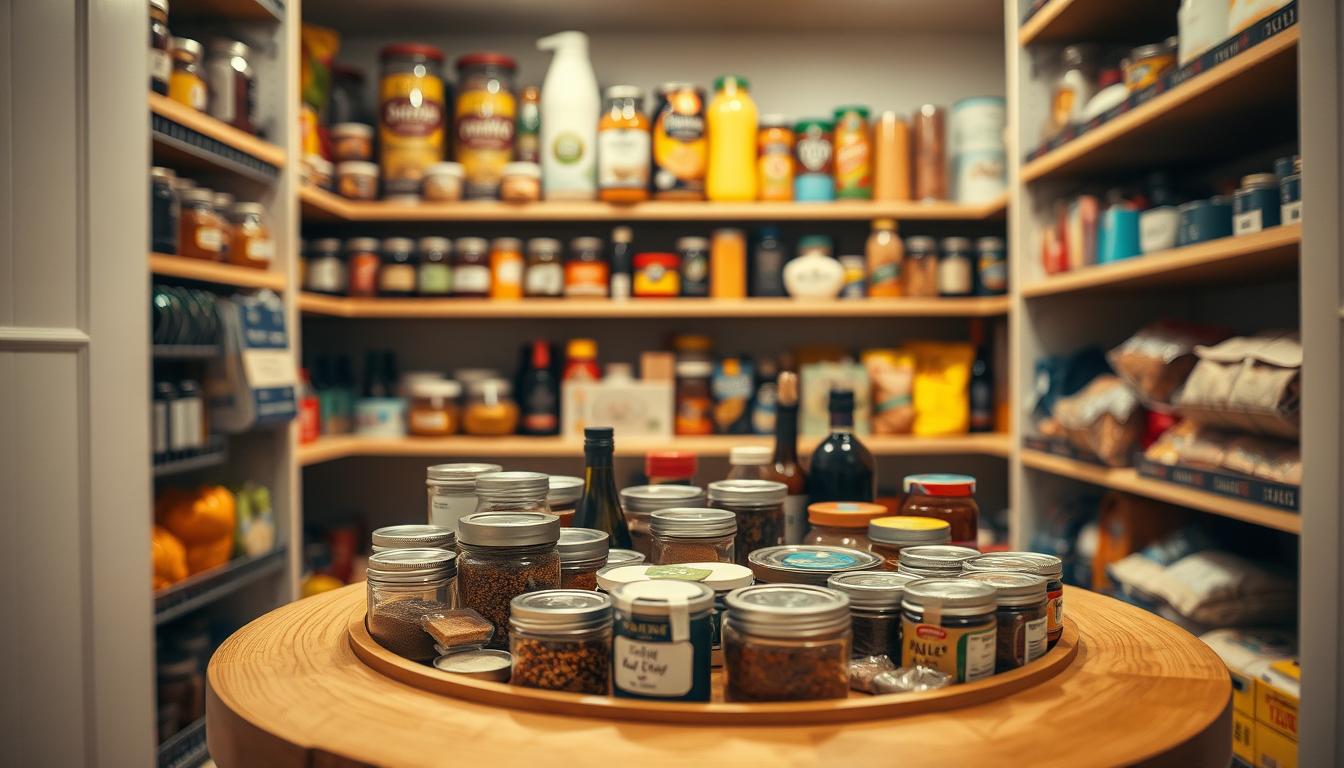
Using baskets, caddies, and turntables to corral “breakfast things”
Group like items in baskets or a small caddy so you can lift them to clean in seconds. A turntable works best for small jars and mix-ins; choose a caddy for taller bottles or packets.
- Daily vs. weekly vs. occasional: use the simple timing rule to assign a place.
- Limit visual variety: matching jars and labels keep the area tidy.
- Contain mess to one defined zone so the rest of the counter stays clear.
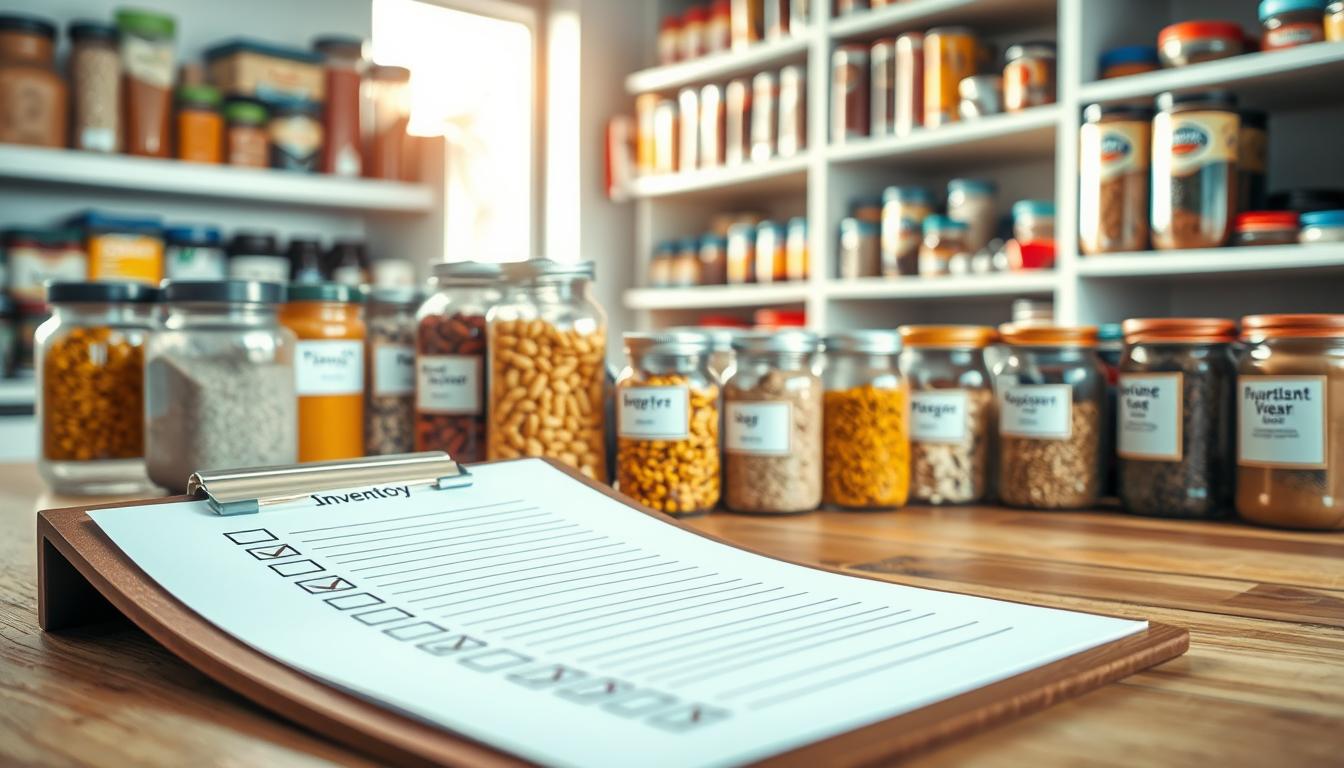
Quick weekly reset: wipe the surface, audit inventory, and rotate items back to their assigned shelf or storage. Doing this in five minutes keeps your coffee station functional and your kitchen feeling spacious.
Conclusion
A clear, repeatable routine around a single coffee spot makes the whole kitchen calmer.
Main takeaway: you can build a streamlined station in your home by choosing the right spot, editing what stays out, and committing to simple storage. Corners, pantry shelves, or a mobile cart fit even the smallest space.
Start with one change this week: a tray, labeled jars, or a dedicated shelf. A stocked coffee station is often the easiest win—when your coffee is predictable, your whole morning flow feels calmer, and guests find regular and decaf options quickly.
Respect traffic patterns so the nook does not block cooks. Pair function with style: coordinated containers, good light, and optional built-in coffee choices make the area feel intentional rather than cluttered.
Measure success simply: if you can make coffee and breakfast with fewer steps and a faster reset, your setup is working for your home.