Start smart: empty your pantry and make clear Keep, Toss, and Donate zones before you touch a shelf. This simple prep makes the work faster and helps you spot expired items and duplicates at home.
In this guide you get a clear set of steps to wash and dry airtight jars and lids so seals stay intact and food stays safe. You’ll learn why heat and leftover moisture shorten seal life and how to avoid warped or nicked sealing surfaces.
What you’ll need: basic dish soap, the right tools, and small fixes like baking soda or vinegar for stubborn smells. The full flow covers prep, shelf care, the right water approach for jars, and correct drying and storage.
Keeping an organized pantry saves time in the kitchen, cuts waste, and makes meal prep easier. Most people can do a full reset in one focused block of time, then maintain it with short seasonal check-ins.
Prep your pantry container cleaning setup in your kitchen
Start by staging a clear work area in the kitchen so your wash routine flows without stops. Gather tools up front to save time and avoid drips across counters.

Collect basics: a vacuum or broom, microfiber cloths, a textured sponge, a small bucket, dish soap, labels and a marker, plus boxes or bags for sorting.
Supplies that save time and protect food storage containers
Use gentle tools that won’t nick seals or scratch plastic. Microfiber and a soft sponge clean well while protecting edges.
Choose the right water temperature and dish soap to avoid setting stains
Begin with cold water and dish soap to prevent colors or grease from fixing into plastic. Follow with warm, soapy water to remove remaining residue.
Set up a keep, donate, and trash zone before you start
- Create three zones—Keep, Donate, Trash—using boxes, bags, bins, or baskets.
- Place a trash bag for expired things and boxes for items to give away.
- Set a 10–15 minutes target to sort so the job feels manageable.
- Keep cleaning products separate from food and relabel storage containers right after drying.
Clear, sort, and wipe down your pantry shelves before containers go back
Take everything off the shelves to create a blank space for sorting and wiping down.

Take everything out and group like items together as you unload
Work in short batches and group like items and goods as you unload. Put baking items with baking items and snacks with snacks so you handle similar products together.
As you sort, spot expired or damaged products and set those aside. This quick review makes restocking faster and trims clutter.
Vacuum crumbs and dust, then wipe shelves with warm water and mild soap
Run a vacuum with a hose or brush attachment over all corners, supports, and shelf faces. Then wipe down shelves using warm water and a small amount of mild soap.
Focus on sticky rings under jars and any spill zones so residues don’t transfer back to your goods.
Let the space air-dry fully to prevent mold and mildew
Pay attention to shelf joins and wall edges and let the space air-dry completely before you return items. If you find mold or mildew, follow label instructions on a disinfectant and allow full drying time.
This step is non-negotiable—doing it well helps keep an organized pantry and makes the rest of your cleaning organizing work last.
Cleaning pantry containers without damaging materials or leaving residue
Start with a cold-water pre-rinse. Rinse each container in cool water to lift grease, tomato or curry residues, and to keep colors and smells from setting. This step reduces odor absorption and makes the next wash faster.
Warm, soapy finish
After the pre-rinse, wash with warm water and a mild dish soap to remove any remaining food film. Focus on seams, lids, and textured bottoms where residue hides.
Dishwasher: when it helps and when it can hurt
Use the dishwasher only for items labeled dishwasher-safe. Hot cycles can set stains or warp plastic if you skip the cold pre-wash first.
Safe soak times
Short soaks loosen grime without softening plastic. For stubborn residue, a white-vinegar soak for about 2–3 minutes is usually enough for light problems, while tougher spots can use a 2–3 hour vinegar sit before final washing.
- Use gentle sponges to protect surfaces.
- Rinse thoroughly so soap film does not linger.
- Good washing techniques extend the life of your storage containers for years.
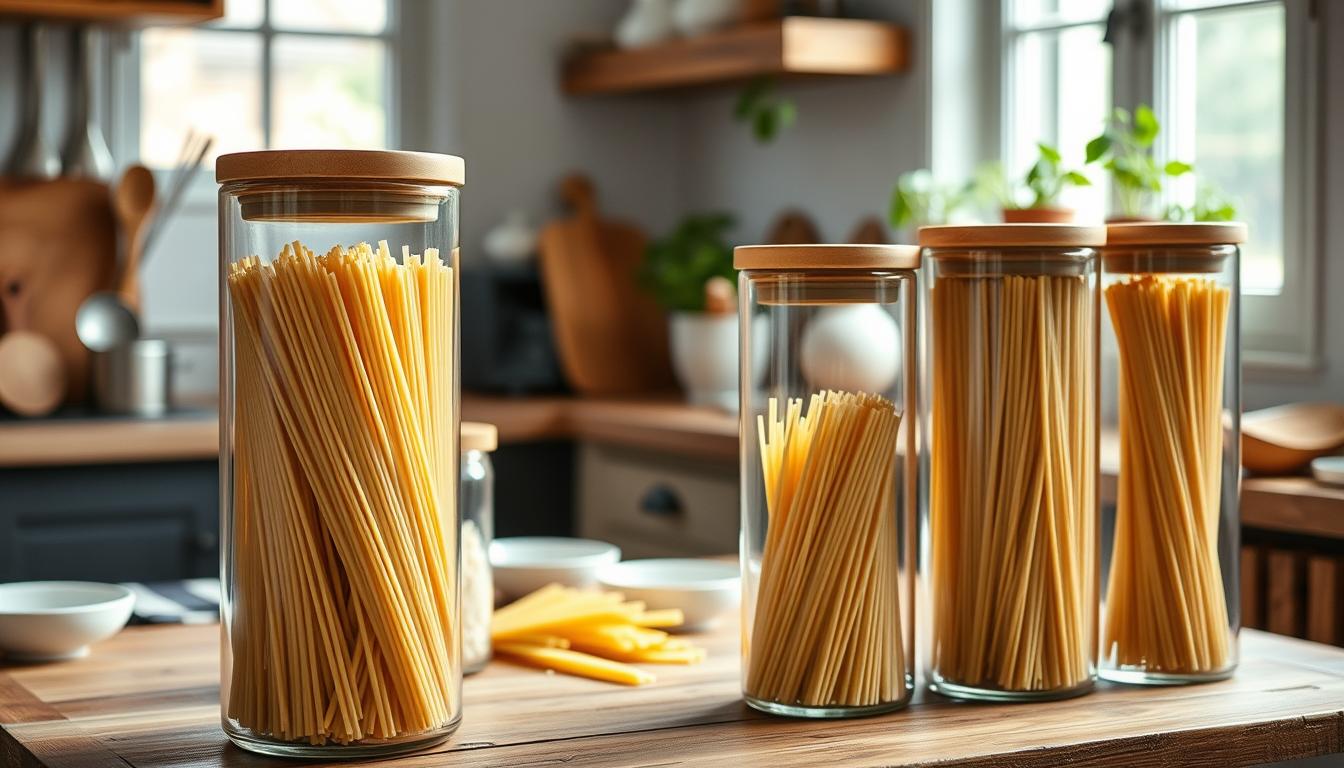
How to wash airtight jars and lids without damaging seals
Focus on the rim and gasket first—those narrow areas trap residue and decide whether a jar truly seals. Treat this step as precision work: small nicks or trapped soap can ruin airtight performance.
Hand-wash best practices for lids, gaskets, and sealing edges: Separate lids from the jar so water reaches all edges. Use a mild dish soap solution and a soft brush or sponge to lift debris from grooves without scratching.
- Work with cool water first, then move to warm as needed to avoid setting odors or stains.
- Use gentle pressure around the seal; avoid twisting or stretching gaskets.
- Inspect vents, hinges, or locking parts for trapped residue that can block a proper close.
Avoid heat and harsh cleaners that shorten seal life
Don’t use high heat cycles or strong solvents on lids. Excessive temperatures and aggressive chemicals can warp sealing surfaces and reduce seal life.
Rinse strategy to keep soap from lingering near the seal
Rinse longer than you expect, directing a steady stream of water around the gasket and rim. Soap film near the seal causes stickiness and can affect food storage smell.
Final tip: Dry lids and gaskets fully before reassembly. When the seal is clean and dry, you protect its function and extend the useful life of your storage products.
Drying airtight jars thoroughly to protect seals and prevent odors
Give each jar and lid a simple air-dry routine so trapped moisture can’t harm seals or lead to smells. Let items sit long enough after washing; that small extra time makes a big difference for safe storage.
Air-dry methods that reduce moisture trapped under lids
Air-dry jars and lids separately so water does not stay under the lid or inside locking rims. Place lids on edge or upside down on a clean rack so water drains away fast.
How to confirm everything is fully dry before storage
Check threads, grooves, and under gasket channels for hidden droplets. Look in the back and bottom of the jar; even a small bead of water can trap odors later.
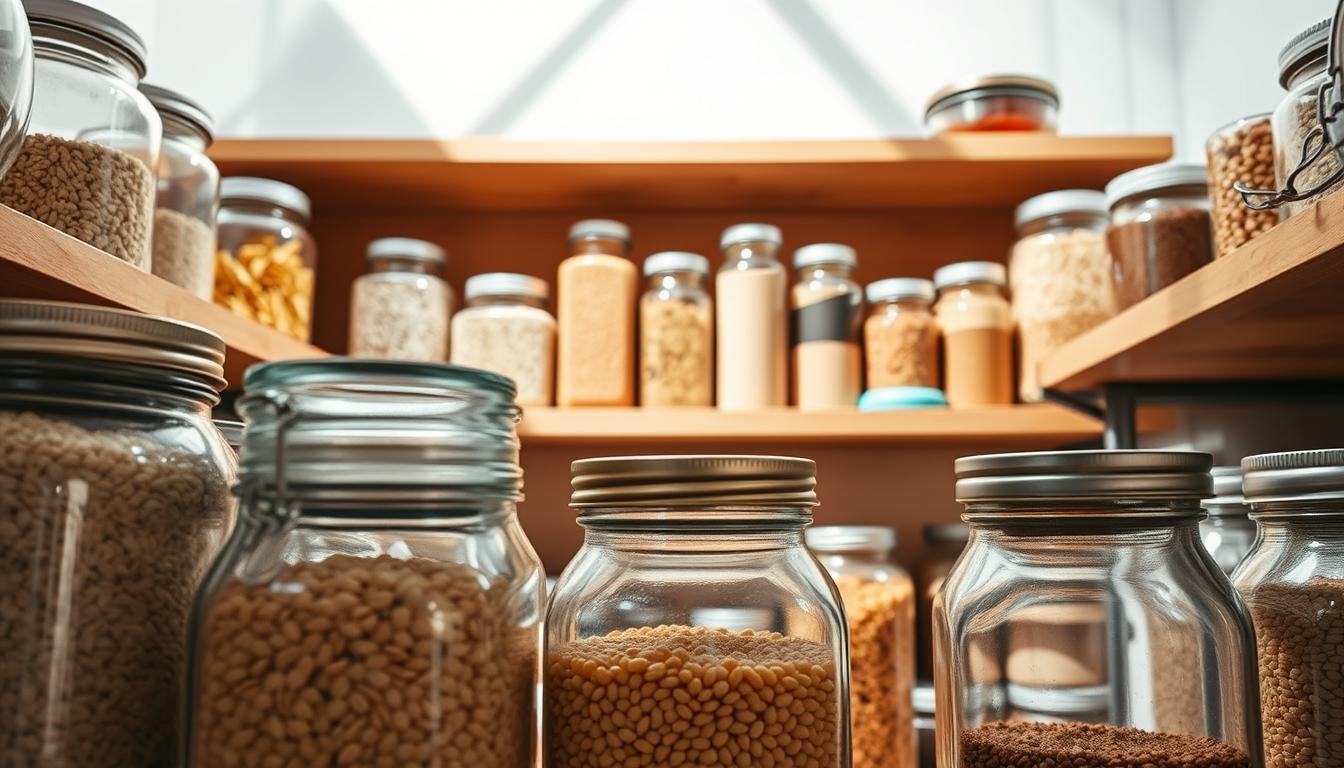
Smart storage: keep lids and jars positioned to protect the sealing surface
Restock only when the shelves and the space are dry. Store lids loosely if the manufacturer advises, and put frequently used items at an easy level for your family to reduce drops.
- Allow an extra 10–20 minutes of air-dry in humid homes.
- Return items to storage only when both jars and the shelves are fully dry.
- Keep a consistent layout so you spot moisture issues quickly.
Fix stains, smells, and pantry container problems with proven solutions
When smells or stains linger, targeted fixes bring most jars and lids back to usable condition fast. Use mild household ingredients first, then move to stronger methods only when needed.
Deodorize with baking soda and time
Try this: add about 1/4 cup baking soda to a dry jar, close the lid, and leave it sealed for 24 hours. After that wash with cold water and dish soap, rinse, and air-dry.
White vinegar soaks for stubborn residue
Fill the jar with white vinegar and let it sit for 2–3 hours. The vinegar loosens film and odors.
After soaking, scrub with dish soap and a textured sponge, then rinse well.
Quick stain-lift: soap, water, and a paper towel
Add a small amount of dish soap and water plus a crumpled paper towel. Close the lid and shake vigorously for about 30 seconds.
Rinse thoroughly. This shake method dislodges trapped stains without scrubbing hard.
Sanitize safely after mold or forgotten food
First wash normally. Mix 1 tablespoon bleach per 1 gallon water and submerge for 2–5 minutes. Air-dry fully, then wash again before use.
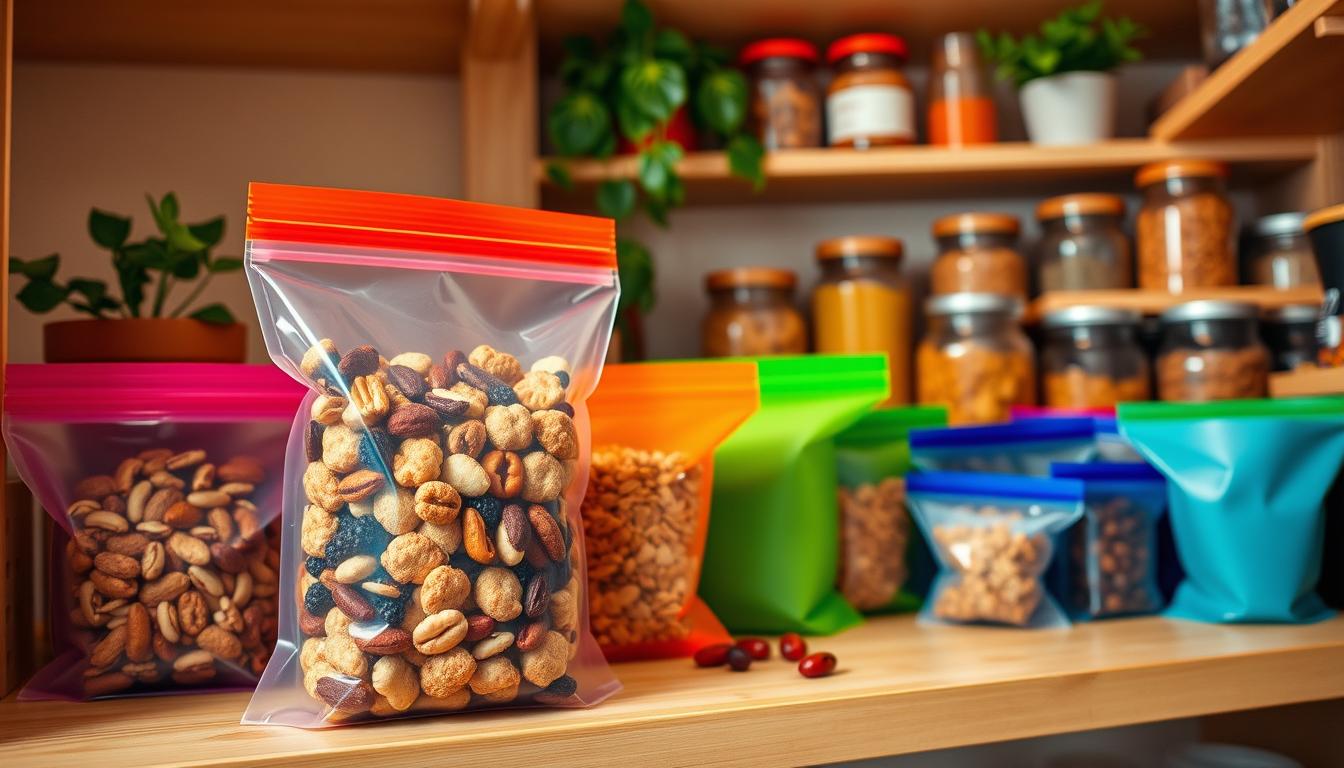
- Keep these methods in mind for plastic items; they hold color and odor more than glass.
- Replace any jar, lid, or seal that stays warped, cracked, or smelly after attempts.
- Prevent problems by cooling foods before storing, pre-rinsing with cold water, and drying completely.
Conclusion
A steady, small habit every week can keep your shelves orderly and your jars sealing properly. Recap the core steps: set up your work area, clear and wipe shelves, wash with the right water approach, protect seals with gentle hand-washing, and dry everything fully before storage.
Keep it simple: group like items, use bins and baskets, add labels, and place shorter dates in front so products move to the back less often. This makes meal prep faster and cuts waste.
Do a quick cleaning organizing check every one to two weeks. Those small steps protect your storage investment, keep shelves cleaner longer, and help your family find ingredients and goods with less stress.