You’ve tried peel-and-stick tags that failed after a season of heat, cold, wind, or curious kids. A garage tote refresh often fell apart when labels peeled off. That created wasted time and clutter instead of usable storage.
This guide fixes that with a practical workflow: Type > Print > Tear > Insert. You’ll use perforated printable inserts and adhesive-backed clear label holders so you can swap a label without re-sticking anything.
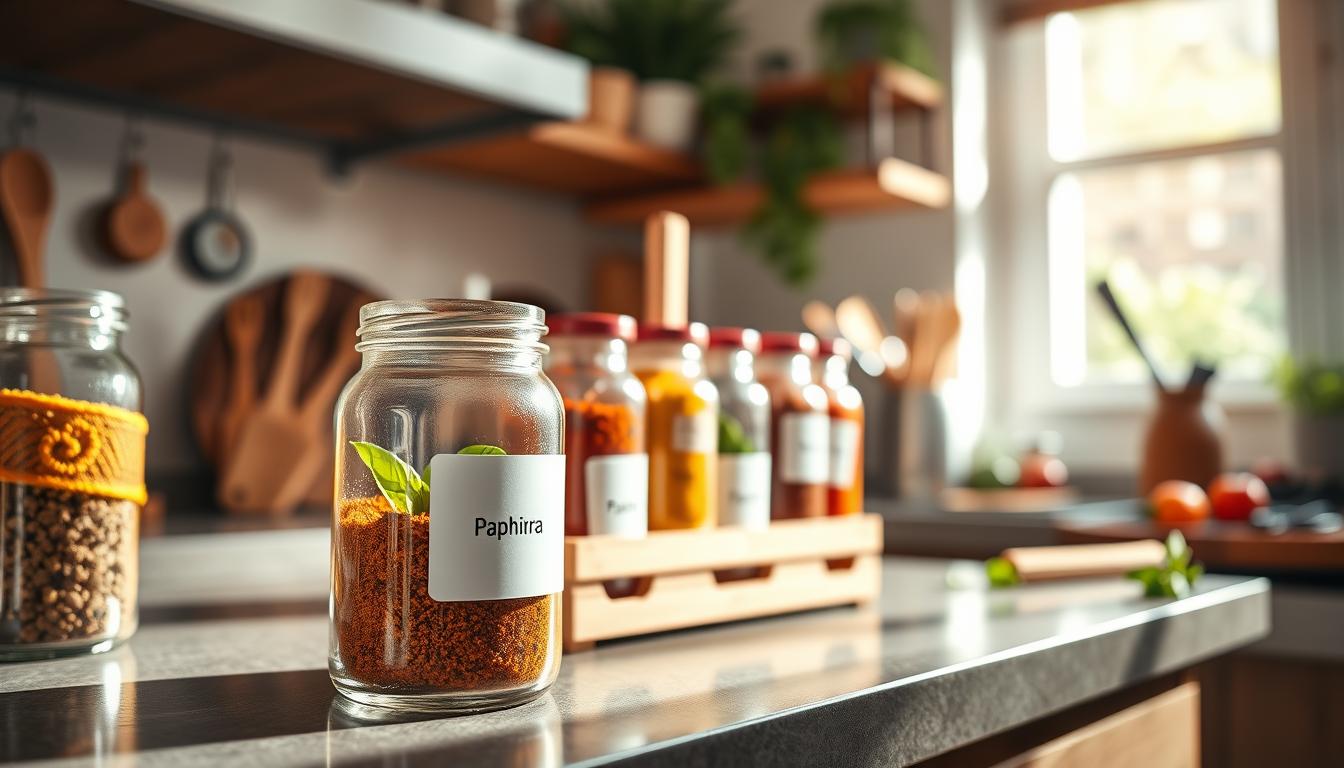
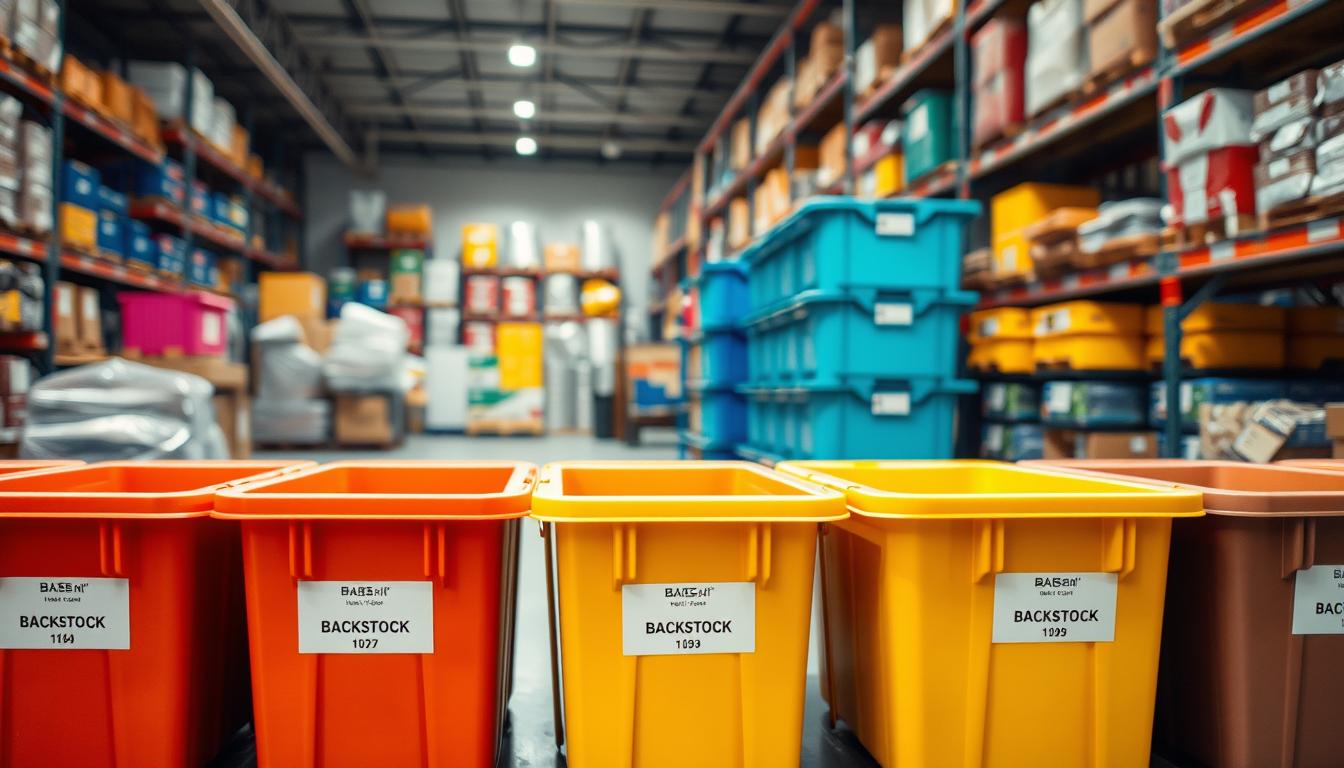
First, define what backstock means in your house — bulk extras like seasonal gear, overstock toiletries, paper goods, and party supplies. Clear labeling of large containers turns tidy-looking storage into storage you actually use.
Expect big, high-visibility labels you read from a few feet away on garage shelving or deep closets. This section previews a system that handles where things go and the durable materials that survive garages, attics, and busy households.
Outcomes: fewer “Where is it?” moments, faster restocking, and easier family participation. You’ll also see options—vinyl, sticker paper, cardstock, chalkboard/dry-erase, and label maker—so you can choose what fits your storage and time needs.
Plan Your Backstock System Before You Touch a Label
Before you print a single tag, map how you actually use and reach for things in your house. Watch routines for a few days and note what you grab weekly versus quarterly.
Use an observation-first audit so categories match real life, not an Instagram-perfect pantry. That stops systems failing because of odd categories or labels that are too long.
Group by context and retrieval, not only by type. For example, create a “Lunch Packing” container with snacks, baggies, and napkins. Or a “Car Care” container with cleaners and microfiber towels.
Decide what needs a lidded container versus what belongs on shelves or in small boxes. Bulky or mixed-use items go in containers; heavy daily items stay on easy shelves; tiny parts live in small trays.
- Zone plan: garage, pantry/kitchen, bathroom/linen, bedroom/closet.
- How many categories: aim for clear groups — not dozens of tiny boxes.
- Quick rule: frequent items near reach; seasonal bulk in labeled containers.
Once your categories are steady, the labeling step becomes a fast, repeatable process instead of a redesign each month.

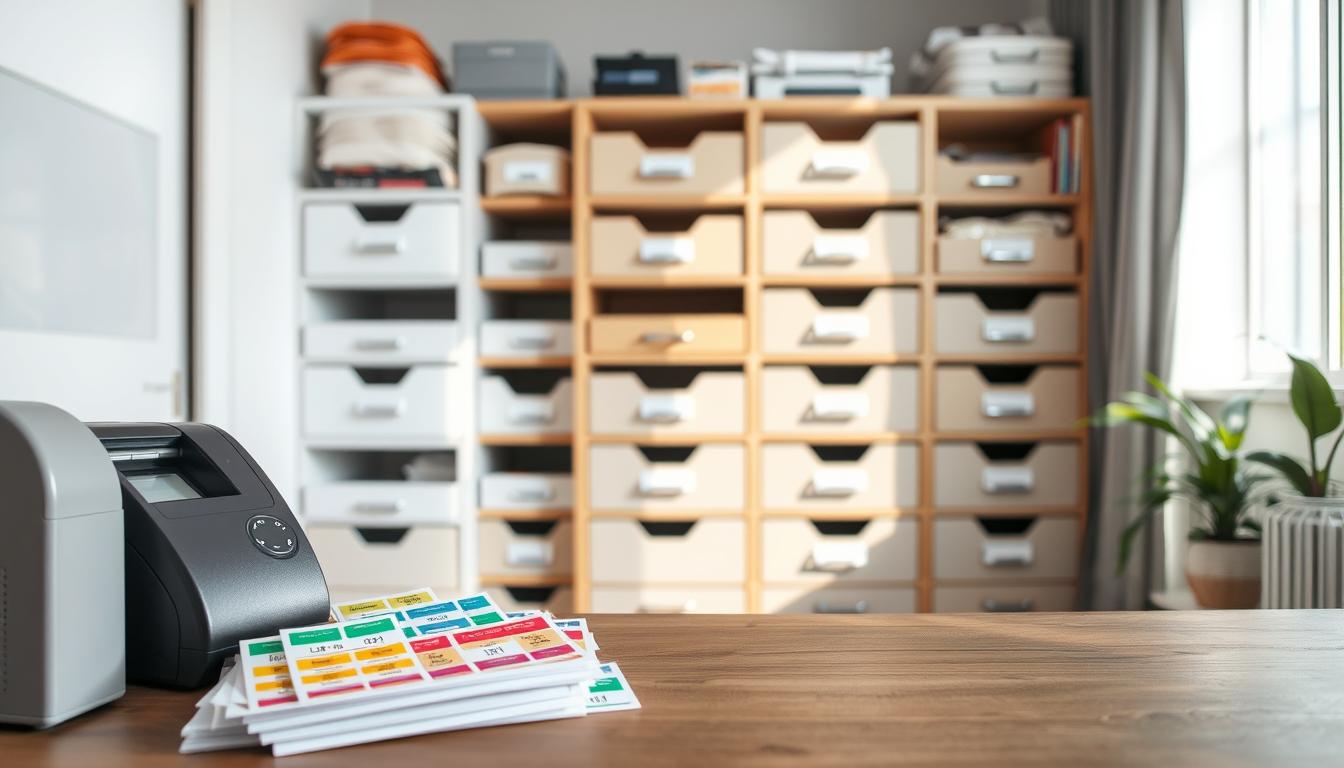
Labeling backstock bins: The Fast “Type, Print, Tear, Insert” Method
Turn labeling into a ten-minute task with a repeatable Type → Print → Tear → Insert workflow.
The core failure of peel-and-stick in a garage is simple: temperature swings and daily wear lift edges and ruin tags. That breaks a tidy system even if your storage bins look organized.
Use adhesive-backed clear label holders as the durable container for paper inserts. With holders you replace only the paper, not the sticky backing.

Fast supply stack:
- Perforated printable inserts — AVERY 5392 (3×4″, 6/page) or AVERY 5371 (2×3.5″, 10/page).
- Matching clear adhesive-backed holders (3×4″ or 2×3.5″).
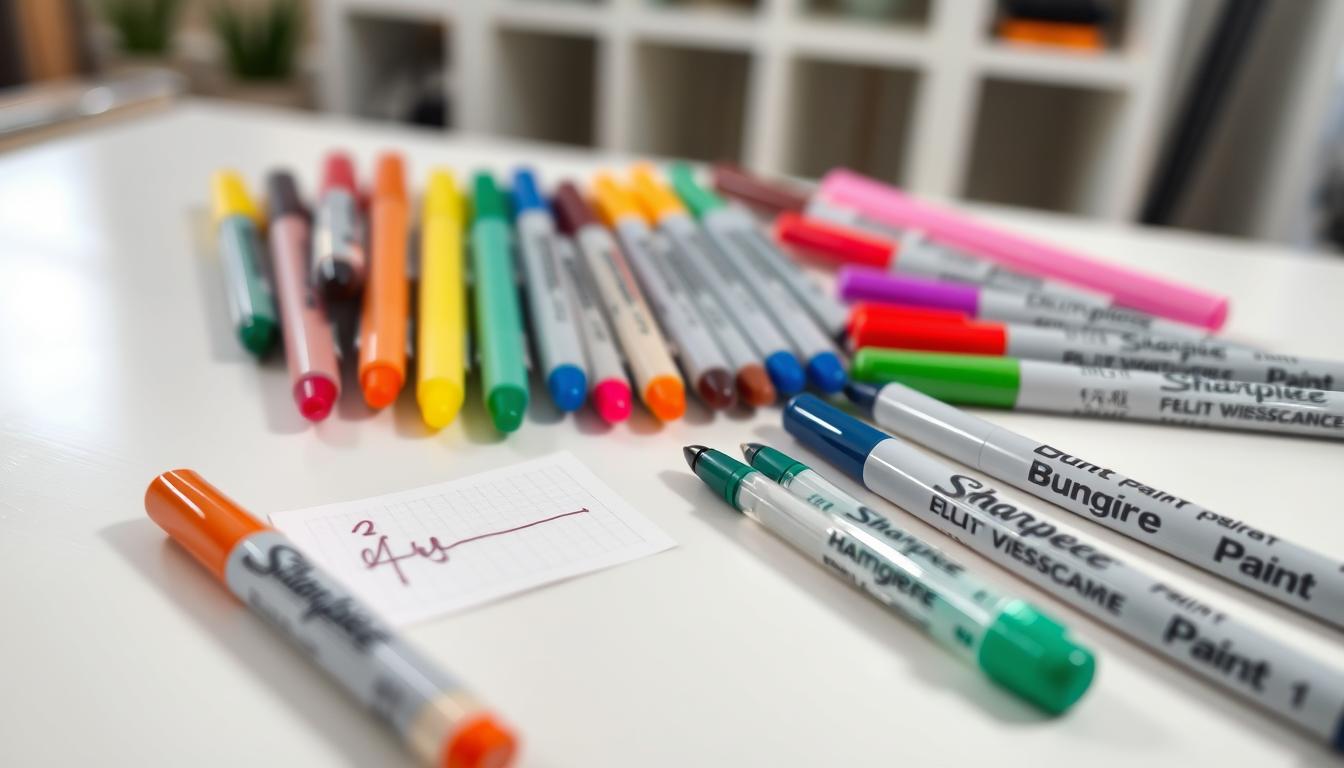
- A home printer and Post-it + marker to draft names before you design.
Print at 100% and tear along the perforated page so you skip cutting. Then choose your workflow: assemble inserts into holders first and stick, or stick holders to bins and insert later.
Swap labels easily as kids, seasons, and pantry brands change. A quick note: some posts may contain affiliate links, but this method works with any equivalent inserts and holders.
Pick the Right Label Type for Your Bins, Boxes, and Containers
Match label material to surface and use, and your system will actually last. The right choice depends on where the label lives: smooth plastic, woven basket, or cardboard boxes. Below are practical options and when each makes sense.
Vinyl labels
Best for hard, clean plastic and visible shelves. Vinyl labels stick well, resist scuffs, and usually peel off without residue. Use them on totes and smooth containers when you want a polished, long-lasting finish.
Sticker paper
Want printed designs but no cutting machine? Print on sticker paper and trim with scissors. This is great for color, icons, and consistent formatting on boxes and plastic tubs.
Paper or cardstock with packing tape
A budget-friendly route: print on heavier paper, then cover with clear packing tape. The tape acts like a self-laminate and keeps labels readable through wear and moisture.
Tape, washi tape, chalkboard, and label maker
- Washi or painter’s tape is perfect for temporary zones—peels off cleanly.
- Chalkboard/dry-erase options let you wipe and rewrite for fast-changing contents.
- Label maker tape wins in narrow spaces, drawer dividers, and tool drawers where small text is needed.
Choose the simplest approach that survives the space it lives in. That keeps retrieval fast and reduces re-dos.
Make Large Bin Labels Easy to Scan From Across the Room
Design labels that read from across the room and make retrieval fast for everyone.
Write short, intuitive names that reduce decision fatigue
Keep names short and specific: one or two words like “Socks,” “Winter Gear,” or “Paper Towels.” Short tags cut the time you spend deciding what a container holds.
Use plain words that match how your family talks. Avoid long phrases that get ignored when you’re in a hurry.
Add color-coding by zone
Pick a color for each area—garage, pantry, closet—and apply it to the label edge or a stripe. Color speeds up recognition when shelves look similar.
Tip: Use consistent color chips so everyone learns the system fast.
Use picture labels for kids and shared spaces
Picture labels help young kids and non-readers find toys, shoes, or craft things. Add a small icon above short text so both kids and adults can scan easily.
Label placement for stacked totes
Put one label on the side for shelf access and one on the top for stacks. That way you can find what you need without unstacking every bin.
- High-scan examples: “Paper Towels,” “Birthday Party,” “First Aid,” “Camping.”
- Readability tips: large font, high contrast, simple sans-serif, and centered alignment.
- Return habit: obvious labels make it easier for family members to put things back where they belong.
Attach Labels So They Stay Put in Real-World Storage Conditions
Pick the right way to fasten a tag so it survives real household wear and tear. The method you choose should match the surface, the expected handling, and the environment where your storage lives.
Adhesive options that work
Vinyl and sticker paper stick best to smooth plastic and clean boxes. Use vinyl on hard tubs and sticker paper for printed paper inserts.
Label maker tape is ideal for narrow spots like shelf edges and small drawers. Adhesive-backed holders give you a swappable paper label without re-sticking.
Non-adhesive attachment methods
- Brads or small fasteners — great for woven or hole-pattern containers.
- Peel-and-stick Velcro squares — removable and reusable on textured surfaces.
- String or twine — loop a tag through handles for baskets or crates.
- Magnets — glue a magnet behind a paper tag and use a second magnet inside for removable faces.
Extra protection and garage considerations
Use clear packing tape as a DIY laminate for paper labels. The tape adds water resistance and blocks smudges.
In attics or garages, warm-cold cycles and dust weaken adhesives over time. Clean surfaces first with rubbing alcohol. If a label keeps falling off, move it to a flatter spot, switch to a holder, or use a non-adhesive tag.
Quick tip: The longer your labels stay readable and attached, the less often you’ll redo them—and the more your family will trust the system.
Set Up Backstock Zones in Your Home for Faster “Find What You Need” Moments
Divide your house into clear storage zones so finding things takes seconds, not minutes. Start by matching each zone to how you move through your rooms.
Garage and storage closet zones for bulk extras, seasonal items, and keepsakes
Dedicate shelves by purpose: paper goods, holiday décor, keepsakes, and tools. Standardize your storage bin labels so you can spot the right tote on sight.
Be specific: use separate boxes for “Halloween,” “Thanksgiving,” and “Holiday Lights” instead of one vague container.
Pantry and kitchen backstock
Create small bins for snacks and baking items so the pantry stays usable. Add freezer labels with dates on every container to rotate stock and waste less food.
Bathroom and linen backstock
Label toiletries like “Hair Care,” “Skincare,” and “First Aid.” Use moisture-resistant labels or cover paper with clear tape to prevent wrinkling.
Bedroom and closet backstock
Store off-season clothes, shoes, and accessories in labeled totes. For kids, add size or season tags so you can find the next size fast.
- Turn “where to store this?” into a quick decision by assigning zones that match daily routes.
- Label large storage bins on the side and top for stacked storage and fast scanning from shelves.
- Set a monthly rhythm to swap inserts, update labels, and keep zones accurate across the house.
Conclusion
Start small: pick one shelf or closet and apply the system so you see the benefit fast.
Plan categories first, then pick the right label type and attachment for your storage. Keep wording short and visible so family members can scan and return items quickly.
Use the fast Type > Print > Tear > Insert routine to swap paper inserts without re-sticking holders. That way updates take minutes, not hours.
For durability, use bold, short text, high contrast, and protect paper when needed. Choose attachments that handle heat, dust, and handling in garages or attics.
Keep a running list and reprint a page when categories change. If you share product picks, limit affiliate links and focus on what works best for your space.
When your labels and storage match real life, you spend less time hunting and more time using what you have.