Quick identification saves time and cuts the hours you waste hunting for things around your home. One estimate says people spend over 5,000 hours looking for misplaced items in a lifetime. A clear system fixes that.
The goal here is practical: you’ll build a system that helps you find items fast and return them correctly, not just make shelves look neat. Think drawers, under-sink bins, closet boxes, garage totes and any container you can’t identify at a glance.
You’ll learn a fast method — plan categories, standardize names, pick durable supplies, and place labels where you can scan and grab. A quick workflow like “Type > Print > Tear > Insert” with Avery inserts and clear holders makes swapping easy.
Practical payoff: less searching, fewer duplicate purchases, and a smoother routine. This article focuses on quick ID first, looks second, and includes room-by-room examples you can copy for the kitchen, bathroom, bedrooms, and garage.
Key takeaways: set clear names, use durable labels, place them for fast scanning, and adopt a simple repeatable process to save time.
Why Hidden Storage Gets “Lost” and How Labels Save You Time
When you can’t find what you need, the problem usually starts with categories that don’t match how you live. If your category names feel abstract or too detailed, you stop following the system and everything drifts back into clutter.

- Flawed categorization — names that don’t match real use make it hard to return items.
- The “just put it anywhere” habit — quick decisions in busy moments create catch-all messes.
- Inconsistent habits and long labels — they slow you down and breed confusion.
Short, scannable labels beat long descriptions every time. A compact label like “SOCKS” or “KITCHEN: BAKEWARE” reads at a glance. That reduces decision fatigue and makes you more likely to put things back correctly.
What consistency looks like: use the same wording pattern, capitalization, and placement for drawers, bins, and boxes. When every label follows one simple process, you save real minutes and cut daily stress for everyone in the house.
Plan Your Labeling System Before You Print Anything
Before you print labels, sort and name what you keep. This quick step prevents mixed wording and saves time when you search later.
Start with a pre-label audit: identify opaque totes, deep drawers, and high shelves that hide items and need labels most.

Sort items into real-use categories
Group items by how you reach for them, not by idealized lists from blogs. Put things you use together in one box or drawer.
Choose the right level of detail
Use room-level names for short moves, category-level for most rooms, and item-level only for expensive or easily confused contents.
Create a master list for consistent names
- Make one master list of label names to avoid duplicate variations.
- Use a simple naming framework like ROOM: CATEGORY (Kitchen: Baking; Bath: First Aid).
- Keep one short contents line when extra clarity helps.
Supplies and Tools That Hold Up on Plastic Bins, Drawers, and Shelves
Start with supplies designed for tough conditions, not office paper and hope. For long-term use in a garage or attic, pick materials made to resist heat, humidity, and dust.
Durable options for harsh areas
Use clear label holders with printed inserts so paper never peels off slick plastic. Laminated tags and waterproof labels work well for bins and other storage that sees temperature swings.
Fast DIY basics
If you need a quick label, use painter’s tape or masking tape plus a bold permanent marker. The tape peels cleanly and the marker stays legible.
Printable shortcuts and formats
Perforated sheets speed production. Try Avery 5392 (3×4″) or Avery 5371 (2×3.5″) for easy tearing and correct sizing for larger bins and small containers.
What to avoid on slick plastic
- Avoid weak adhesives and tiny fonts that fade or fall off.
- Don’t use low-contrast ink or place labels where friction will scuff them.
- Stickers are fine for short-term cardboard, but they fail in dusty garage spaces.
Quick tool checklist: scissors (or perforated sheets), rubbing alcohol for prep, a consistent marker, tape, and a few durable tags or holders for tough storage spots.
Labeling hidden storage: A Step-by-Step Method for Drawers and Concealed Bins
A repeatable, low-effort method lets you turn messy drawers and concealed bins into easy-to-scan zones.
Use temporary notes first. Walk each drawer or bin and stick a Post-It or small note on items you find. That captures the real contents so you don’t guess when you make final labels.
- Convert notes into scan-friendly text. Use the format: CATEGORY — descriptor (example: “CABLES — USB/HDMI”). Keep it short.
- Type > Print > Tear > Insert. Set your printer to 100% and use perforated sheets. Tear on the lines and slide inserts into clear holders.
- Apply holders two ways. Either assemble the labeled inserts then stick the holder to the bin, or attach empty holders first and drop labels in later.
- Handwrite when needed. Use large block letters, dark ink, and the same marker so your labels match. Avoid cursive and tiny fonts.
- Proofread and standardize. Check spelling, remove duplicates, and pick a capitalization style (ALL CAPS or Title Case) so everything looks uniform.
Quick example: pick one name and use it everywhere — use “Batteries” instead of mixing “Battery,” “Batteries,” and “AA/AAA.” That small standardization will save time and confusion.
Where to Place Labels So You Can See Them Without Moving Anything
Place labels where your eyes naturally land so you can scan shelves in seconds. Good placement means you rarely pull a bin or box just to read its tag.
For stacked bins and boxes, use the “top + two adjacent sides” rule. Put identical labels on the top and near the upper edge of two sides so the name shows from multiple angles.
Avoid corners and bottoms. Those spots scuff first when you slide a box or pull a bin from a shelf. Instead, attach labels higher up and centered on the face or side.
- Scan-friendly side placement: pick one consistent side (front-right works well) so you build muscle memory as you walk by.
- Drawer strategy: use an outside edge for quick scans, an inside lip as a backup, and a small bin-front “face” label for inner organizers.
- Quick scan test: stand where you normally enter the room and confirm you can read labels without touching anything.
- Teach your household the same rule so everyone scans the same way.
- Replace labels after heavy wear; cheap tags on friction points will fail fast.
- Keep a single naming style so a label box or bin reads the same on every shelf.
Tip: when shelves are deep, move labels slightly upward so they remain visible if items sit low. That small shift saves time every time you reach for a box or bin.
Make It Faster to Find Things with Color Coding, Numbers, and Inventory
Add simple speed layers—color, numbers, and a light inventory—to make finding items almost automatic. These extras sit on top of your basic labels and scale as your needs grow.
Color systems that work
Pick one clear rule and keep it consistent. Try a color per room for fast visual routing. Or use a color per category so similar items group across rooms. Seasonal colors work well for rotating décor or gear you only use part of the year.
Numbered bins with an inventory list
Numbered boxes reduce label clutter. Put just a bold number on the outside like “Box 12” and keep a short inventory list that maps numbers to contents.
- Keep one inventory list per area—spreadsheet tab, notes app, or small notebook.
- For business backstock, number bins and track packaging, marketing materials, or tools so staff can grab what they need without opening boxes.
- Place numbers in the same spot on every box and use large print for quick scans.
QR-code labels for digital tracking
QR codes are an optional upgrade. Scan to open a digital inventory that lists items inside, purchase dates, or special notes. This works great for large collections, tool kits, or frequent business shipments.
Keep it simple: one spreadsheet tab, one note, or one notebook is plenty. Pair a room or category color with a number and your labels become readable at a glance.
Room-by-Room Labeling Ideas for Drawers, Bins, and Boxes
Use simple, room-based ideas so you can make labels fast and stop guessing where things belong. Below are ready-to-use suggestions you can copy and paste for each room. These examples focus on clarity so anyone can scan shelves and bins quickly.
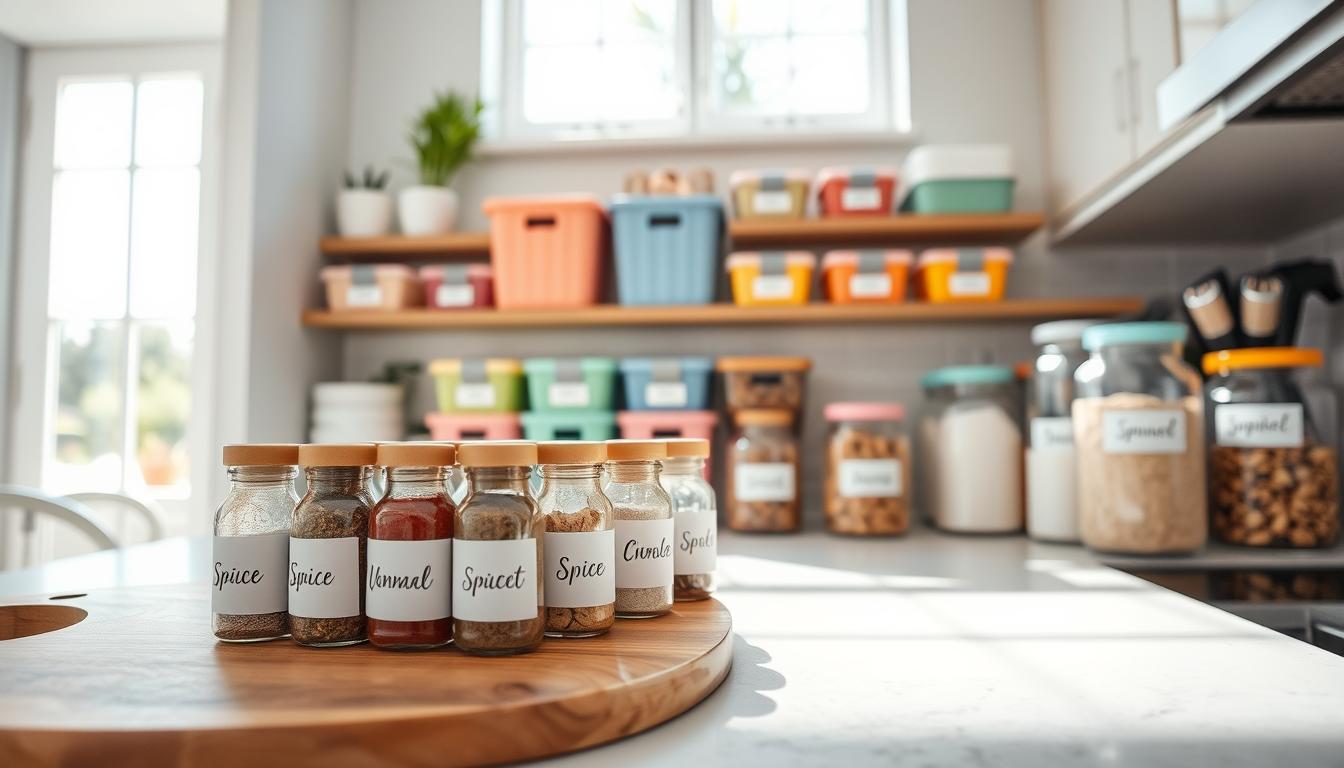
Kitchen
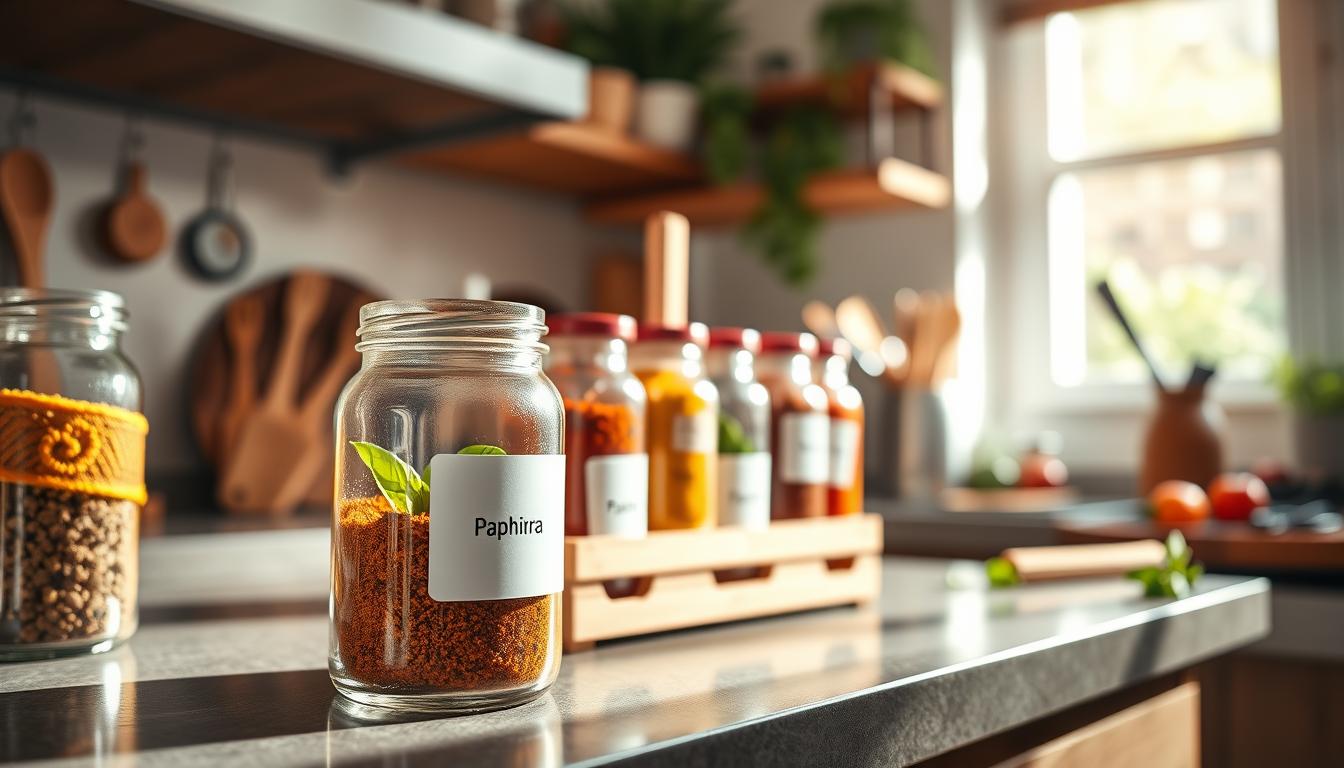
Label pantry containers like “FLOUR,” “SUGAR,” and “RICE” for quick refills. Put spice labels on the front of the jar for fast scanning.
Freeze leftovers with a clear format: FREEZER — CHILI — 03/05. That date-plus-contents style cuts waste and speeds meal prep.
Bathroom
Use moisture-resistant labels (waterproof or laminated) for toiletries and under-sink bins. Cover paper tags with clear tape if you need a quick fix.
Group items into short names: Hair Care, Skincare, First Aid, and Backstock Toiletries.
Bedrooms & Kids’ Rooms
For dressers, label drawers with routine-friendly names: Work Socks, Gym Gear, Sleepwear.
Kids do better with word + picture labels on toy bins and closet boxes. Visual cues speed cleanup and reduce questions about where things go.
Garage & Storage Closet
Use weather-resistant tags on plastic totes and label boxes by shelf zone: Camping, Auto, Paint. For seasonal items try: Holiday Decorations, Halloween Decorations, Winter Gear.
Plastic surfaces and temperature swings make stickers fail, so use holders or sleeves for long-lasting labels on bins and boxes.
- Practical benefit: copy-and-paste label names let you implement quickly across rooms.
- Quick tip: keep the same format for boxes and drawers so contents read the same everywhere.
- Example approach: ROOM — CATEGORY — DATE (when useful) for clear, consistent labels.
Conclusion
A simple, repeatable system will keep your boxes readable and your home calm.
Make clear categories, use consistent wording, and place tags where you can see them without moving anything. That is the best way to keep your storage usable and to cut daily search time.
Plan first, label second, then add color or a small inventory only if it saves you time. Choose materials that match the shelf, bin, or garage so labels last and the system survives wear.
Keep a quick upkeep habit: update a label or swap the insert when you change contents. The result is fewer lost items, faster routines, and a calmer home.
Next step: pick one problem zone, make a short master list, and label that area this week.