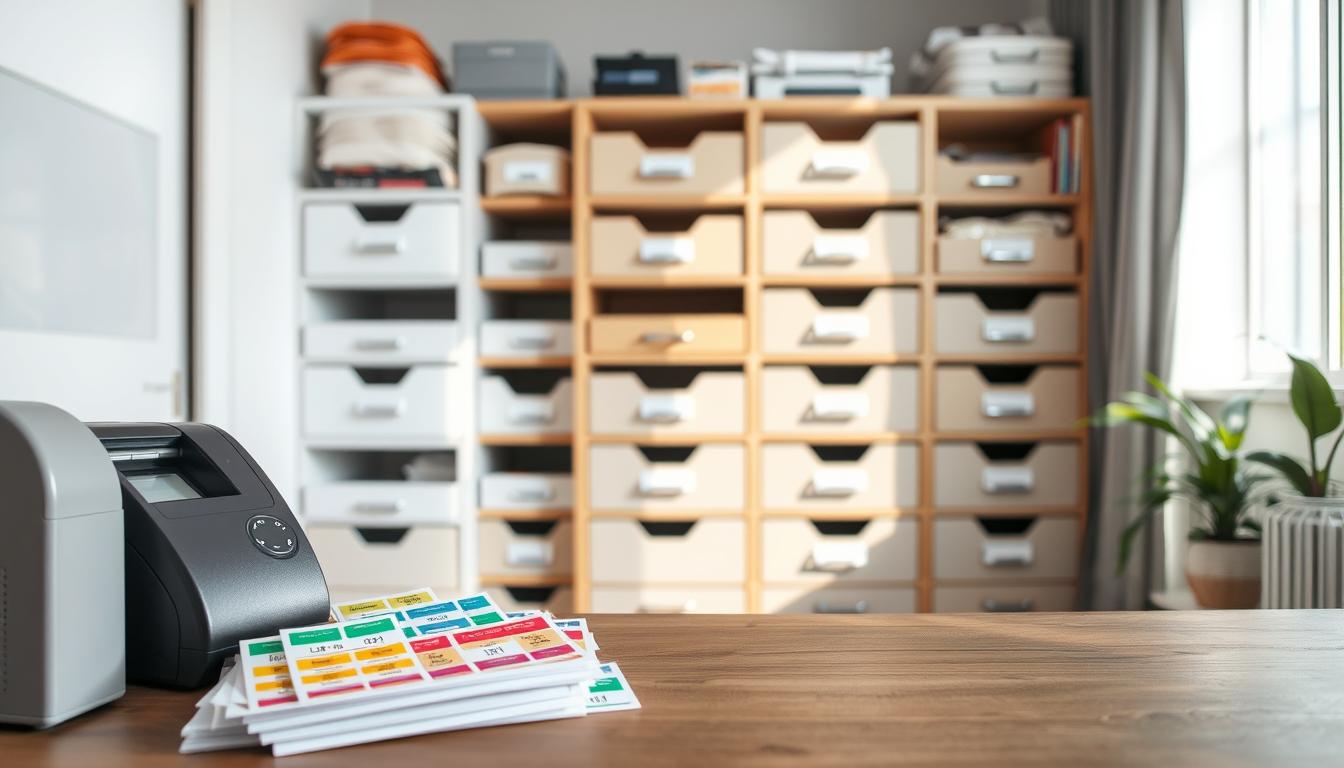
You want labels that last through handling, abrasion, moisture, and sun. This guide sets realistic expectations for what “permanent” means in real life.
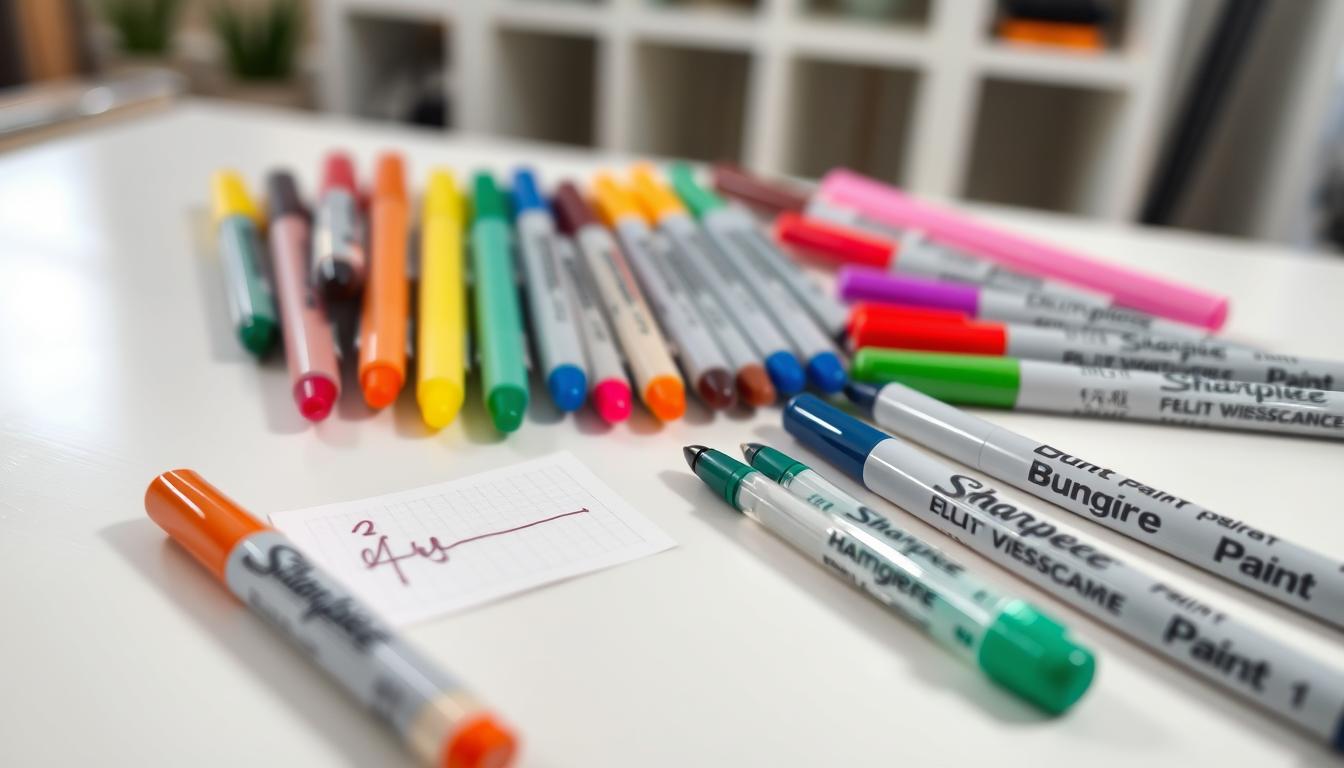
At the core is a simple shopper choice: Sharpie-style permanent markers or oil-based paint pens. Sharpies dry fast and work on many surfaces but can bleed on thin paper. Paint pens give more opacity and longer wear on dark or slick surfaces.
This short guide is a product-roundup decision tool. First, you’ll get quick recommendations. Then we dive into surface-by-surface picks and simple techniques so you don’t waste a pack.
You’ll learn how tip size, color opacity, dry time, and prep affect legibility and durability. Use the consistent framework here — surface compatibility, legibility, dry time, and long-term durability — to choose the right pen and ink type for your job.
Why “Permanent” Labeling Fails (and How to Make It Last)
Permanent marks fail when ink and surface refuse to cooperate. You need to match the marker chemistry to the surface and give the mark space and time to cure.

Ink vs. surface compatibility
Dye-based markers sink into porous substrates like paper and cardboard. That absorption helps fast dry but can cause bleed and feathering.
Slick plastic, coated metal, or glossy finishes repel dye ink, leading to beading and smears unless you use oil-based options. Different types of ink behave very differently on these surfaces.
Smudge, bleed, and fade
The three permanence enemies are simple: smudge from oils on hands, bleed into fibers, and fade from UV and handling. Opaque paint looks bold but still can smear if it hasn’t cured.
Dry time and handling
Fast-dry markers win when you label during moves, events, or quick storage runs. Oil-based markers may take up to about four minutes to set and are vulnerable if touched too soon.
Practical tips: prep the surface, test on a scrap, use light strokes, and wait the recommended cure time before stacking or heavy use.
- Use gentle pressure on porous surfaces to reduce bleed.
- Press firmer on glossy items to push ink down but expect longer dry time.
- Always test on similar material before committing to a full job.
Paint Pens vs. Sharpies: The Quick Take for Busy Shoppers
Pick the right tool fast: one choice favors speed and low mess, the other gives stronger contrast and longer wear. This short guide helps you choose by surface, dry time, and expected mess.

When a Sharpie permanent marker is the better tool
Use a Sharpie-style permanent marker when you need speed. These markers dry quickly and work well on cardboard, paper labels, and quick “write and stack” jobs.
When an oil-based paint marker is the better tool
Choose an oil-based paint marker when you need opacity on dark or slick surfaces. Paint gives a bold, opaque line on plastic bins, metal tools, and glossy gear.
What to expect for dry time, pop, and mess potential
Dry time: marker ink often feels dry fast. Paint usually needs about four minutes to set and can smear if you touch it too soon.
- Grab-this-if: Sharpie-style markers for speed and low mess; paint markers for maximum contrast on dark or non-porous surfaces.
- Mess potential: paint can smear if you brush it; marker can transfer if the surface is oily or not fully set.
- Color guidance: use black or blue for everyday readability; metallic and light colors add pop on dark backgrounds.
What to Look For in a Labeling Pen Before You Buy
Pick a marker by matching ink chemistry to the material you’ll write on. That single choice affects dry time, contrast, and how long your mark resists water or sun.
Ink type basics
Permanent marker ink dries fast and soaks into porous surfaces. It’s a good grab-and-go option for cardboard and paper.
Oil-based paint markers give opaque coverage on slick plastics, metal, and dark surfaces. Expect longer cure time but stronger pop.
Tip styles and point size
Know the nibs you need: ultra-fine for tiny text, fine for everyday notes, bullet for steady strokes, and chisel for broad labels.
Point size matters — a 1 mm fine point (Sharpie Fine Point is an example) works well for most tags. Thicker tips make bold lines but can overwhelm narrow tape.
Opacity, durability, and pack strategy
- Opacity: light inks like white or silver from paint markers read on dark bins where black might look transparent.
- Durability: look for water resistance and light-fast, pigment-based ink like Sakura Pigma Micron when fade risk matters.
- Packs & variety: buy a multi-pack of black markers if you label a lot, or a small variety set when you need color coding without wasteful extra sizes.
Best pens for labeling: Top Picks by Surface and Situation
A surface-first shortlist helps you buy the right marker without guessing. Below are practical recommendations to match ink chemistry and tip style to common jobs.
Cardboard and moving box work
Use a fast-drying permanent marker that soaks into fibers. It stays readable and you can stack boxes quickly without long waits.
Plastic bins and storage totes
Oil-based paint markers like Uni Posca or DecoColor give opaque lines on slick, dark plastic. Expect longer dry time and avoid stacking until set.
Metal tools, parts, and shop storage
For high-contrast, abrasion-resistant marks on metal, choose oil-based options such as a Sharpie oil-based paint marker. They stand up to rub and grease.
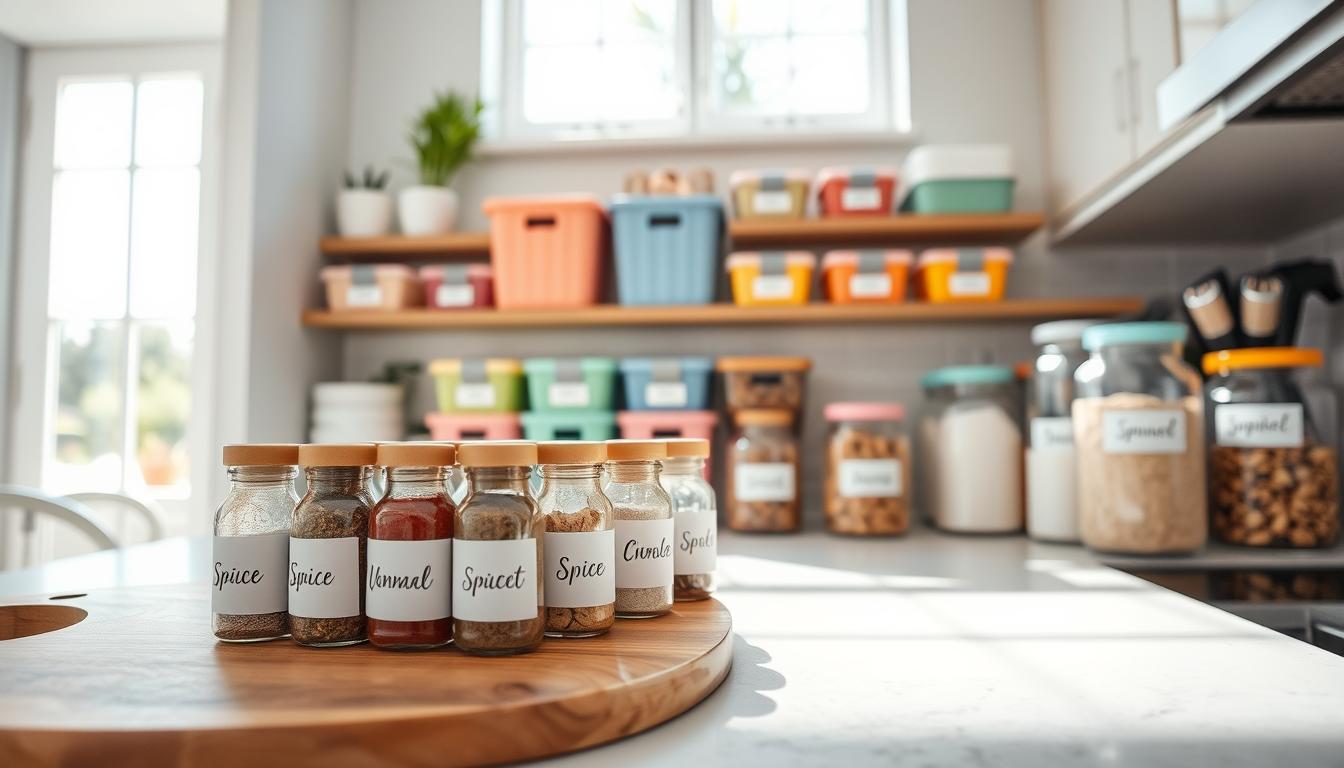
Glass jars and bottles
White or metallic paint from Uni Posca reads best on clear or dark glass. Wipe the surface with a microfiber cloth before you write to remove oils.
Fabric and washable items
Try a Sharpie Ultra Fine on fabric tests, but expect bleed on some fibers. Test, heat-set when appropriate, and use a fine point when you need small text.
Photos and glossy paper
Glossy surfaces smear easily. Pick a quick-dry permanent option with a fine tip and test on a scrap photo or edge before you mark treasured prints.
- Shopping tip: buy a small case or multi-pack with one black and one white option to cover most jobs.
Sharpie Permanent Markers for Labeling: What You Get
When you need clear, grab-and-go labels, a Sharpie often does the job with minimal fuss.
Fine point as the household workhorse
The fine point delivers a steady 1 mm line that reads well on box faces and bin fronts. The Strategist notes the Fine Point uses water-based permanent ink and comes in 49 colors.
Ultra fine for tight text and small tags
Use an ultra fine tip when you need to write on small tags, cables, or narrow tape. The finer nib keeps your handwriting legible without bulky strokes.
Color choices and common drawbacks
Black and blue give the clearest contrast on light surfaces. Brighter colors help with quick color-coding systems.
Watch thin paper and light cardboard: the ink can bleed through or feather. On dark plastic or painted metal, ink may appear transparent rather than opaque.
- What you’re buying: fast dry time, wide availability, and familiar, consistent lines.
- Tip use: fine point for fronts; ultra fine for tags and cables.
- Quick technique: write in one pass, avoid retracing, and let marks set before stacking.
Paint Pens for Labeling: What You Get
Oil-based paint markers give labels real visual weight on dark and glossy surfaces. They lay down a thick, opaque line that reads at a glance on bins, tools, and gear.
Opaque marks that pop
The main advantage is contrast. Oil-based paint delivers solid coverage on black or shiny items. Brands like Uni Posca, DecoColor, and Sharpie oil-based options are common choices.
Tradeoffs to plan around
Expect longer dry time. Paint can take up to about four minutes to set and may smear if you touch it too soon. Pressing hard can over-release paint and cause blobs on smooth plastic or coated metal.
Tip and size strategy
Choose a medium point for bin fronts and bold readability. Use a fine tip when you need small text or narrow tags. Keep a mix of sizes if you label varied items.
- Define the advantage: opaque marks that stay readable on dark surfaces.
- Why “pop” matters: quick visual ID across shelves and racks.
- Dry time expectations and smear risks—wait before stacking.
Surface-by-Surface Recommendations (So You Don’t Waste a Pack)
A quick surface check prevents wasted markers and messy labels. Match your ink to the surface and you’ll avoid smears, bleed, and faded marks.
Porous surfaces: paper, cardboard, unfinished wood
On porous materials, absorption helps quick-dry permanent markers. That soaks ink in and speeds set time but can cause feathering.
Use a firmer tip to keep edges cleaner and write with light pressure. Test on a scrap to check bleed before you commit.
Non-porous surfaces: plastic, coated metal, glossy finishes
Oil-based paint markers adhere and stay opaque on slick finishes. They tend to work better than dye inks here.
Beware surface oils; wipe with a cloth first. If you see beading, switch to a paint option and let marks fully cure.
Textured surfaces: fabric, canvas, stitched areas, rough plastics
Texture breaks lines and can skip. A medium nib often beats an ultra-fine tip on rough fabric.
Always run one quick test swipe. Use this short decision list to pick between marker types and save on unnecessary packs.
Fabric Labeling: What Testing Shows About Bleed and Fade
Fabric reacts to ink in distinct ways, and a quick test saves time and frustration.
The quilt experiment compared Kona Cotton, Essex Linen, AGF Pure Solids, and Pepperd Cottons. Researchers measured five criteria: bleed, writability, thickness, coverage, and fade.
The five-criteria checklist you can use at home
- Bleed — does the line spread on the weave?
- Writability — is the pen easy to control?
- Thickness — does the stroke match your label size?
- Coverage — is the ink opaque on the color?
- Fade — how much readability remains after wash cycles?
Why heat setting and wash cycles matter
The team waited at least an hour, heat-set marks with a hot iron, then ran five gentle/cold wash cycles and low tumble dry. This process reveals real-life wear and shows how many times a mark stays legible.
Fabric-by-fabric takeaways and quick advice
Kona held ink best with minimal fade but showed more bleed. Pepperd Cotton had almost no bleed but mixed wash durability. AGF bled most and was hard to write on, though it held ink. Essex Linen had poor coverage and faded to near unreadable.
Do a small test swatch on a like fabric, heat-set, and wash to view the final result before you label a finished quilt or garment.
Choosing the Right Tip, Line, and Color for Readable Labels
Match tip size to the label space and your handwriting will stay readable at a glance. Picking the proper point and stroke weight saves time and keeps marks legible across jobs.
Fine tip, medium, or chisel? Use a fine tip on small items like cards or collectibles where tight text must stay crisp. Choose a medium tip for larger surfaces such as box faces and tote fronts so your lines are visible from a distance. A chisel tip creates broad, consistent lines on wide tape or signs.
Color and contrast rules
Light or metallic paint reads best on dark plastic and metal. Dark inks give maximum clarity on light cardboard and paper. Pick colors that create clear contrast at a glance.
Preventing fuzzy lines
Fuzzy edges often come from too much pressure, retracing before ink sets, or using the wrong tip on porous surfaces. Use lighter pressure, make a slow single-pass stroke, and wait for paint or ink to cure before stacking.
- Tip match: size the nib to the label real estate.
- Stroke control: one steady pass keeps lines clean.
- Contrast: light inks on dark backgrounds; dark inks on light.
How to Prep the Surface for Cleaner, Longer-Lasting Marks
Preparing the surface first is the quickest way to stop smears and keep marks readable. A small bit of prep removes oils and dust that block adhesion and cause streaking on glossy materials.
Quick clean for glossy plastic and cards
Wipe plastic, coated metal, and glossy cards with a microfiber cloth before you write. This removes skin oils and dust that make ink bead or skip.
Test first on a similar side
Always do a short test on a like surface. A single trial will show beading, bleed, or skipping so you avoid ruining the final item.
Dry-time handling and workflow tweaks
Paint can take about four to five minutes to dry. Even when it looks set, touching too soon can smear the edge of the line.
- Why prep matters: clean surfaces increase ink adhesion and reduce streaks.
- Quick routine: wipe, wait a few seconds, then test one small mark.
- Handling: if you must stack or close lids, choose faster-drying ink or build in a waiting window.
- Practical work tip: label first, then pack or stack later so you avoid wet marks.
Use these simple steps each time you label an item and you’ll get clearer, longer-lasting marks with minimal fuss. This small amount of information saves you replacement marks and wasted time.
Use-Case Roundup: Which One You Should Grab for Your Project
Deciding quickly saves you a wasted marker and extra work. This short guide maps common scenarios to the right tool so you can act with confidence.
Fast labeling at home or work: why Sharpies win on speed
Choose a fast-dry permanent marker when you need near-immediate handling. These markers set quickly and let you stack, move, or hand off items without long waits.
In a hurry case — like moves or quick inventory — permanent markers reduce delays and keep your team moving.
High-visibility labels on equipment and bins: why paint markers win on opacity
Pick an oil-based paint marker when visibility matters. Paint delivers opaque, high-contrast lines on dark plastic and metal that others often fail to match.
Use lighter or metallic paint on dark gear to boost readability at a glance.
Events and on-the-go writing: why dry time changes your best option
When items pass hand-to-hand, dry time is the deciding factor. Avoid paint markers in rushed settings like games or practice; they can smear if touched too soon.
Bring one quick-dry marker plus one high-contrast paint option and you cover most needs without overpacking your kit of options.
- Quick color tip: black or blue on light surfaces; light/metallic on dark equipment.
- Pack smart: one fast marker and one paint marker handle most real cases.
Shopping Tips: Getting the Most Value From Markers and Paint Pens
A thoughtful purchase strategy matches your labeling habits to the right pack and sizes. This saves money and keeps your marks clear across jobs.
When to buy bulk packs vs mixed-color variety sets
If you label a lot, buy bulk black markers. The Strategist notes fresh tips write cleaner, so a multi-pack of Sharpie Fine Point is a smart volume buy.
If you color-code or need occasional accents, a small variety set gives flexibility without wasting a large pack of niche colors.
Picking the right sizes so your tip doesn’t feel “too thick” or “too scratchy”
Keep one fine or ultra-fine for small tags and cables and one medium or chisel for bin fronts and wide tape.
The wrong nib size slows you down and harms legibility on textured surfaces. Test a sample before you commit to a large pack.
Storage and cap habits that keep ink flowing over time
Cap tightly after each use, store horizontally for chisel and bullet tips, and stand fine-point markers nib-up if the maker recommends it.
Replace dried-out tools rather than forcing weak lines that make labels hard to read. If a specialty marker is hard to find, pick a widely stocked alternative you can replace quickly.
- Cost control: avoid large multi-packs of rare colors unless you’ll use them often.
- Availability tip: search major retailers for commonly stocked options to refill easily.
- Practical pack rule: one bulk black plus one small color variety covers most needs.
Conclusion
Your label choice boils down to two needs: fast dry time or high opacity on dark gear. Pick the tool that matches that need and you’ll skip most problems.
Surface drives the decision. Porous paper and cardboard reward quick-dry permanent marker ink. Slick plastic and metal usually need opaque paint to read well.
For visibility, use white or metallic paint on dark bins and a bold black marker on light boxes. Wipe glossy surfaces with a microfiber cloth and always test a small area first.
Starter kit suggestion: one fine permanent marker for everyday boxes and tags, plus one medium oil-based paint pen for high-contrast work. Choose tip sizes to match label space and your handwriting.
With the right pair of markers and a quick test, your labels will stay legible and last longer.