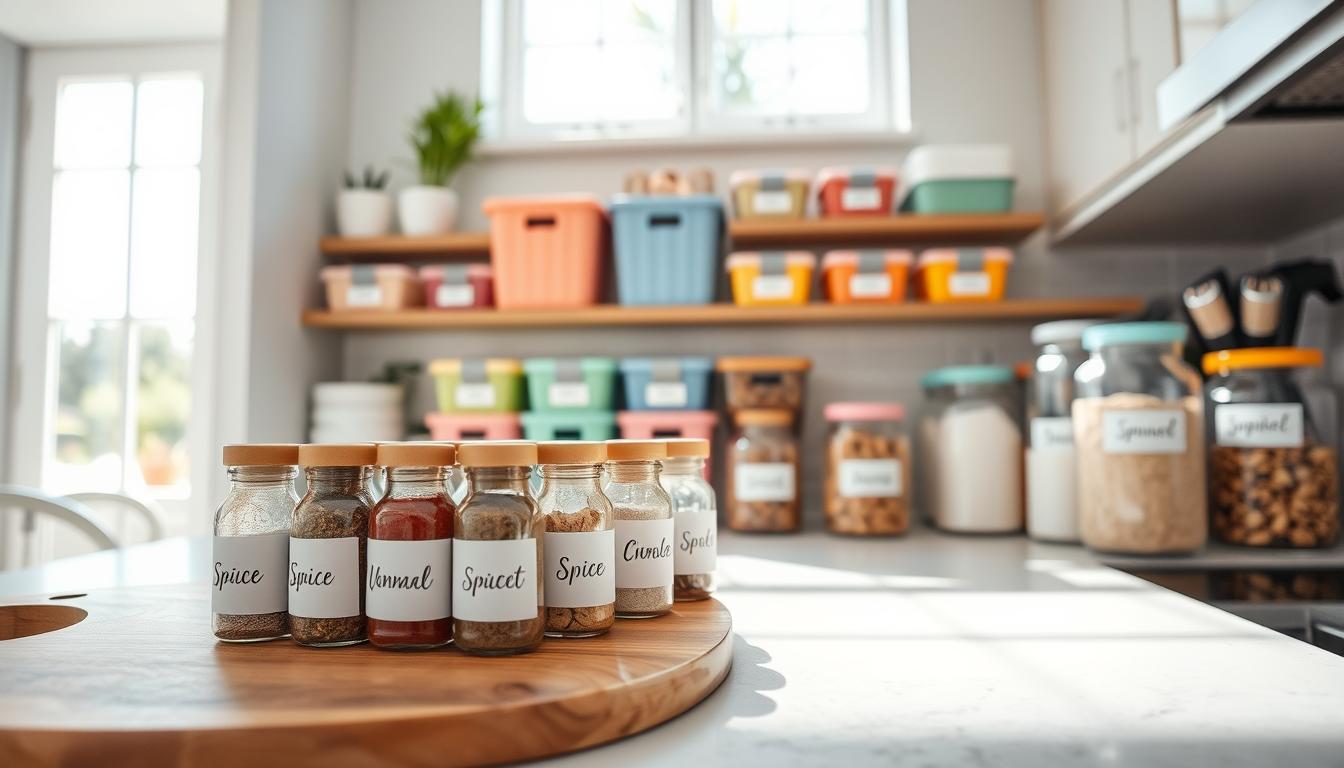
Organizing and labeling spice jars saves time and cuts kitchen frustration. You want to spot ingredients fast without lifting or turning each jar while you cook.
You’ll weigh two simple approaches: placing labels on the lid (top) or on the side. The right pick depends on how you store jars and whether you scan them from above or straight on.
This guide compares readability, durability, and aesthetics so your labels stay legible through daily use and wiping. You’ll learn which materials and print options hold up best.
Rule of thumb: put the label where you naturally view your jars. That keeps mixed containers looking consistent so you don’t replace brands to get a tidy set.
Expect practical examples using familiar names like McCormick and Trader Joe’s, plus DIY print-and-cut workflows. By the end, you’ll have a simple system that fits your time, tools, and budget.
Why Spice Jar Labels Matter in a Busy Home Kitchen
When your kitchen moves fast, readable labels cut decision time and stress. Clear tags help you reach the right item without pausing to read tiny print or open containers. That saves minutes during weeknight cooking and reduces frustration when you’re juggling pans and timers.
Save time and money: mislabeled or missing markers lead to duplicate purchases. You end up buying the same product twice because you couldn’t find what you already own. A simple system prevents that hidden cost.
Make shared cooking easier: friends, partners, or kids can identify items quickly and return them properly. This keeps your kitchen organized and enforces a “place for everything” habit without you managing every move.
- Reduce decision fatigue by making common items instantly visible.
- Spend more time cooking and less time scanning shelves.
- Unify mixed brands visually without replacing containers, a low-cost fix that boosts your kitchen’s look.

Choose Top vs. Side Labels Based on Where You Store Your Spices
The sightline you use most often decides whether lids or fronts work better for quick scans.
Wall cabinets with tiered shelves, door racks, and gripper strips
On stepped or tiered shelves, bottles in back are easy to hide. Use top-facing cues on the lid edge for those back rows so you don’t pull each container out.
Door-mounted gripper strips are a smart, space-saving option for frequently used items. They keep names at eye level so side labels read easily without lifting.
Walk-in pantries with pullout drawers and clear bins
Pullout drawers and clear bins favor overhead viewing when open. That makes lid labels work well for rows you open and scan from above.
Shelves in a pantry still call for front-facing labels. You can mix top and side placement by zone to match how you reach and see each shelf.
One caveat: lazy Susan trays often waste corner space and hide bottles behind the front row.
Under-counter pullouts near the cooktop for fastest access
Drawers next to the cooktop are designed for speed. You open and glance down, so top labels on lids are the most intuitive here.
- Think about how you naturally view spice jars in each storage style and pick placement to match that sightline.
- Rule of thumb: you should be able to read the label without lifting or twisting any jar while you cook.

Top vs. Side Labeling: Pros, Cons, and Best Use Cases
Choosing the right placement for your tags makes grabbing the right item almost automatic. Match placement to how you open and view storage to reduce pulls and spills.
Top labeling for overhead visibility
Best for drawers and pullouts: when you glance down, lid tags let you scan rows without lifting each container. This saves time near the cooktop and in under-counter pullouts.
Side labeling for front-facing shelves
Best for open shelving and pantry displays: front-facing tags work when bottles line up label-forward on shelves. You read names at eye level and keep a tidy, display-ready look.
Space, readability, and durability
Round lids limit font size and narrow bottles restrict label width. Pick typography that stays legible at small sizes.
Durability matters: oils, water, and frequent handling wear labels. Use stronger adhesives, waterproof material, or a topcoat to preserve the finish.
- Top vs side: overhead scanning vs front-facing readability.
- Choose label material and finish for durability in a cooking zone.
- Unify color and typography across brand and container material (glass or plastic) for a cohesive look.
Labeling spice jars: How to Create a System That Works
Begin with the bottles you already own and group them by type and brand so labels fit consistently. This reduces guesswork when you pick a circle size and keeps the final set tidy.
Measure lids carefully: measure the inside rim and pick a circle that sits snugly. Common examples: McCormick glass lids ~0.87–0.90″, Spice Islands metal ~1.00″, McCormick red ~1.10″, store-brand black plastic ~1.18″. Use these as reference to avoid peeling at the edge.
Prep lids by removing old stickers, washing off oil, and lightly scuffing shiny surfaces with coarse sandpaper. Dry fully so adhesive or decoupage bonds well.
Design labels for fast scanning: keep the alphabetizing word large, use high-contrast text, and limit names to one or two words for blends and single herbs.
- Print at home on your chosen paper, then use Print-Then-Cut tools and a light-adhesive mat for clean circles.
- Apply with a decoupage medium or strong adhesive, smooth bubbles, then add 4–5 protective topcoats.
- Optional: repaint lids to unify color across mixed brands for a cohesive look.
Pick the Right Label Materials and Finishes for Your Jars
The best label choice depends on how you use your pantry and cook. Frequent cooks need tougher materials. Occasional bakers can save with budget-friendly paper.
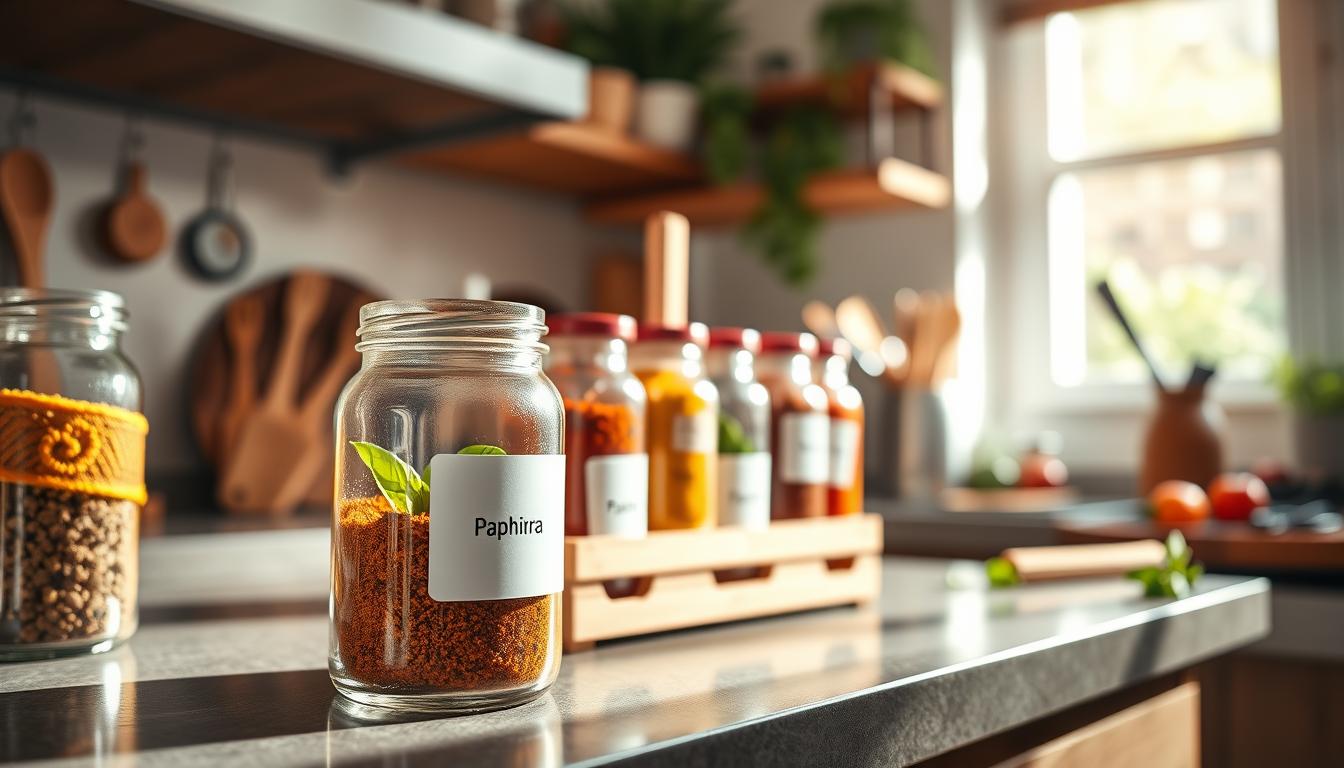
The modern route is clear, transparent labels. They let the seasoning color show through and give a clean look on glass and many plastic containers.
Paper vs. waterproof choices
Paper labels are cheap and easy to print. They work well for low-touch products and gifts.
Waterproof materials resist oil, steam, and frequent wiping. Choose this for jars near the stove.
Quick-change and decorative options
Chalkboard labels and washi tape make relabeling fast when you swap blends. Kraft, metallic, and vintage finishes lift homemade products for gifting.
Fabric and metal finishes
Fabric adds texture but can fray and fade. Metal looks premium and lasts longer, but has a higher cost and needs strong attachment.
- Pick durability where you cook daily.
- Pick paper for occasional use or baking mixes.
- Pick metal or waterproof for long-term, high-use storage.
Printing Options and Practical Setup Tips at Home
Pick a printing path that matches how many labels you need and how much hands-on time you want.
Using a standard printer with printable sheets
Print at home on inkjet or laser label sheets and use free templates like Avery for alignment. This keeps printing simple and low-cost.
Tip: print a test page first and confirm scaling is set to 100% so circles match lid diameters or side label size.
Cutting machine workflow for consistent circles
Use a cutter (Cricut, Silhouette) with a Print-Then-Cut workflow. Your printer adds the art and registration marks; the cutter trims perfect circles every time.
When a label printer makes sense
Choose a thermal label printer if you label many products, need multiple sizes fast, or want stronger adhesive and consistent output. Suppliers offer both permanent and removable supplies for different needs.
Permanent vs. removable adhesive and information design
Permanent adhesive works for long-term containers you clean often. Removable is best if you swap products or reuse vessels.
- Match label size to the real lid or bottle front for legibility.
- Prioritize the product name; keep secondary info smaller.
- Standardize templates by size to avoid reprints and wasted sheets.
Conclusion
The simplest test: can you read the name without handling the bottle? If yes, the placement works. Top labels win in drawers and pullouts; side labels work best on front-facing shelves.
Benefits: clear labels spice jars faster, cut duplicate buys, and make your kitchen easier for others to use. A cohesive set of jar labels and optional lid repainting unifies mixed bottles without replacing containers.
Pick one zone—an under-counter pullout or one shelf—and label it fully. Keep the system simple, consistent, and readable so it saves you time and space at home.