Once you pour pantry staples into jars or bins, the original labels vanish, and you are left guessing how long things stay good. In the U.S., confusing labels lead many people to toss food early; that simple misread can waste a year’s worth of supplies over time.
This short how-to shows practical Expiration date hacks you can use without turning your kitchen into a spreadsheet. You’ll learn clear steps to track both quality and safety for pantry, fridge, and freezer items.
Expect a simple system: a two-date label (decanted/opened + best-by), rotation rules, container choices, and a weekly check routine. These moves help you make “use it up” decisions based on storage and quick checks—not panic.
Safety matters most for meat, fish, and infant formula. For many packaged goods, manufacturer dates guide quality more than safety. By using a few quick tricks, you will cut waste and improve your kitchen experience.
Why Decanting Makes Expiration Dates Hard to Track
When you pour staples into new jars, the little printed marks often vanish with the packaging. That loss makes it tricky to tell how long food has been sitting on your shelf or in your fridge.
Common kitchen moments where the info disappears:
- Cutting off a flour bag top or tossing a cereal box and losing the label.
- Pouring snacks into a bin and throwing away the original packaging.
- Transferring sauces or oils and missing tiny codes on lids or bottle necks.
Many codes print on bottoms, side seams, lids, or necks. When you move items, you separate the goods from their context — best-by marks, lot codes, or freeze-by notes. That makes once-clear products become mystery jars.
Missing marks push you to be cautious. If you can’t remember how old something is, you often decide to throw away the item rather than risk it. You may also buy duplicates when a bin looks low, and more forgotten things get shoved to the back.
Quick fix setup: preserve the printed info or add a clear tag at the moment you decant so the relevant mark is visible when you use the food.

What Date Labels Actually Mean in the United States
Label meanings on food packages can be confusing, but they usually tell you more about quality than safety. Knowing the common terms helps you mark jars correctly before you decant.
Key label definitions
- Sell-by date — guidance for a store on how long to display a product, not a strict consumer toss point.
- Best If Used By — indicates peak flavor and texture for a food product; it is a quality benchmark.
- Use By — manufacturer guidance for peak quality; consumers often misread this as a safety cutoff.
Pack and freeze notes
Pack date tells when an item was packaged. Freeze by suggests when you should freeze to preserve quality. Both help with rotation and planning even when they are not strict safety markers.
Keep in mind: printed marks generally guide quality. For true safety, pair those marks with storage conditions and simple checks like smell and appearance. Treat many printed dates as signals, then label your jars so you track both opened timing and original guidance.

The Big Misconception: Date Labels Aren’t Always Safety Deadlines
Labeling rules change by state, and manufacturers often set marks for quality, not safety. That means many printed marks you see are about peak flavor or texture, not a legal cutoff you must follow.
Many manufacturers choose dates based on testing, supply chains, and marketing. They use product-specific facts and storage assumptions to guess how long a product stays at peak quality.
Why this causes confusion
When the same term appears across products, consumers assume uniform rules. In reality, dates vary by region and product line. That uncertainty leads you to play it safe and toss items early.
- Dates are often about quality, not safety.
- Inconsistent information makes you doubt your judgment.
- That doubt drives waste: people discard usable food and replace it sooner.
Balanced approach: treat high-risk items conservatively, but don’t let vague marks force automatic disposal. Next, you’ll get practical ways to preserve original information when you decant.
Expiration Date Hacks for Decanted Pantry Staples
A quick two-date label and a clear rotation rule keep your jars usable and visible.
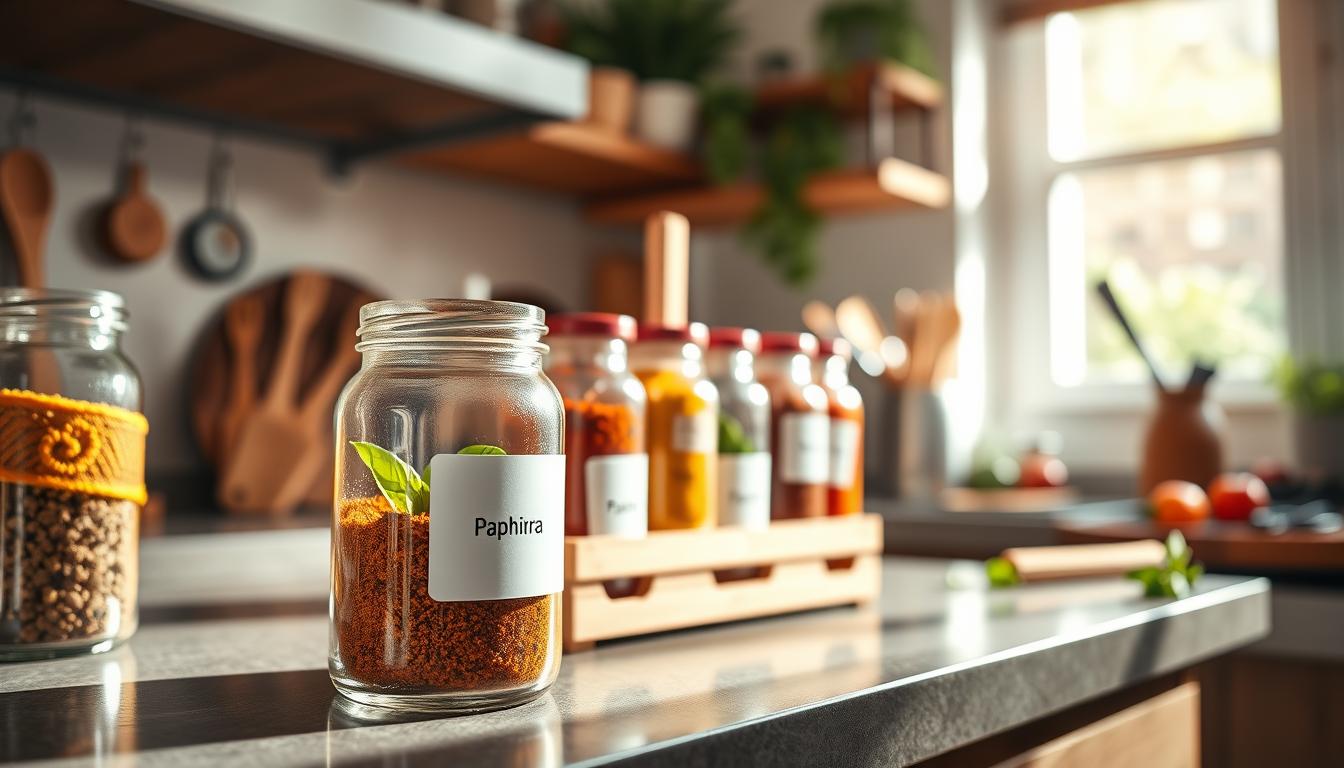
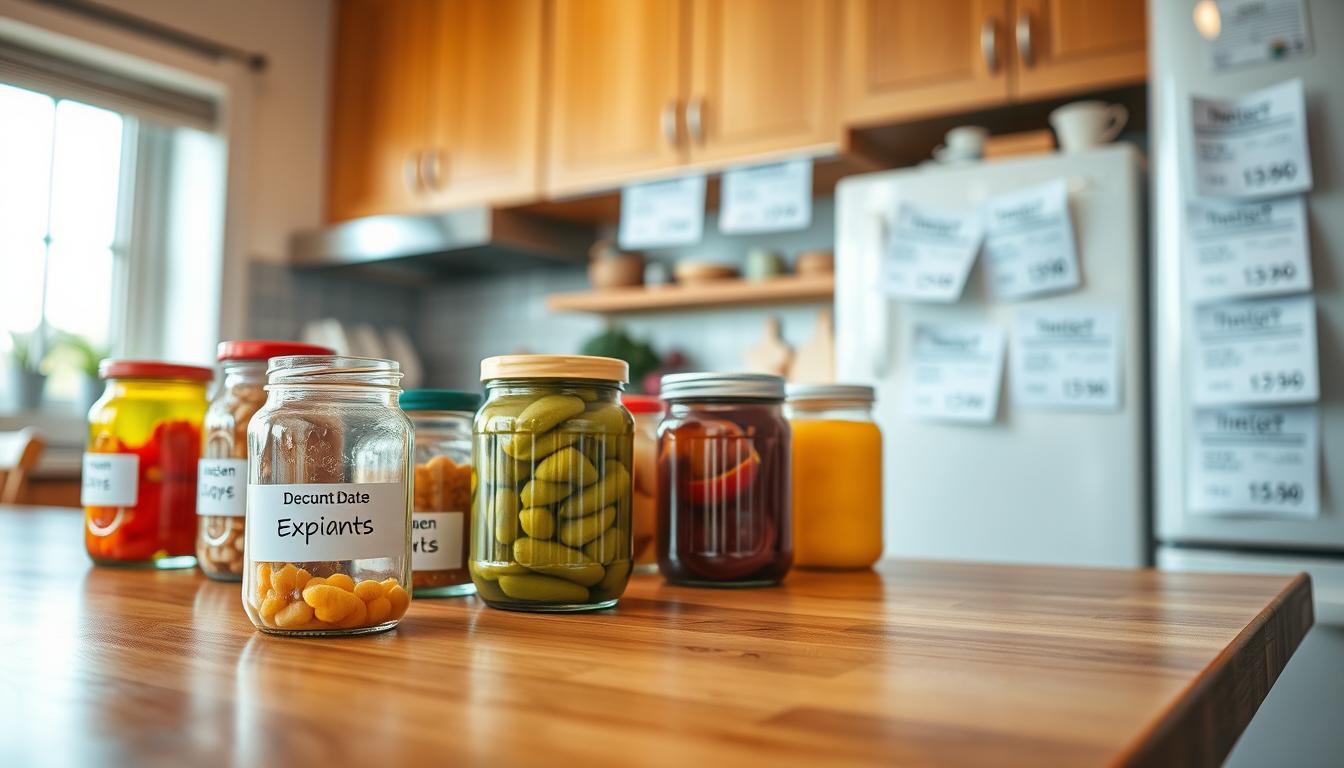
Start by adding two clear marks when you decant. Write “Decanted on: MM/DD” and copy the original “Best by: MM/DD/YY.” This takes only a few minutes and preserves both context and maker guidance.
Two-date system and opened-on notes
For items that stale fast, add an “Opened on” line instead of relying only on the manufacturer mark. Add a short “use soon” tag for fragile goods like ground nuts or cereals so you don’t guess a false expiration.
Rotation rule and container sizing
Always move older jars forward and place newer fills behind. Never pour new product on top of old without noting the original date.
- Match container size to your usage: smaller jars for rarely used bulk oats or spices.
- Smaller containers keep visual turnover and reduce waste for slow-moving foods.
Set a check window, not a hard toss
Instead of a strict discard day, set a reminder to check quality after a set window. Inspect smell, texture, and clumping for staples like rice, flour, sugar, cereal, and snacks.
Choose Containers That Help You Keep the Date (Not Hide It)
You want containers that invite a quick mark when you transfer goods. The right choice prevents lost printed marks and keeps your pantry working for you.
Clear containers vs. opaque containers for quality and visibility
Clear jars let you see the level and condition of items at a glance. They work well for low-light-sensitive staples like flour, sugar, and most spices.
Opaque containers protect light-sensitive products such as oils and coffee. Pick opaque when quality suffers from light, even if you lose a bit of visibility.
Lids, necks, and bottoms: where dates usually live before you decant
Manufacturer marks are often on the bottom, side, lid, or neck of bottles. If you don’t copy that mark before pouring, you may lose it entirely.
Use containers with flat fronts or smooth surfaces so a readable label fits easily. The best container is the one you will actually mark each time, not the one that looks prettiest.
- Choose flat fronts and smooth surfaces for clear labeling.
- Balance visibility and quality — clear for view, opaque for protection.
- Create a quick pre-decant routine: find the printed mark, then record it on the new jar.
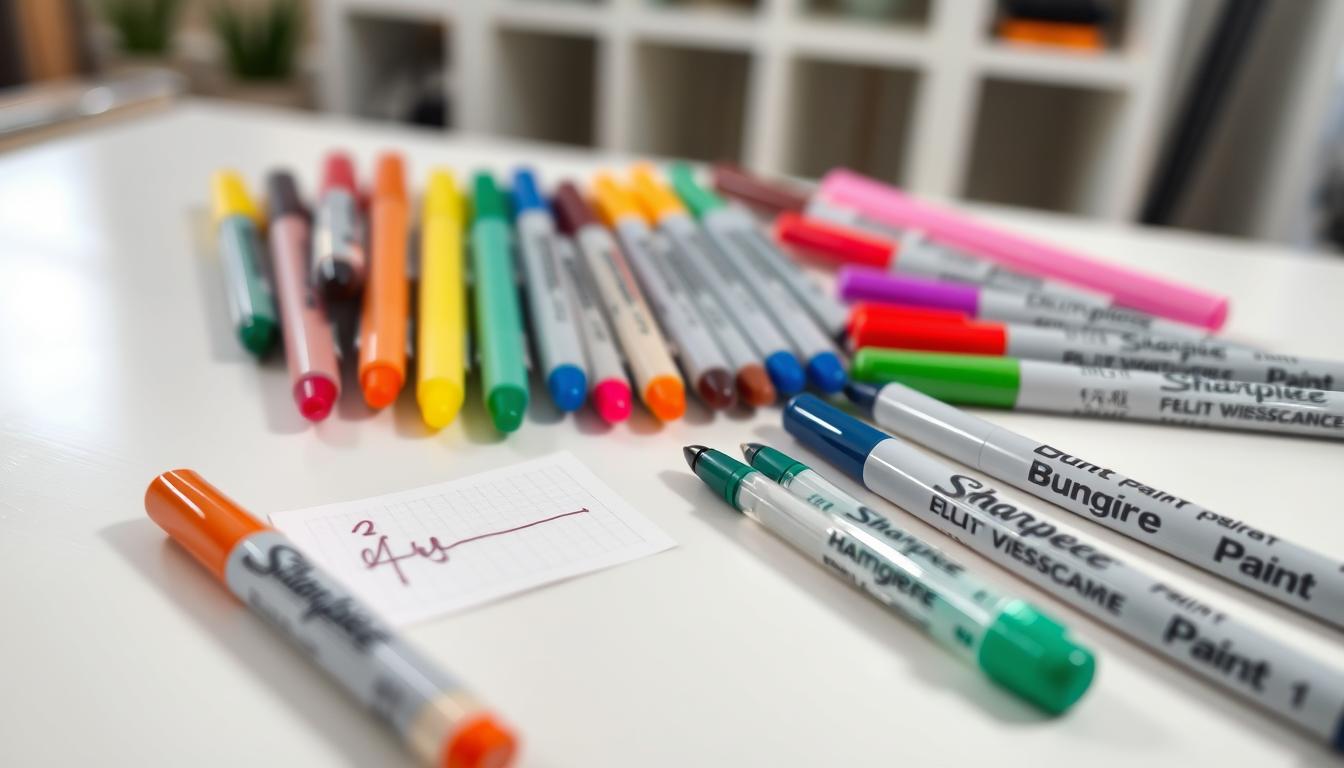
- Keep a small labeling station (marker + tape or labels) next to where you decant.
- Examples: use an opaque tin for coffee, a clear jar for baking staples, and a labeled bottle for oil.
Labeling Methods That Stay Put in the Fridge and Freezer
Cold environments demand labels that won’t peel when condensation forms. A few reliable choices keep your jars and packs readable and your kitchen safe.
Freezer tape and permanent marker basics
The best combo for cold storage is freezer tape plus a permanent marker. Write a compact line: Item + date + notes (for example, “Chicken — 03/05 — thawed”).
Use the front of the container so condensation and handling don’t rub the mark off. Avoid textured plastic; choose smooth surfaces for writing.
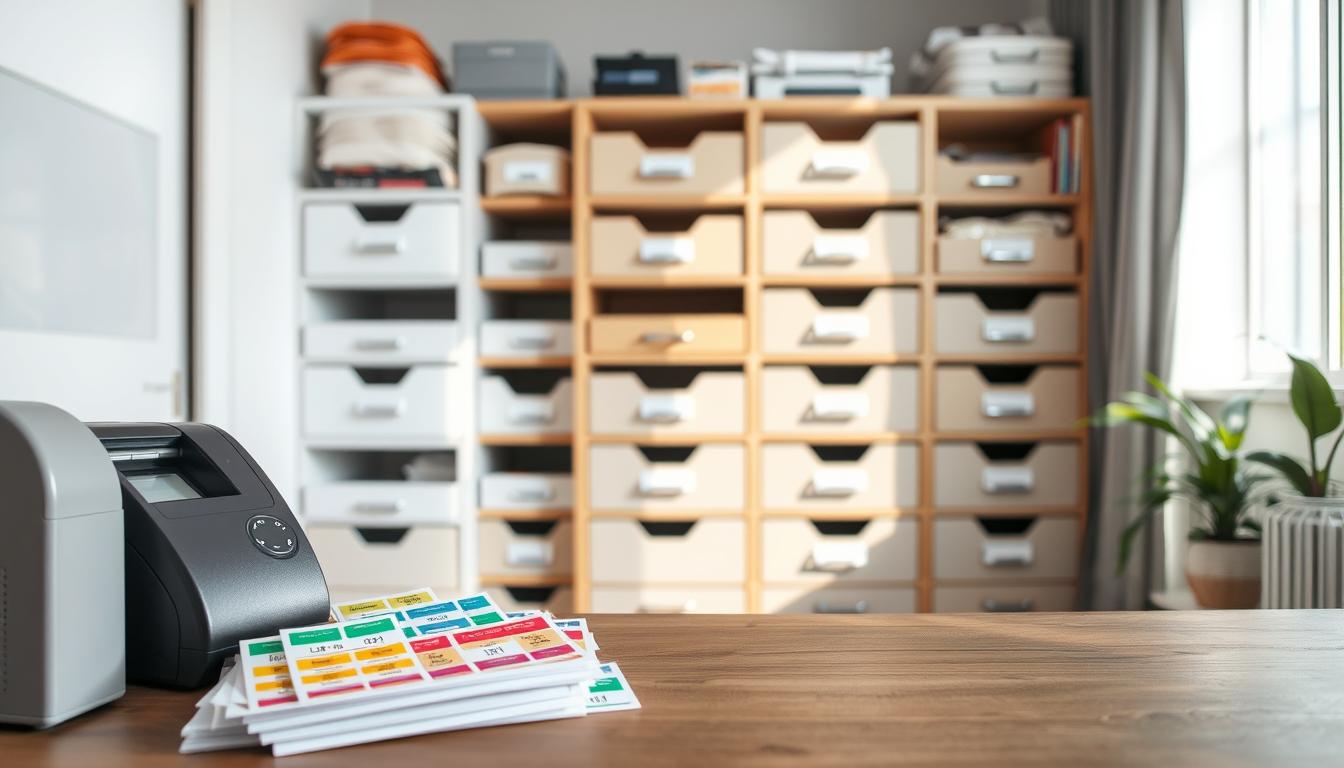
Dissolvable labels for jars and reusable bottles
For glass jars and reusable bottles, use dissolvable labels that rinse away cleanly. They let you wash and relabel without sticky residue.
Peel-off or water-soluble tags save time and cut down on leftover glue that hides product info.
Color coding by food group and risk level
- Simple system: raw proteins = red, leftovers = yellow, produce = green.
- Color tags make it fast to spot what to use first and what needs special attention for safety.
- Adopt a one-day rule: if you repack something today, label it today—no exceptions.
How to Track Dates Digitally Without Overcomplicating It
Digital tools can give you useful information without adding work. Use them for items that tend to vanish at the back of the fridge, specialty foods you use rarely, or anything you’d rather not lose track of for a year.
Phone reminders for open-on and use-soon alerts:
- Create a reminder the moment you decant. Name it like: “Open date: pesto.”
- Add one follow-up alert—”Use soon: pesto”—a few days or weeks later depending on risk.
- Limit yourself to two alerts per item so the system stays doable.
Keep it simple so you actually use it
Pick one reminder app and one naming convention. For example, always start notes with “Open date:” then the item name. This makes search and filtering fast for everyone in the house.
Shared lists for households
Use a shared note or grocery list so people see what needs to be used soon. That reduces duplicate buys and keeps items from being forgotten.
Quick workflows that take minutes:
- Set a weekly recurring reminder called “Fridge check” to scan for close-by items.
- Create ad-hoc reminders for high-risk items when you decant them.
- Spend two minutes when you add an item—this saves time later and cuts waste.
When you add a small digital step, people in your home get better visibility, and consumers see fewer surprise throwouts. Over a year, that simple habit can cut waste and save money.
Use Your Senses First: The Fast Safety Check After Decanting
Before you trust a label, run a quick three-step sensory check. This routine helps you judge current condition in seconds and keeps you from tossing food prematurely.
Smell, sight, and texture cues that signal spoilage
Smell first. A sharp, sour, or rancid odor is a clear no. If it smells off, do not taste it.
Look closely. Mold, odd discoloration, or unexpected separation are strong signs to discard. Some harmless separations—like oil rising on nut butter—can be stirred back in.
Touch and texture. Slimy or sticky feels on proteins, deli items, or soft produce are warning signals. Dry clumping or minor crusting in dry goods can still mean usable quality.
When “looks fine” is not enough
Labels tell you how long something has been stored, but your senses tell you what’s happening now. Many items remain okay past a printed date if they show no spoilage.
- Strong “no” cues: mold, rancid odor, slimy texture.
- Often normal: harmless separation you can stir, slight color shifts in fermented foods.
- High-risk foods: be conservative with raw meat, fish, and soft cheeses—safety matters more than saving a bit of food.
Never taste to test a suspect item. Use your senses, pair them with your labels, and when in doubt, throw it out. That keeps your kitchen safe and reduces risky guesses about whether something is still safe eat.
Milk, Eggs, and Other Fridge Regulars: Practical Freshness Rules
Everyday fridge items need simple rules so you stop tossing perfectly good food. Use short labels and quick checks to make safe choices without overthinking the printed marks.
Milk
Note the opened/decanted on day and keep milk cold. If milk smells normal, it is commonly still safe about a week past the printed mark.
Rule: mark “opened on” and do a smell check before using. If it smells sour, discard it.
Eggs
Eggs often keep for weeks in the fridge when stored in their carton or an organizer. If you move eggs to a bin, label the carton with “moved on” plus a check-by day.
Use the float test when unsure: a sinking egg is usually fresh; a floating egg signals you should toss it.
Produce
Wilted greens can still be safe to cook; rinse and use them soon. Throw away produce that is moldy, slimy, or has widespread decay.
Tip: if one item molds, check nearby foods and discard anything with visible mold to avoid cross-contamination.
- Labeling: for pitchers, egg trays, or produce boxes write “opened/washed on: MM/DD” and add a short “check by” note.
- Storage matters: keep your fridge temperature steady and handle foods with clean hands to extend quality and safety.
Meat and Fish: Date Tracking That Prioritizes Food Safety
For chicken and fish, timing matters more than fancy labels—act fast to lock in safety and quality.
You’ll set stricter rules here. Raw proteins carry higher risk than many pantry goods. Freeze or cook them quickly if you won’t use them within a short window.
Freeze timing and why it matters
When you can’t cook within a couple of days, move chicken or fish to the freezer. Freezing within about two days of purchase or sell-by guidance reduces bacterial growth and preserves texture.
Label freezer packs with a simple template
- Template: cut (chicken thighs) • qty • freeze date • optional “use first” note
- Mark clear dates so rotation is fast and mistakes are rare.
- For bulk packs, split into meal-size bundles before freezing.
Quality vs. safety after thawing
Once thawed, cook promptly and avoid refreezing unless you handled it safely. Freezer storage keeps foods safe longer, but flavor and texture can decline if wrapping is poor or items stay too many days frozen.
Freezer Strategy: Turn “Freeze By” into Your Anti-Waste Tool
Use the freezer as a planned shelf, not a catch-all, and you’ll waste less food. Treat “freeze by” as a quality guideline—freeze while texture and flavor are still good so you preserve the best results.
Freeze-by labeling workflow you can do in minutes
Quick routine (takes a few minutes):
- Portion into meal-size packs.
- Wrap or press out air, then seal in freezer-safe bags.
- Write the freeze date on the front and stack flat for fast chilling.
This workflow makes rotation simple and speeds freezing so foods keep better quality.
Portioning foods so you thaw only what you’ll eat
Portioning prevents wasted leftovers. Freeze bread, cooked grains, soups, and proteins in single-meal packs so you thaw only what you need.
Smaller packs mean fewer leftovers you don’t trust later, and clearer tracking of what’s in your freezer.
Prevent freezer burn to protect food quality
To avoid freezer burn, remove air, double-wrap fragile items, and use proper containers. Freezer-safe bags, vacuum sealing, or tight plastic wrap plus foil work well.
Freezer management is also about labeling: once you repackage, the freeze date becomes the main tracking mark for that item.
Decoding Confusing Codes and Dates Before You Repackage
Before you repackage, learn to spot which markings actually guide consumers and which do not. That step prevents copying the wrong line onto your jar and keeps your system reliable.
Open dates vs. closed codes
Open dates are the consumer-facing labels you know: “best by,” “use by,” or “sell by.” They tell you about quality or retail handling and are useful to copy onto containers.
Closed codes are manufacturer tracking marks. They often include letters or long numbers and do not always indicate shelf life. Treat them as internal unless the maker explains otherwise.
Julian codes and eggs made simple
Some egg cartons and canned goods use a three-digit Julian code (001–365). Read it as the day of the year: 001 = Jan 1, 365 = Dec 31. If you move eggs into an organizer, copy that number and convert it to a calendar date so you and your family know when the product was packed.
Quick rules and common formats
- If the mark says “best by,” copy it to your label.
- Letters for months (JAN, FEB) or six-digit numeric strings are often batch or production codes—verify before trusting them as an expiry.
- Simple rule: if it lacks words like “best by” or “use by,” treat it as a code unless confirmed.
Decoding labels first saves you from transferring wrong info to new containers. When you know what a mark really means, your jar labels truly reflect the life of each food product.
Special Case: Infant Formula and Other Items Where Dates Matter More
When a product feeds a baby, you should treat its timing and storage very seriously. Infant formula is formulated for a vulnerable group, so marks that say “use by” are not flexible quality notes. If the label has passed, toss the product.
Why formula “use by” marks are strict
Formula supports infant nutrition and must meet potency and safety standards. Microbial growth or nutrient loss can harm infants. Consumers should not assume extended tolerance like they might with pantry staples.
How to store and label opened formula
- Keep the original container and instructions whenever possible.
- Write the opened date and time on the can, plus the manufacturer “use by” if shown.
- Close lids tightly, keep scoops dry, and store away from heat or moisture.
- Avoid decanting unless the maker explicitly permits transfer and you keep the instructions available.
- Other high-risk products, like sterile medical foods, also deserve stricter handling and clear labeling.
Build a Simple Kitchen System That Works Year-Round
Build a simple rhythm in your kitchen and tracking will become part of routine, not a chore. A few short habits keep your fridge and pantry usable and calm all year.
Weekly fridge sweep: what to check and what to move forward
Once a week, open your fridge and scan for leftovers and open items. Check for off smells or visible spoilage.
Move items you need to use first to eye level. Add a quick label to anything that looks like a mystery so you don’t guess later.
Monthly pantry reset: keep older products in reach
Each month, bring older products forward and push newer jars to the back. Check open bags for pests or staleness.
Confirm that your product labels still show the key date and the decanted-on note. Repackage any open goods into airtight containers when needed.
Shopping habits that prevent duplicates and forgotten foods
Before shopping, do a two-minute glance at your pantry. Update a shared list so others see what to buy.
Adopt one simple rule: don’t buy a backup product unless you can see you’re actually low. If you cook less some months, use smaller containers and slow your rotation.
- Repeatable system: quick weekly checks + monthly reset = less waste.
- Household fit: match container size and sweep frequency to how often you cook.
- Payoff: fewer forgotten foods, fewer wasted items, and a calmer experience when you decide what to cook.
Mistakes to Avoid When You’re Tracking Expiration After Decanting
You can lose track fast if you skip a quick label and a storage check. Small slips turn useful jars into guesswork, and that raises waste and risk.
Don’t trust the container alone
A pretty jar doesn’t extend life. Temperature, moisture, light, and cross-contamination shape how long a product stays good.
- Keep chilled goods cold; room heat speeds spoilage even in sealed containers.
- A dry pantry item can suffer from humidity even if the jar looks airtight.
- A small spill of raw juice can contaminate a clean-looking product and ruin its safety.
Label, identify, or let it go
“Mystery items” are jars without notes. If you can’t say what it is or when you opened it, don’t gamble.
- Either label with the best-known information or throw away the jar to protect safety.
- Never top off a jar with new product — that erases original expiration dates and breaks rotation.
- Avoid tossing food the moment a quality mark passes; many products are still safe if they look and smell fine.
- Capture the date first.
- Label second with item and notes.
- Store correctly third.
Conclusion
A short, repeatable routine will cut waste and keep your foods safer.
Copy the original date before you pour, add an opened or decanted date, and place the label where you reach for the item in the pantry, fridge, or freezer.
Remember that many printed marks signal quality more than safety. Use sensory checks—smell, sight, and texture—alongside labels to judge if food is still safe to eat.
Use the most effective expiration date hacks: two-date labels, simple rotation, container choices that support marking, and a quick digital reminder when needed.
Prioritize safety: be stricter with meat and fish, track freeze dates carefully, and treat infant formula’s instructions as non-negotiable facts. Pick one zone this week and start labeling to see immediate results.