Start simple: you pick a format — sheets, rolls, or stickers — then choose size, material, and quantity so your product looks intentional on shelf. This process keeps ordering easy while making sure the result matches your brand.
Next, upload your artwork or use a built-in builder to prepare the design. You’ll get a free digital proof and an artist review so the final label prints exactly as expected.
Typical timing: after you approve artwork, production usually takes 2–3 business days in the United States. You receive a tracking number when items ship, which simplifies planning for your business.
This guide previews key choices — sheets vs. rolls, paper vs. film, matte vs. gloss, safe zones and bleed, and removable options — to help you order custom printed pieces that improve shelf presence and product clarity without a long procurement process.
Why personalized labels matter for your business, packaging, and products</h2>
Think of each label as a tiny storefront that introduces your product before a customer opens it. A clear, consistent design can turn a quick glance into a sale. Good labeling boosts shelf impact, trust, and perceived quality.

When simple stock options are enough—and when custom printed labels win
Use ready stock for short runs, internal organization, or basic product IDs. They save time and cost when you don’t need branding finesse.
Choose custom printed labels for retail, gifting, or regulated products that need legible ingredients and warnings. These printed labels keep required details clear while looking professional.
How tailored labels improve brand look, customer trust, and shelf impact
- Mini billboards: a strong logo area and clear hierarchy grab attention fast.
- Consistent typography and color across products builds recognition and trust.
- Readable contrast and clean layout make your packaging feel premium.
- Well-placed product details reduce confusion and support compliance.
Choose the right label format: sheets, roll labels, or custom stickers</h2>
Match format to volume, application, and durability so you don’t pay for more than you need. Pick sheets for short runs, roll labels for efficient large runs, or die-cut stickers for promotional use.

Sheet labels for quick projects and small-quantity orders
Sheet formats work best when you apply by hand at a table. They have low minimums and are ideal for seasonal runs, samples, and testing new designs.
Roll labels for larger volumes and faster application
Rolls speed up production. Use roll labels if you apply by machine or need faster hand application. A laminated topcoat adds scuff and moisture resistance.
At higher volumes, a roll order can lower unit cost and simplify frequent reorders. Many providers price rolls competitively once orders reach roughly a $200+ threshold.
Die-cut custom stickers for promotions and branding
Die-cut stickers give a premium, tactile experience for event giveaways, inserts, or thank-you packs. They work as brand touchpoints when you want a removable, eye-catching piece rather than a permanent product label.
- Choose based on where the label goes (front panel vs wrap).
- Consider how fast you apply and whether a machine will be used.
- Factor in abrasion and moisture to pick the right finish and material.
Customizing pre-made labels with the size, shape, and layout you actually need</h2>
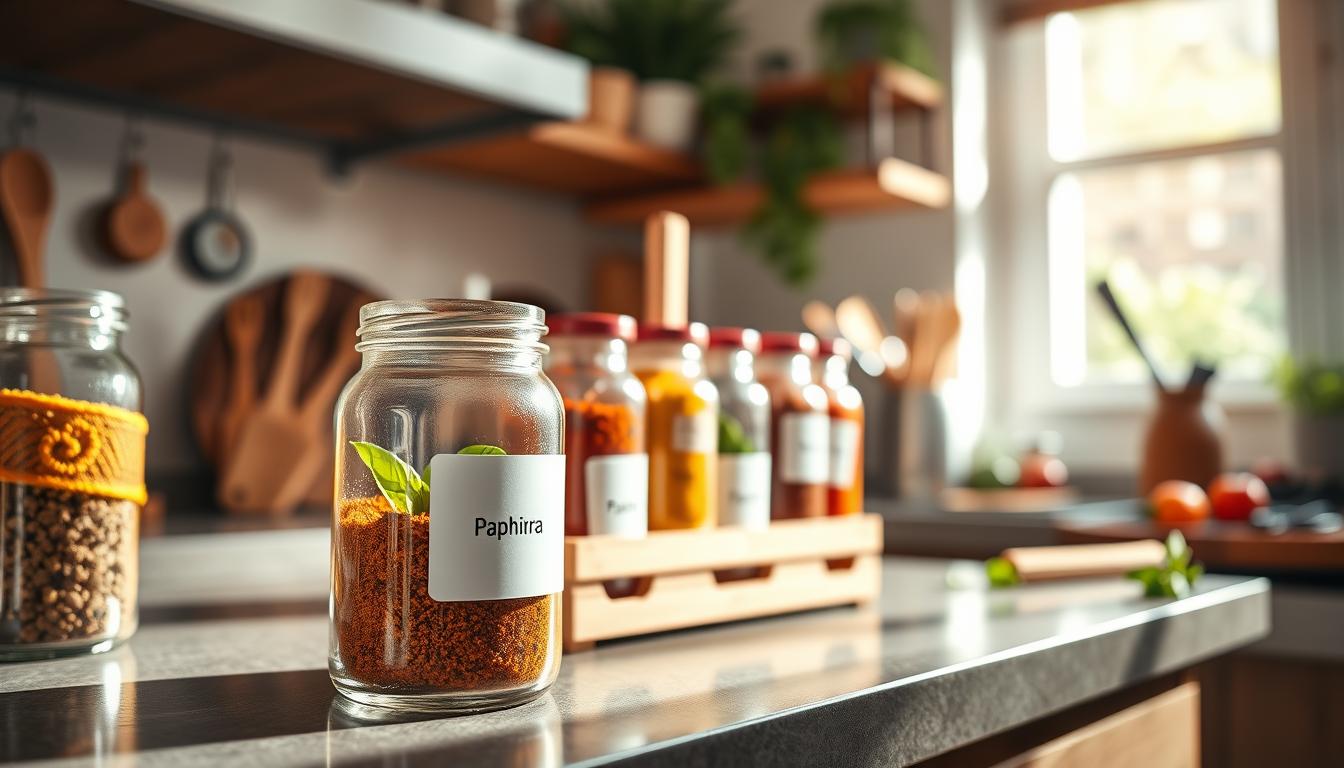
Start by measuring the exact surface where your label will sit. For boxes, record the flat panel width and height. For jars and bottles, measure diameter and note any curves or seams.
How to measure for jars, bottles, boxes, and pouches
Measure flat panels for boxes and pouches; use circumference for round containers. Leave a small seam clearance so the wrap isn’t too tight.
Standard shapes vs custom shapes
Standard shapes—rectangle, circle, oval, square—work fast and cost less. A rectangle supports more text and structured design.
Custom shapes can boost branding when a silhouette matches your logo. They’re available on rolls or stickers if you need a unique cut.
Safe zones, bleed, and avoiding cut-off text
Keep important text inside the safe zone and add bleed so trimming won’t crop your logo. Artist review often tweaks small margins before printing to ensure a clean finish.
- Measure where the label will sit, not just the container overall.
- Pick shapes that match readability and application speed.
- Build artwork with margins and bleed for professional printing results.
Select label materials that match your product environment</h2>
Pick a material that stands up to where your product lives — kitchen counters, cold storage, or outdoor shelves. The right choice keeps printing crisp and protects your brand during handling and transit.
Paper vs film (BOPP) for everyday use or heavy-duty durability
Paper stocks like White Matte, White Gloss, and Recycled White work well for dry, indoor products and short runs.
Film (BOPP) on roll stocks gives waterproof durability for beverages and items that face moisture or abrasion.
Weatherproof and freezer-grade options
Choose White Weatherproof, Freezer Grade Paper, or Clear Film for refrigerated goods, sauces, and outdoor products. These options resist condensation, oil, and shipping wear.
Clear, metallized, and eco-conscious choices
Clear film creates a “no-label” premium effect. Metallized stock adds shine and contrast for standout packaging.
For natural or sustainable brands, pick Recycled White or Brown Kraft to convey an eco-forward story while keeping quality visible.
- Match material to moisture, oil, cold, and abrasion the product faces.
- Use film rolls when lasting durability matters; pick paper for lower-cost, dry use.
- Balance appearance, application, and longevity to protect perceived quality.
Pick the finish that supports your design, ink, and handling needs</h2>
Choose a finish that helps your design read clearly on shelf and keeps printed elements intact during real use. The right choice improves perceived quality and protects your artwork from scuffs, moisture, and oils.
Matte vs gloss: readability, glare, and color pop
Matte finishes cut glare under bright retail lights so text stays readable. Use matte when contrast and legibility matter more than high shine.
Gloss makes colors pop and gives a vibrant look when your brand needs bold shelf impact. Gloss can show fingerprints, so weigh appearance against real-world handling.
Laminated topcoat and overlays for scuff resistance and long-lasting quality
A laminated topcoat protects ink from abrasion, moisture, and oils so your stickers and roll labels stay readable through shipping and use. This is a smart option when customers touch the product often.
- Benefit: shields printed ink and prevents color loss.
- Use case: roll orders for beverages or high-touch packaging.
- Overlay choices: matte for soft-touch feel or gloss for high contrast shine.
Handwritable materials for dates, batch codes, and food labeling
Choose hand-friendly sheets or Estate 9 roll stocks when you need to write a date or batch by hand. This is ideal for small-batch and perishable items.
Handwrite rotation info, sell-by dates, or quick notes directly on the label to keep track of inventory and food safety. These practical options make on-the-spot marking fast without sacrificing appearance.
Get your artwork ready for high quality printing</h2>
A clean, correctly formatted design speeds approval and improves final print quality. Preparing files right reduces delays and keeps your launch on schedule.
Upload a finished file or build one with Maestro Label Designer
You can upload finished artwork if you already have brand files. The art team will review and give feedback so your printed labels meet specs.
If you need templates, use Maestro Label Designer. It includes editable templates and lets you buy printed output directly from the editor.
Tips for fonts, contrast, and small text
- Size: Keep small text at least 6–8 pt after scaling. Ingredients and warnings must be readable.
- Contrast: Use high contrast between text and background for legibility under retail lighting.
- Fonts: Choose simple, open typefaces and avoid thin strokes for tiny copy.
Use templates and design variations for consistent products
Build a master grid, logo placement, and palette for all product lines. This system keeps your shelf presence cohesive across sizes and flavors.
Design variations let you swap color or imagery while keeping the same layout. That reduces setup time and maintains brand recognition.
Final note: Ready artwork is one of the biggest drivers of high quality printing. Proper files cut rework, protect timelines, and help your products look their best.
Proofing and approval: what happens before your labels go to print</h2>
Before production begins, you get a free digital proof that shows your artwork placed on the actual sheet or roll. The proof maps cut lines, margins, and safe zones so you can see exactly how the final pieces will look.
What the proof shows and a quick approval checklist
The digital proof displays layout on sheet or roll, cut line positioning, and margin guides. Use this short checklist before you click approve:
- Spelling and copy accuracy.
- Barcode or QR code clarity and scannability.
- Safe-zone padding so no text sits too close to the trim.
- Alignment of logos, nutrition panels, and other key elements.
How the artist review adjusts bleed and safe margins
After you place the order, an artist on the team reviews your artwork for print readiness. They make small fixes like adjusting bleed and safe margins automatically.
If the file needs more work—low-res images, missing fonts, or major layout changes—you’ll be notified with required edits. That way the team protects final quality and your launch timeline.
Why this matters: careful proofing reduces reprint risk and keeps printing on schedule. Proofs and reviews are part of the quality-first process, not an upsell, and they help ensure your labels print the way you expect.
Production time, turnaround, and shipping expectations in the United States</h2>
Confirming artwork is the real start of the production clock for any label order. Your calendar should reflect proof approval, not just the moment you add items to cart.
Typical 2–3 business day turnaround after artwork approval
Once you approve the proof, typical production time is 2–3 business days. That window covers printing and quality checks before shipping.
Rush production and expedited shipping options when you’re on a deadline
If you need faster delivery, choose rush production or expedited shipping for an extra fee. These options speed both print and transit so you can meet a retail reset, event, or launch date.
Tracking your shipment and planning for launch dates
After printing, you’ll get an email with a shipment tracking number. Build buffer time for approvals, weekends, and carrier delays.
- Set expectations: turnaround starts after approval, not at checkout.
- Plan: approve proofs early and sync delivery with fill dates.
- Prepare extras: keep spare labels for last-minute changes.
- Support: US-based customer service and team help with timing or order adjustments; economy shipping may be free for qualifying orders.
Ordering options that control cost without sacrificing quality</h2>
Smart ordering choices let you test designs without committing to large runs. Use low minimums to try a new size or seasonal look before scaling. This keeps your business agile and reduces upfront risk.
Low minimum order sizes for testing new designs and seasonal products
Start with small runs to validate demand. Low minimums let you order a single size or a few sizes to see what sells.
Run quick in-house checks—fridge, rub, and water exposure—so you learn how the label performs before larger commitments.
Discounts on design variations (standard shapes) for multi-SKU branding
Keep the same material and standard shapes across SKUs to get discounted design variations. That saves setup time and helps your product family look consistent.
When larger roll orders can save money at higher volumes
Roll labels often cut unit cost when you need many pieces and fast application. A roll order reduces labor and speeds packing for ongoing runs.
- Manage cost: start small to test a size or colorway, then scale proven SKUs with bulk orders.
- Compare true cost: factor wasted sheets, slow application, and damage in transit—not just unit price.
- Use reviews and tests: customer feedback and quick in-house trials help you avoid reorders.
- Business tip: mix sheets for sampling and roll labels for steady production to balance speed and savings.
Special print features that elevate custom labels and stickers</h2>
Small print features often have the biggest impact on how your product reads on shelf. Choosing the right ink and material keeps color vibrant and text legible under real-world lighting.
White underprinting for clear and silver foil roll materials
White underprint lays a solid white base under your artwork on clear or metallic roll stocks. That base prevents colors from looking washed out or transparent on dark or shiny surfaces.
For best results, supply a vector file so the press can place white ink layers precisely. Vector art ensures crisp edges for the white pass and speeds production of custom printed roll work.
Clear sheet limitation and material choices
Note: clear sheet materials are printed without a white underlay. That means colors may appear muted if the package underneath is dark.
Choose silver foil or clear roll options when you want a premium shine and predictable color with white underprinting. Use clear sheets only when the underlying surface supports the design.
Removable materials for short-term promos
Removable options—removable white paper on rolls and removable white matte on sheets—make temporary promos easy to run and remove. They’re ideal for seasonal stickers, limited runs, or test SKUs.
- When to pick stickers: giveaways and event handouts where easy peel and bold visuals matter.
- When to pick a label: product panels that must resist handling, moisture, and last on shelf.
- Performance tip: the right materials and ink layers keep printed labels readable and durable for your intended use.
Use cases: matching labels to real-world applications</h2>
Match real-world wear to material and finish so your packaging stays clear and durable in the places your products live.
Food, craft beverage, and water bottle durability
For food and craft beverage, choose weatherproof film (BOPP) and a protective overlay. These resist condensation, oils, and frequent handling.
Water bottles need finishes that keep text readable when wet. A gloss or matte topcoat prevents smudging and extends shelf life.
Packaging and shipping that survives transit
Use strong adhesive stocks and scuff-resistant overlays so the label remains readable after packing and shipping. Tough material prevents peeled corners and unreadable barcodes.
Promotional stickers for events and customer touchpoints
Die-cut stickers work well for giveaways, box inserts, and thank-you moments. They’re an inexpensive way to build brand awareness and turn customers into repeat buyers.
- Tip: map choices to industries — pantry, cooler, or rough transit.
- Run small tests and check reviews to confirm performance.
- Remember: roll use suits hand or machine application; tracking numbers arrive after production so you can plan delivery.
Conclusion</h2>
Close the loop: choose a format, verify measurements, select finish, and prepare your artwork so printing proceeds on schedule.
Approve the free digital proof and let the artist review catch margin or bleed issues. Typical production time is 2–3 business days after approval, and you’ll receive tracking when the order ships.
Start small to test a size or variety, then scale to rolls when demand and workflow justify it. When your custom labels match surface and use, your packaging looks more credible and more sellable.
If you have questions about material, sizing, or artwork requirements, contact customer service by phone or chat so you place your next custom label order with confidence.