You want a tidy pantry without the waste of one-time stickers and paper tags. This roundup shows how wipe-clean write-on options, removable adhesive films, and non-adhesive silicone or rubber styles work for everyday use. You’ll learn how to balance readability, easy relabeling, and durability in a busy kitchen.
We focus on safety and long-term use: look for PFAS-free manufacturing and non-toxic ink if the product sits near food. Smooth glass and hard plastic usually hold adhesives better than textured surfaces, so match the item to the label type.
Expectations: this guide rates options by resistance to water and oil, legibility, scratch resistance, and how easily the label removes or rewrites. You’ll get a short buying guide, followed by best picks for spice jars, sauces, budget packs, frequent relabeling, and canning or gifting.
Why reusable labels are the pantry upgrade you’ll actually keep using
A small switch in how you mark containers can cut clutter and save time every week. You’re more likely to stick with write-on options because relabeling takes seconds. That beats peeling sticky residue or printing new stickers every time.
Less waste is real: fewer backing sheets, fewer partial rolls, and far fewer paper tags ruined by spills. That reduces trash and keeps your kitchen cleaner.

Less waste, less clutter: replacing single-use stickers in your kitchen
When jars and containers are clearly marked, you find ingredients faster and throw away less food. Clear marking saves time during meal prep and cuts down on duplicate buys.
Where these products make the biggest difference in a typical U.S. home
- High-impact zones: flour and sugar canisters, rice and pasta jars, snack bins, leftover containers, freezer prep boxes, and lunch containers.
- Match the label type to the surface—smooth glass and hard plastic hold best. Your “keep using it” moment comes when the label fits the container material.
- Tie labels into routines like bulk refills, rotating staples, and weekly meal prep to keep the system working for you.
In short, better marking supports food management: you can scan shelves at a glance, track what’s inside, and avoid buying the same item twice. The real upgrade depends on material choice and whether the label will live in the pantry, fridge, or freezer.
Materials that matter: silicone, rubber, and other label options for jars
Not all materials behave the same—your needs for waterproofing and washability decide the best fit. Use flexible sleeves when you want swap-friendly solutions, or go adhesive when you need a slim, polished look for gifting or canning.

Silicone: flexible, heat-friendly, and easy to swap
Silicone offers stretch and no-residue use. It slides on and off, so you can move a label between glass and plastic containers quickly. It also tolerates heat and routine washing better than many adhesives.
Rubber: grippy options for quick pantry rotation
Rubber sleeves grip well and speed up rotation. They work great when you often change contents or move jars during meal prep.
When adhesive still makes sense: weatherproof film vs paper/matte
Adhesive films give a thin, waterproof finish that resists oil and condensation — ideal for refrigerated sauces and pickles.
Paper or matte adhesives remain the best writable surface for best-by dates and a handcrafted look.
Safety notes and surface compatibility
- Look for PFAS-free and non-toxic ink claims when labels sit near food or kids’ items.
- Adhesives bond best to clean, dry, smooth glass, metal, or hard plastic; textured or silicone surfaces can fail to seal.
- Match material to kitchen conditions: oil splatter, dishwashing, and condensation will change how long a product lasts.
Bottom line: choose the material that fits your daily use—waterproofing, durability, and how often you relabel will guide the rest in the buying guide.
Reusable jar labels buying guide: what to look for before you buy
Before you buy, pin down where each container will live and how often you’ll relabel it. That simple choice narrows the material, finish, and writing tool you need.
Waterproof and oil resistance
Pick weatherproof film for fridge and sauce use. Waterproof options resist condensation, sauce drips, and refrigerator humidity so your mark stays readable.
If a container sees oil or frequent spills, choose a finish rated for moisture and grease to avoid lifting or staining.
Scratch-resistant durability
Daily handling and washing abrade surfaces. Look for scratch-resistant coatings if you wash often or store in busy drawers.
Durable stocks keep food names and dates legible longer, reducing the need to replace the product.
Writable vs pre-printed
Writable surfaces (matte or paper-style) let you add best-by dates and rotating contents. Pre-printed options work well for staples you never change.
For erasable notes, use a wipe-clean pencil; avoid dry-erase in high-touch spots and save permanent marker for long-term text.
Fit, flexibility, and surface compatibility
Flexible wrap styles suit curved spice jars, mason jars, and bottles; they reduce edge lift on round glass and plastic.
Smooth glass, metal, and hard plastic hold adhesives best. Textured plastic and silicone reduce bond strength and shorten lifespan.
- Decision tree: pantry vs fridge/freezer → exposure to oil/moisture → washing frequency.
- Track food and dates: always include a content name plus a best-by date area for meal prep and leftovers.
- Writing tool checklist: wipe-clean pencil (erasable), permanent marker (durable), avoid dry-erase for high-touch use.
Top reusable jar label picks for pantry organization and meal prep
Find tested picks that balance easy relabeling, waterproof performance, and value. Use these quick picks to match surface type, curve fit, and how often you change contents.
Best overall write-on for storage containers and mason jars
Everyday versatility: fits Mason and storage containers, writes cleanly, and wipes off easily. These score high for legibility and meal-prep speed. Use the included Hydro Pencil for quick changes; avoid dry-erase.
Best waterproof for jams, pickles, and sauces
Weatherproof film holds up to fridge moisture and oily spills. Choose scratch-resistant product claims and high reviews for confidence when labeling jams and sauces.
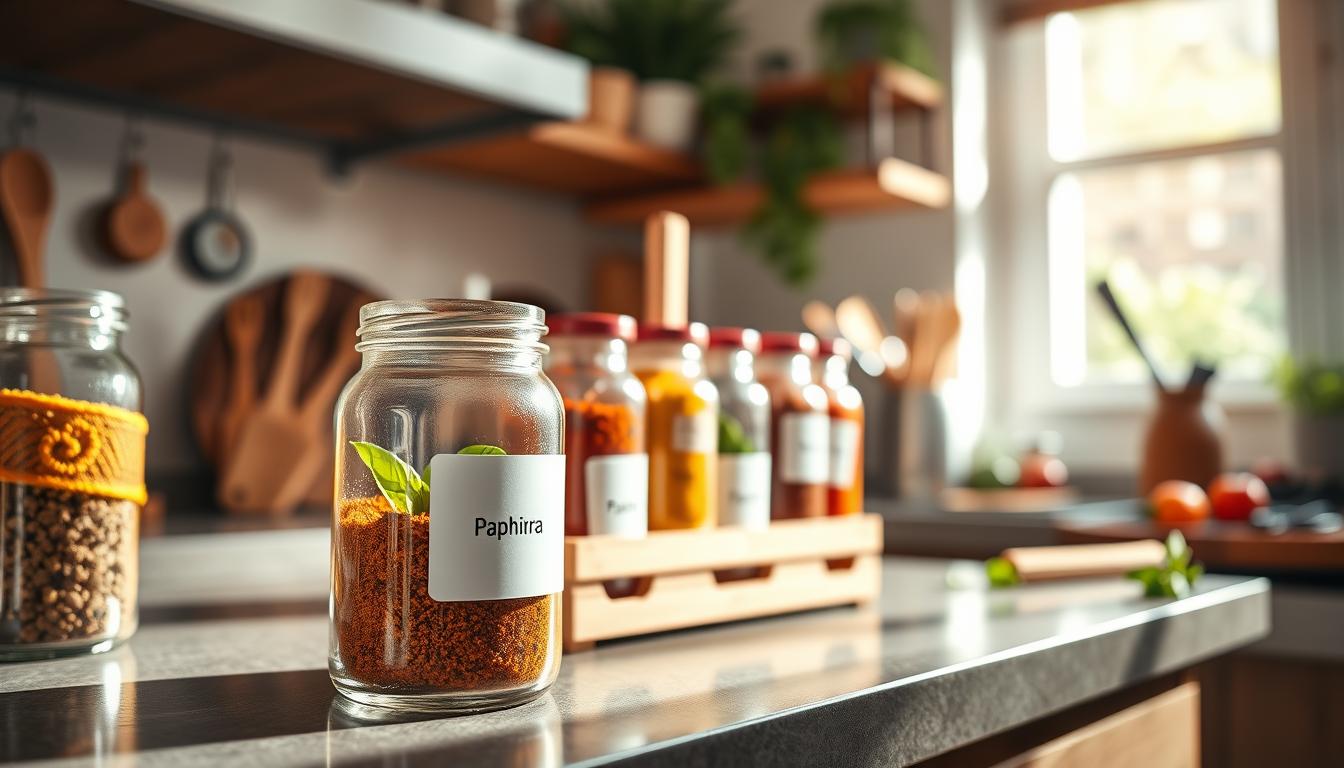
Best for spice jars
Small wraps that cling to curved glass reduce edge lift and stay readable on narrow spice jars. Pick a thin format made for narrow mouths.
Best blank option for frequent relabeling
Bulk blank sheets let you rename bulk bins and rotating ingredients fast. Pair with a wipe-clean pencil for the easiest swaps.
Best budget-friendly multipack
Price-focused packs give basic adhesion and readability. You trade some finish and longevity but keep decent quality for light kitchen use.
- Roundup criteria: ease of relabeling, waterproof, curve fit, and overall value for the price.
- Writing tools: Hydro Pencil for changeable notes; permanent marker for long-term text.
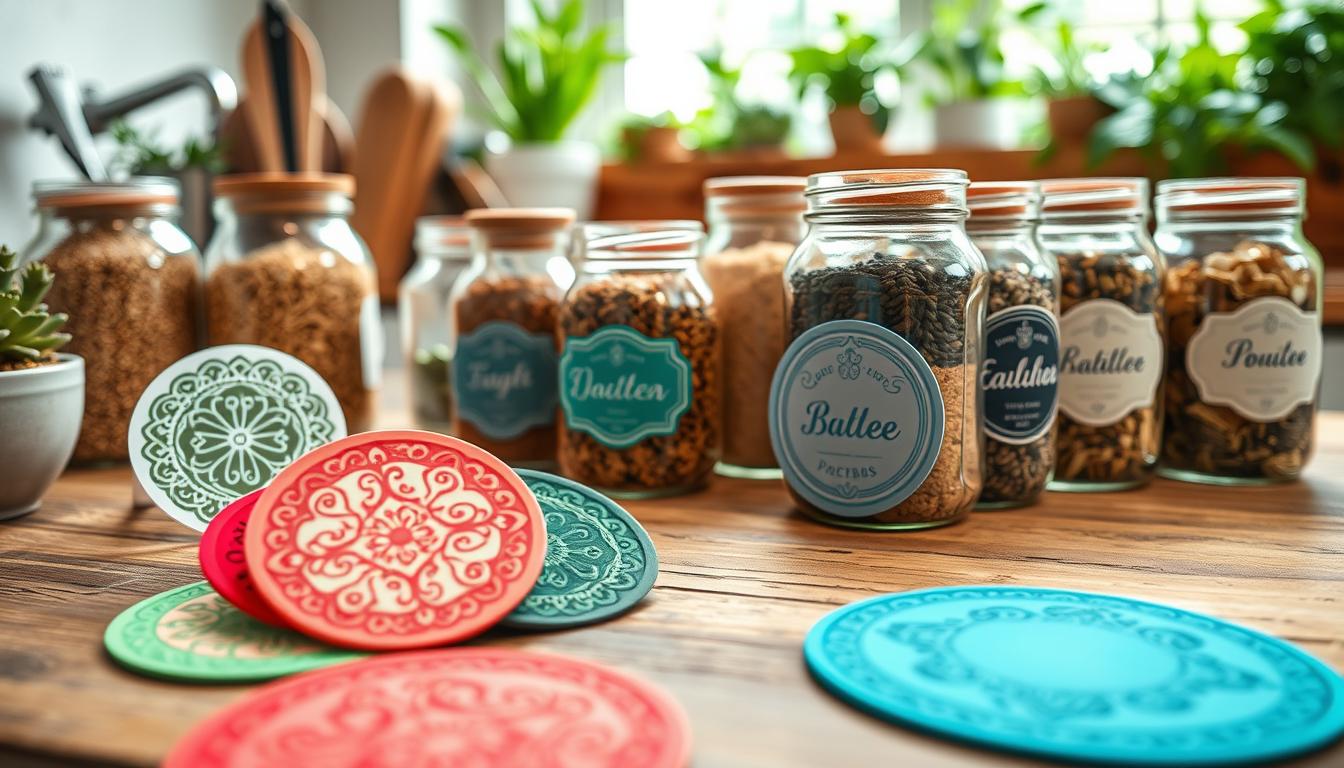
Best reusable labels for canning jars, gifting, and homemade food packaging
Canning and homemade packaging demand labels that balance presentation with storage durability. Choose a finish that looks good on a gift and survives stacking, washing, and handling.
Size guide for common canning sizes
Match dimensions to avoid overhang or tiny text. For 4 oz jars pick a 1.25″ x 1.75″ blank panel. Use 1.5″ x 2.5″ for 8 oz. For 16 oz, choose 2″ x 3″ for clear, readable type.
Writable date spaces
Add a dedicated date area so you can write best-by and sell-by info without reprinting. Matte or paper fronts take pen or pencil well for batch tracking.
When waterproof matters
Use weatherproof film for moisture-heavy foods like jams, jellies, and refrigerated preserves. Waterproof finishes prevent smudging from condensation and spilled syrup.
- Blank vs designed packaging: blank panels offer flexibility for small batches; printed panels give a polished gift look.
- Price tips: glossy, waterproof finishes cost more per piece; buy in bulk for lower unit price when you plan to sell or gift many jars.
- Kitchen workflow: label as the final step after filling and sealing to avoid mix-ups between flavors and batches.
How to apply and write on labels so they stay put and stay legible
A tidy application routine makes the difference between a clear pantry and an annoyingly peeling mess. Prep first, write second, and follow a few steady steps so stickers and panels last through daily use.
Prep steps for a strong but removable bond
Clean the surface with warm, soapy water to remove oils. Rinse and dry completely.
Pick a smooth area on glass, metal, or hard plastic; textured plastic and silicone hold poorly.
What to write with
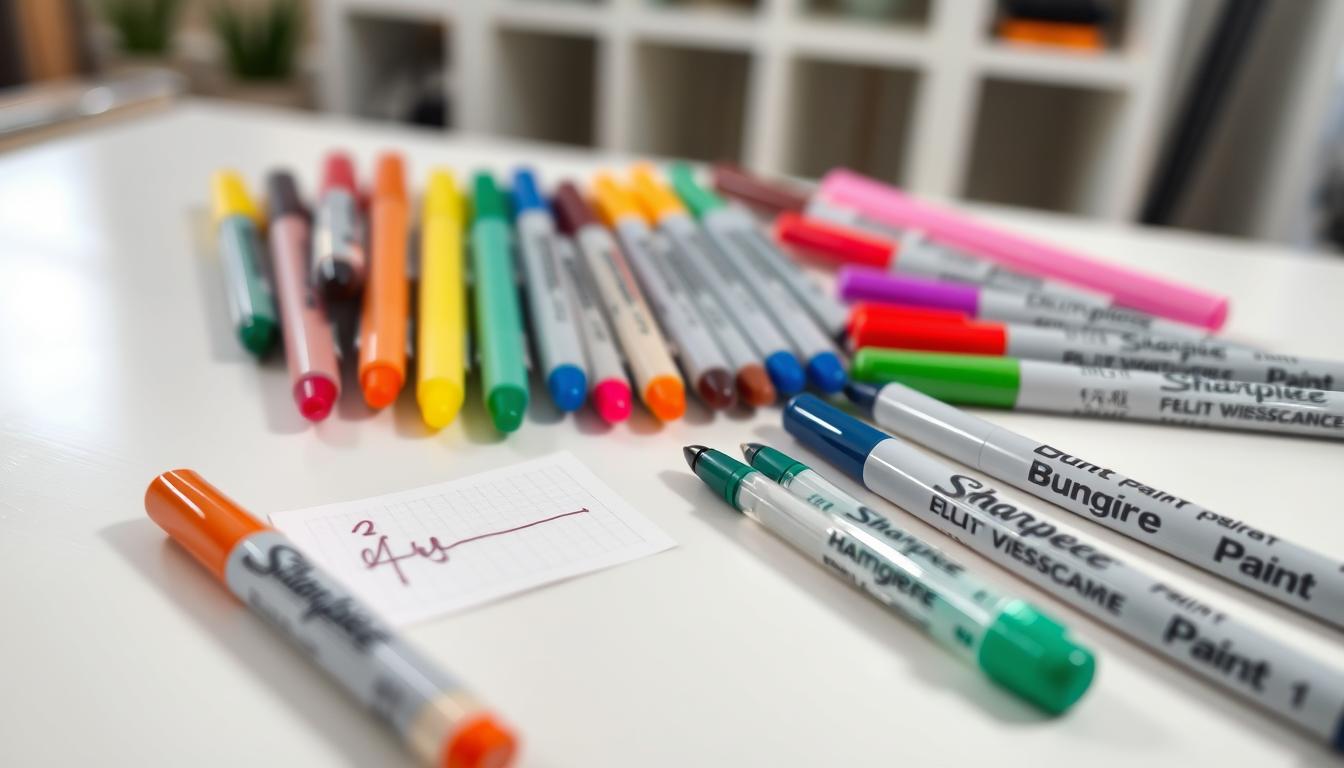
Use a wipe-clean pencil when you relabel often. It erases cleanly and keeps your container system flexible.
Choose a permanent marker only when you want long-term text. Avoid dry-erase—it smudges in a busy kitchen.
Curved surfaces, smudge prevention, and quick fixes
- Align the sticker, press center outward, then smooth edges to reduce bubbles.
- Let ink set before stacking or handling; keep hands dry to avoid smears.
- If a label lifts, clean the spot, press it back on, or move it to a smoother area.
Follow these steps and even low-cost stickers will look like higher quality. Proper prep improves adhesion and keeps names and dates readable on jars, bottles, and containers.
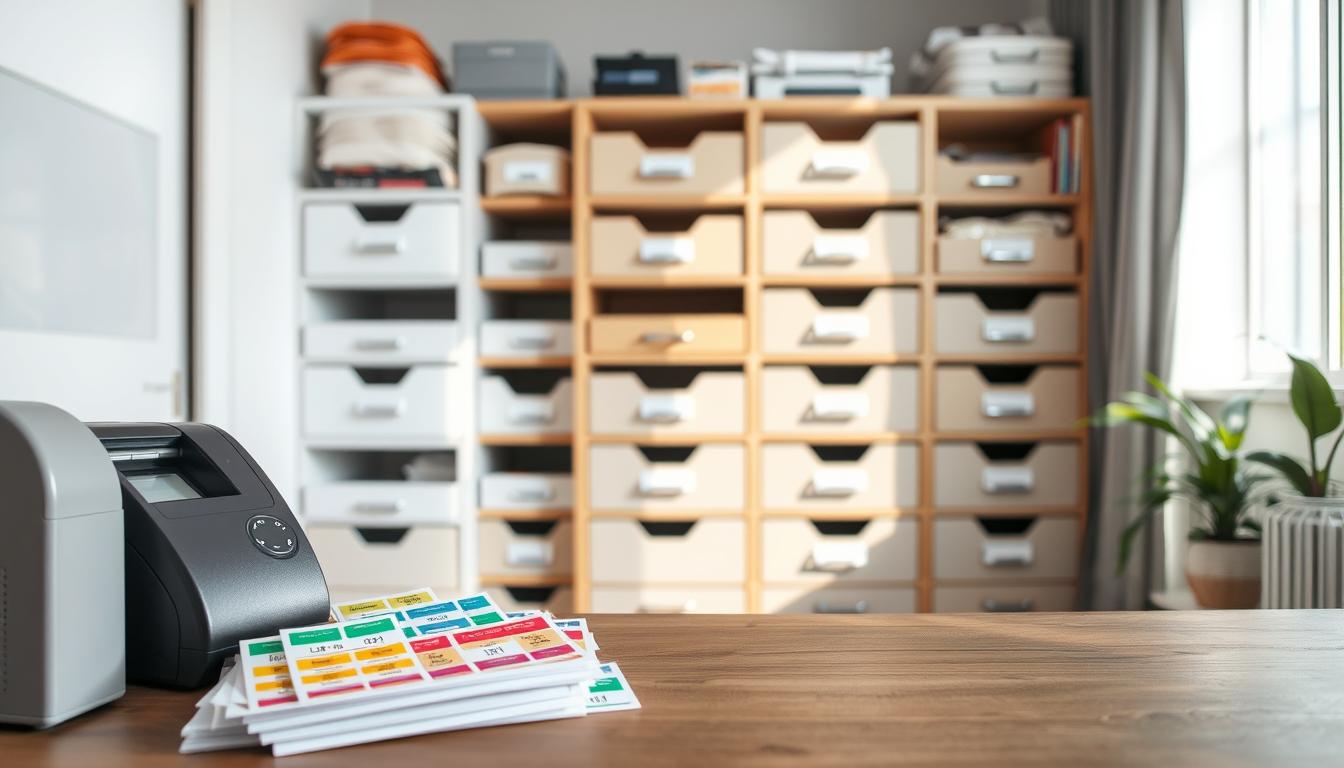
Buying for a small business: custom jar labels, shipping, and pricing considerations
If you send products to customers, packaging and accuracy matter as much as the recipe.
Order flexibility: look for suppliers with no minimum orders so you can test SKUs or canning batches without overstock. Many standard sizes are kept in stock and ship fast.
Fulfillment and shipping: same-day shipping is common for orders placed before 5:00 p.m. ET, and most stock ships within 1–3 business days. That reliability helps you meet markets and online demand.
- Format choice: rolls suit high-volume application; sheets work for small runs and manual placement.
- Design tools: free templates and online designers keep packaging consistent across product lines without hiring a pro.
- Price comparison: calculate unit price, add shipping, and use a lowest price guarantee when available to lock in savings.
Match material to use: pick waterproof, scratch-resistant finishes for food and canning. For skincare and candles, choose finishes that resist scuffing in transit. Check reviews to vet repeat-order performance before committing to large runs.
Conclusion
Pick a material that fits your daily habits: quick-change wraps work best if you relabel often, while waterproof film or a roll format suits sauces, canning, and bottles that see moisture.
Prep surfaces first — clean, dry, smooth glass or hard plastic give the best hold. Textured plastic and silicone cut adhesion and cause stickers to lift.
For shopping decisions, use this short checklist: blank vs pre-printed, sheet vs roll, waterproof vs matte/paper, and price vs long-term durability. Match choices to spice rotation, meal prep containers, or canning batches.
Finally, check reviews and supplier terms for shipping, templates, and guarantees so your packaging and products arrive on time and at the right price.