Labeling pantry zones helps you find items fast and keeps categories steady across trips to the store.
You’ll learn a simple, practical method that starts with clear zones and ends with bold, easy-to-read labels. The approach makes it obvious where food and supplies belong and turns labels into gentle return-to reminders for everyone in your household.
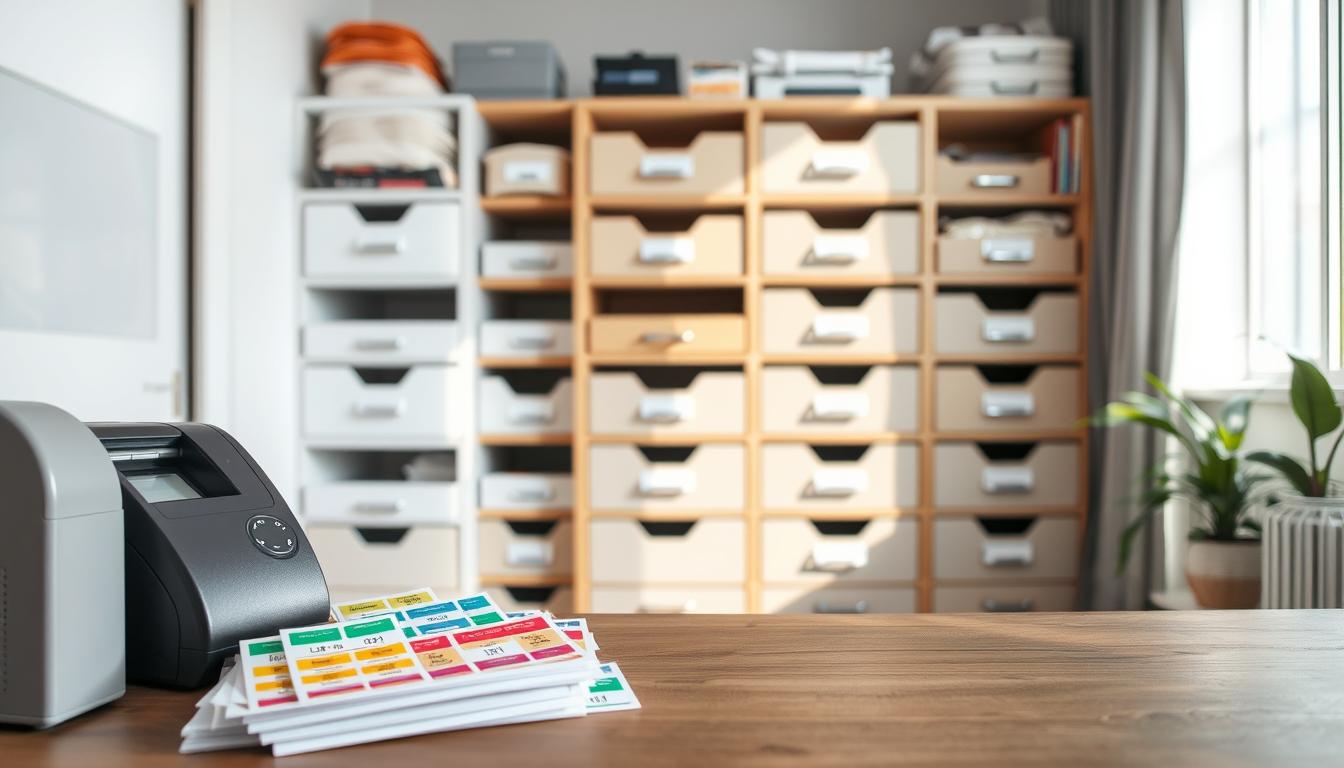
Using large format labels makes shelves, bins, and containers readable at a glance. That saves time and cuts waste because you buy only what you need.
This introduction previews the step-by-step path: plan your layout, measure shelves, pick storage, design and pick the right label type, apply them cleanly, and keep the system working over weeks and months.
By focusing on function first and style second, you’ll build a kitchen and home system that looks nice but holds up when life gets busy.
Plan Your Pantry Zones Before You Make Any Labels
Plan your storage layout after you’ve lived in the space for a few months and immediately after a full shopping trip. This gives you a realistic snapshot of what you actually keep and reach for.

Start by emptying the shelves. Put every item on a table so you can see duplicates, expired goods, and what you never use.
- Check expiration dates and discard stale or unwanted food.
- Sort items into intuitive groups—by type, by meal, or by how your household uses them.
- Draft your layout with sticky notes or paper before committing to bins and permanent labels.
When you decide what belongs together, your future labels will reinforce your system, not someone else’s template. Keeping the plan flexible makes it easier to adjust as your shopping habits change.
Measure Shelves and Map Zone Placement for Easy Access
Measure shelf height, depth, and clearance before you buy organizers or print big labels. This simple step keeps your system usable and prevents surprises when you install containers.
Check dimensions so labels stay visible
Measure each shelf front to back and note any lips or door frames that might cut off a large label. Record height and depth for every shelf so you can match container sizes to the available space.
Reserve eye-level space for daily items
Keep everyday items like breakfast staples and snacks at a comfortable level. This reduces friction during busy mornings and makes restocking quicker.
Use high shelves with pull-forward bins
Put lesser-used items up high and use baskets or bins you can pull forward. That prevents things from disappearing into the back pantry and makes retrieval safer.

- Measure height, depth, and front clearance so labels don’t get cut off.
- Map where each group will live so labels stay readable from a normal standing position.
- Decide whether you want the space to look uniform or simply be highly functional.
Choose Containers, Bins, and Baskets That Support Each Pantry Section
Pick containers that match how you live and cook so storage feels useful, not like extra work. Start by matching size and shape to the items you reach for most. Let function guide your choices.
Use baskets and bins to keep like items together
Bins and baskets make it easy to slide a whole group forward and use the full shelf depth. Group snacks, canned goods, or baking supplies so you pull a single container instead of digging.
When to skip a bin
Some oversized boxes—cereal or crackers—stand upright better on their own. If a bin adds work when you restock, leave the box on a dedicated shelf.
Decant and create a refill basket
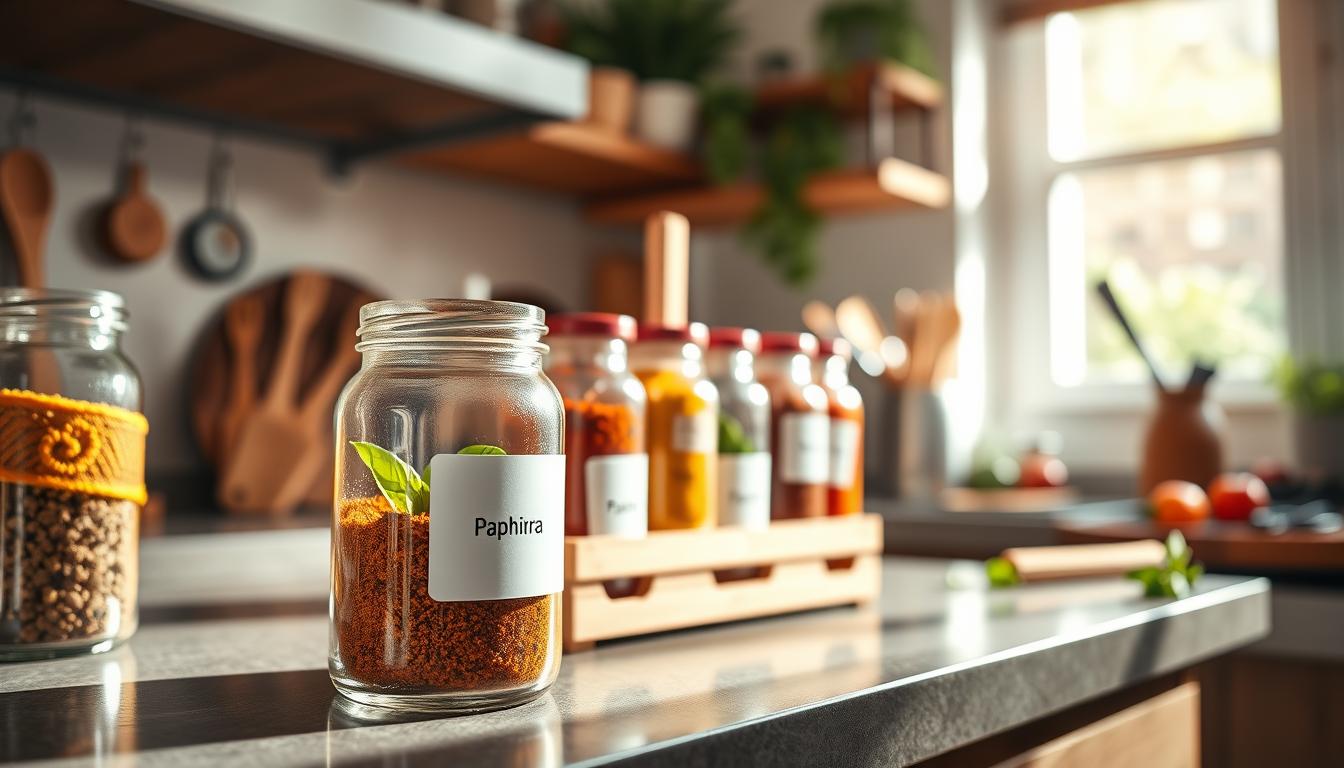
Decant dry goods you measure often into clear storage containers for faster scooping and visible inventory.
Keep a small refill basket for extras like backup chips, spare pasta, or duplicate supplies so overflow stays contained and simple to restock.
- Choose containers, bins, and baskets based on how you use the shelf.
- Group small, slippery items (spices, seasoning packets, small bags) in a basket.
- Consider a Lazy Susan or shelf divider for oils and frequently used bottles.
Labeling pantry zones with Large Format Labels: What to Label and Why
Big format labels act like a guide for your family so putting items away becomes automatic.
Use labels to show where things go back rather than only naming the item. A clear label gives everyone a simple instruction. That reduces decision fatigue and keeps your system steady over time.
Use labels to communicate where items go back (not just what they are)
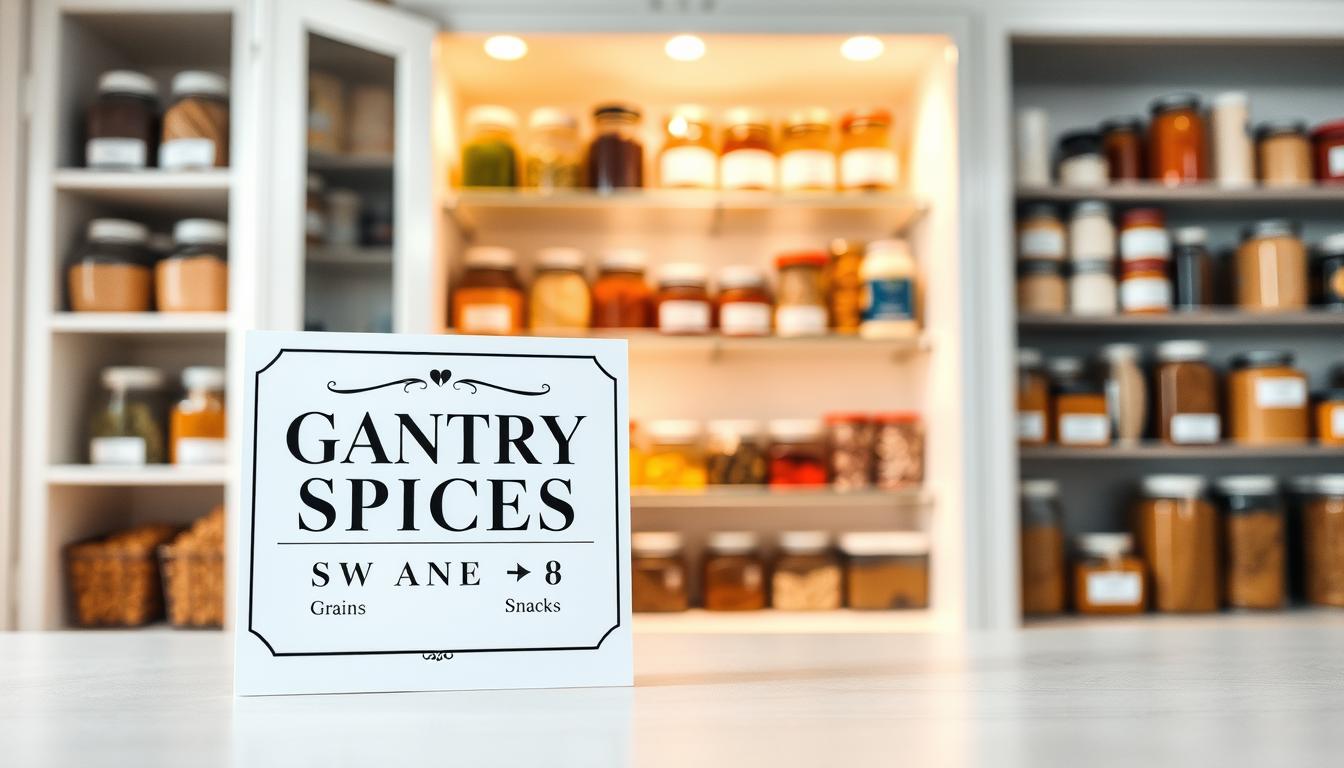
Make the label a destination: “Snacks,” “Baking,” or “Pasta & Grains.” These tell people where to return groceries, not just what the box contains.
Pick generic names for mixed areas, specific labels for stable staples
Choose broad names for shelves that change brands often. Use precise labels only for things you always keep the same. This way you avoid frequent reprints and keep labels accurate.
Place kid-friendly snacks at kid level (or move them higher if preferred)
Put a snack area where kids can reach if you want independent access. Or place it higher when you want to control portions. Either way, a visible label helps family members find the right area fast.
- Define home bases so everyone knows where items belong.
- Treat the label as part of the organization system to stop drift.
- Decide what truly needs a label to avoid over-labeling and clutter.
Design Large Format Pantry Labels That Are Easy to Read at a Glance
Make your large-format labels so clear that someone can spot the right shelf while balancing a grocery bag.
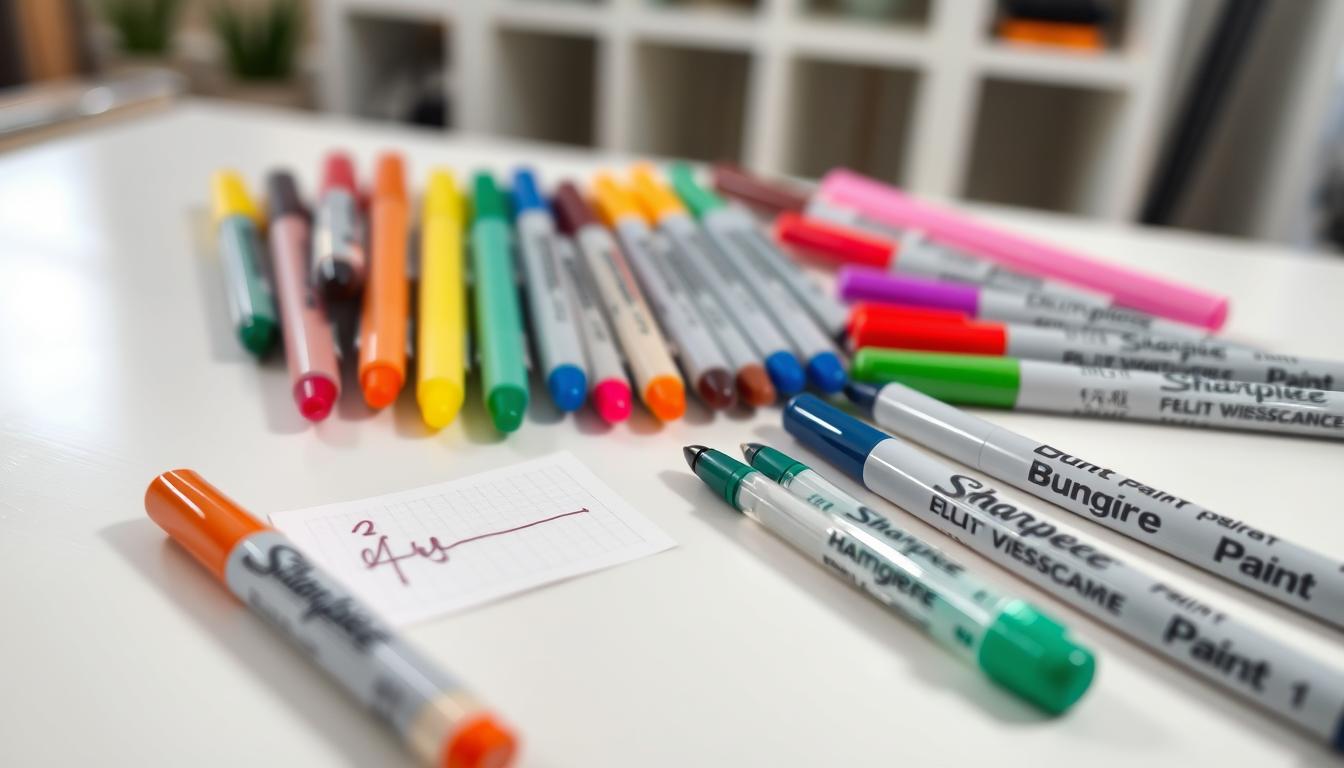
Use a simple sans-serif font and keep wording short. Big, bold type reads faster when you’re holding items or cooking. Avoid overfilled text; one word or a short phrase works best.
Match label size to viewing distance. Use larger signs for high shelves and deeper rows. Use proportionate tags for smaller jars and containers so everything stays balanced and easy to scan.
Build a consistent system: same font, capitalization, and spacing across your shelves. Add a single color or a small icon only if it improves scanning and keeps contrast high.
- Choose readability: high-contrast text and wider letter spacing.
- Keep it concise: one clear word per label to maintain the clean look.
- Design for users: label for adults and kids so everyone recognizes spots fast.
Select Label Types That Match Containers, Jars, and Pantry Conditions
Pick label shapes and finishes that work with each container’s size, curve, and cleaning routine. This helps labels stay attached and keeps your system readable over time.
Match shape to vessel
Round labels wrap better on rounded bottles and reduce edge lifting on oils and sauces. Use them for bottles and curved jars so the label sits flat.
Pick proportionate squares for small jars
For spice jars, choose small square or rounded-square labels. Corners on tiny stickers lift quickly, so proportionate shapes last longer when handled often.
Use clear labels and waterproof finishes
Clear labels with dark text give a clean look on glass while keeping contents visible. Prioritize waterproof or wipeable finishes for oils, sauces, and any shelf you clean frequently.
Choose erasable options for changing goods
Chalkboard or wet-erase labels work best when inventory shifts seasonally or you rotate snacks. They save time because you update them in seconds instead of reprinting.
- Consider where labels live—tight shelves, humid spots, or near the door—since contact shortens lifespan.
- Extend labeling to racks and the inside of the door for spices, small jars, and slim storage containers to improve scanning.
- Match label material to use: shape, finish, and waterproofing based on container type and cleaning habits.
Apply Large Format Labels Cleanly So They Last
Treat label application as a durability step. Clean, dry surfaces give adhesives the best chance to stick and keep corners from lifting after a week of use.
Clean and fully dry containers and bins before applying
Wipe containers and bins with a mild cleaner, then let them air dry. Grease, dust, or moisture will stop adhesives from bonding and shorten the life of your labels.
Avoid bubbles and crooked placement with slow alignment and smoothing
Use an edge or handle as a guide and align the label slowly. Smooth from the center outward to push air out and keep the label flat across the surface.
Label only after locations and containers are finalized to avoid rework
Decide where items live first, then apply labels to matching containers. Re-labeling wastes time and leaves mismatched stickers behind.
- Durability: Clean surfaces so adhesive holds on plastic, glass, and fabric liners.
- Consistency: Place labels at the same height and orientation for quick visual scanning.
- Final check: Do a short walk-by from standing height to confirm visibility and adjust any that are blocked.
Maintain Your Pantry Label System Over Time
A few quick maintenance steps after each shop keep shelves tidy and reduce waste. Make these habits part of your routine so the system stays useful for your family.
Use FIFO to lower waste
Move older items forward and place new purchases behind them. This FIFO method keeps canned goods and boxed items from expiring unnoticed.
Reset after shopping
Right after shopping, rotate products and return items to their assigned spots. A short, two-minute reset prevents drift and keeps storage accurate.
Expand when shelves get full
When shelves feel crowded, add over-the-door racks for spices or slim packages. Mount small organizers on wall space to free shelf room and make items visible.
- Check for expired items during monthly wipe-downs.
- Reset high-traffic “hot spots” so snacks and lunch supplies don’t migrate.
- Set a quarterly reminder to confirm your labels still match what you shop for.
Conclusion
Close the loop by making small, repeatable habits that protect your organization after each grocery run.
Keep zones broad enough to flex with changing items so the system stays realistic. Use large-format labels where they save time and skip them where they add friction.
Choose bins, baskets, and clear containers for pull-forward storage and high shelves. That makes restocking fast and keeps things visible between shops.
Make “put it back correctly” the default so your kitchen and home run smoother after a meal. Refresh worn stickers, resize a bin, or tweak a shelf when needed.
These simple tips let your pantry stay tidy without a full redo. Start small, set a short routine, and your system will pay back time and calm.