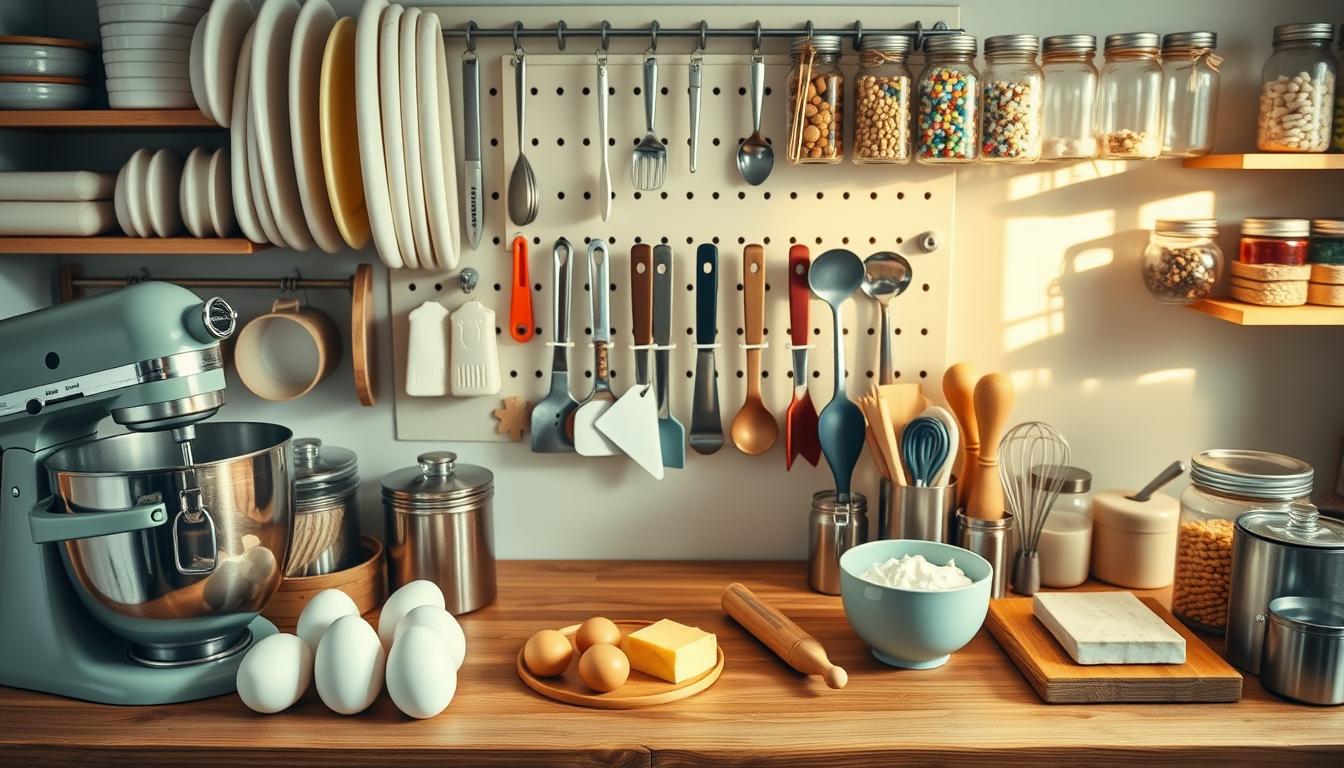
You want a dedicated baking station that keeps your mixer, pans, and ingredients in one place. A pantry baking station is a compact zone for rolling dough, mixing batter, and storing tools so your workflow stays put instead of taking over the kitchen.
This guide is for you if you have a walk-in pantry, a closet pantry, or a large cabinet wall. “Dedicated” can mean a simple counter-and-shelf setup or a concealed armoire-style center that hides an in-progress mess.
Expect fewer steps, faster cleanup, and less interruption. We’ll focus on real home solutions used by homeowners and designers, including built-in and freestanding options that fit many pantry layouts.
Along the way you’ll decide where to place the zone, what counter height and surface work best for pastry, and which features—lighting, outlets, and sink access—prevent mid-recipe frustration. You’ll also learn to keep a sensible working radius so tools and spices stay within reach.
Plan Your Pantry Baking Station Space and Workflow
Start by mapping how you move inside your pantry so every tool and ingredient stays within arm’s reach. Treat the pantry as a compact work zone and note where you stand, open doors, and reach for bowls or flour.
Choose the best place by prioritizing the shortest path between counter, ingredient shelves, and appliances. An under-window counter feels pleasant. An end-of-island spot works well if your pantry opens to the kitchen.
Decide between a built-in counter, a pull-out extension, or a freestanding island-style piece based on space and how often you bake. Built-ins are always ready. Pull-outs tuck away in small pantries. A freestanding table or island adds storage without a remodel.

Measure and avoid pinch points
Measure clearances for standing, drawer pull-out, and door swings. Make sure aisles and adjacent walkways won’t jam when someone passes. Rolling carts or a drop-leaf table make sense if you only need a temporary surface.
- Check reach distances for tools and mixers.
- Plan for safe space to set hot pans.
- Pick a layout that saves time and reduces steps.
Baking station ideas for Countertops, Height, and Style
Select surfaces and heights that match how you work with dough and pastry. A good countertop balances temperature control, durability, and easy cleanup so your prep stays tidy and efficient.

Choose the right surface
Marble stays cool, which helps keep butter firm when you roll pastry. That makes it ideal for delicate laminated doughs and pie crusts.
Leather-honed quartzite (like Snow quartzite) is tougher and resists scratches, so it works well for heavy kneading and daily use.
Set an ergonomic height
Consider a slightly lower counter—around 30″ or customized to your height—so you can lean into rolling and kneading without strain.
Add stools for tasks like decorating or portioning dough; pick seat heights that pair with your lowered countertop for comfort during long sessions.
Layout and style for flow
Keep a long, uninterrupted countertop run so you can park a stand mixer, measure cups and bowls, and still have a clear rolling area.
- Left end: mixing and appliance zone.
- Center: measuring and flouring space.
- Right: dedicated rolling and cooling section.
Blend function with design by choosing furniture-like cabinetry, a contrasting stone top, and consistent containers. Coordinate hardware and finishes so the pantry feels intentionally designed, not like extra storage.
Add Must-Have Features That Make Baking Easier
Good outlets, bright task lighting, and nearby water change how smoothly you bake at home. These base upgrades turn a pantry counter into a reliable baking center that helps you move through recipes without interruptions.
Power plan for appliances
Power is non-negotiable: your stand mixer, hand mixer, scale, and small appliances need easy access to outlets. Hardwire one outlet behind where a mixer sits and add a row of receptacles under cabinets for occasional tools.
Task lighting for accuracy
Choose under-cabinet lighting for a wall counter and pendants for an island-style setup that opens to the kitchen. Better light helps you read measurements, judge dough texture, and spot spills fast.
Water and cleanup workflow
Place the baking work area near a main sink or add a bar sink for quick rinsing and hand-washing. A nearby dishwasher or dishwasher drawer saves real time by letting you load bowls and utensils immediately.
- Feature checklist: outlets, task lighting, sink access, dishwasher.
These features make your pantry feel like a true workstation rather than a pretty counter that slows you down.
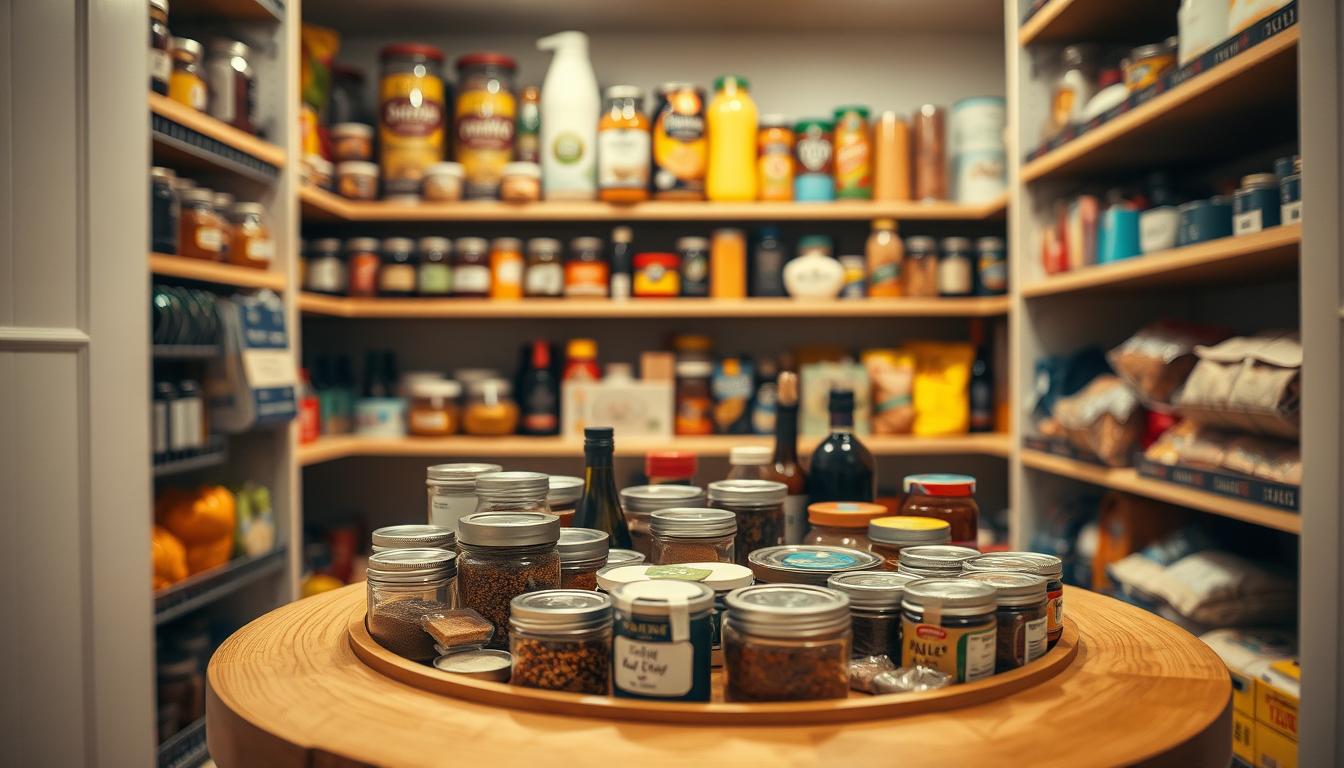
Organize Baking Supplies With Smart Storage in Drawers, Shelves, and Cabinets
A clear storage plan keeps your tools and ingredients tidy and your counter free for prep. Group supplies by task—mixing, measuring, decorating, and baking—so you grab what you need without emptying a cabinet.
Deep drawers for bulky pans and bowls
Use deep drawers for pans, muffin tins, cookie sheets, and mixing bowls. Stack with protective liners and dividers to stop scraping and noisy shifts when you open a drawer.
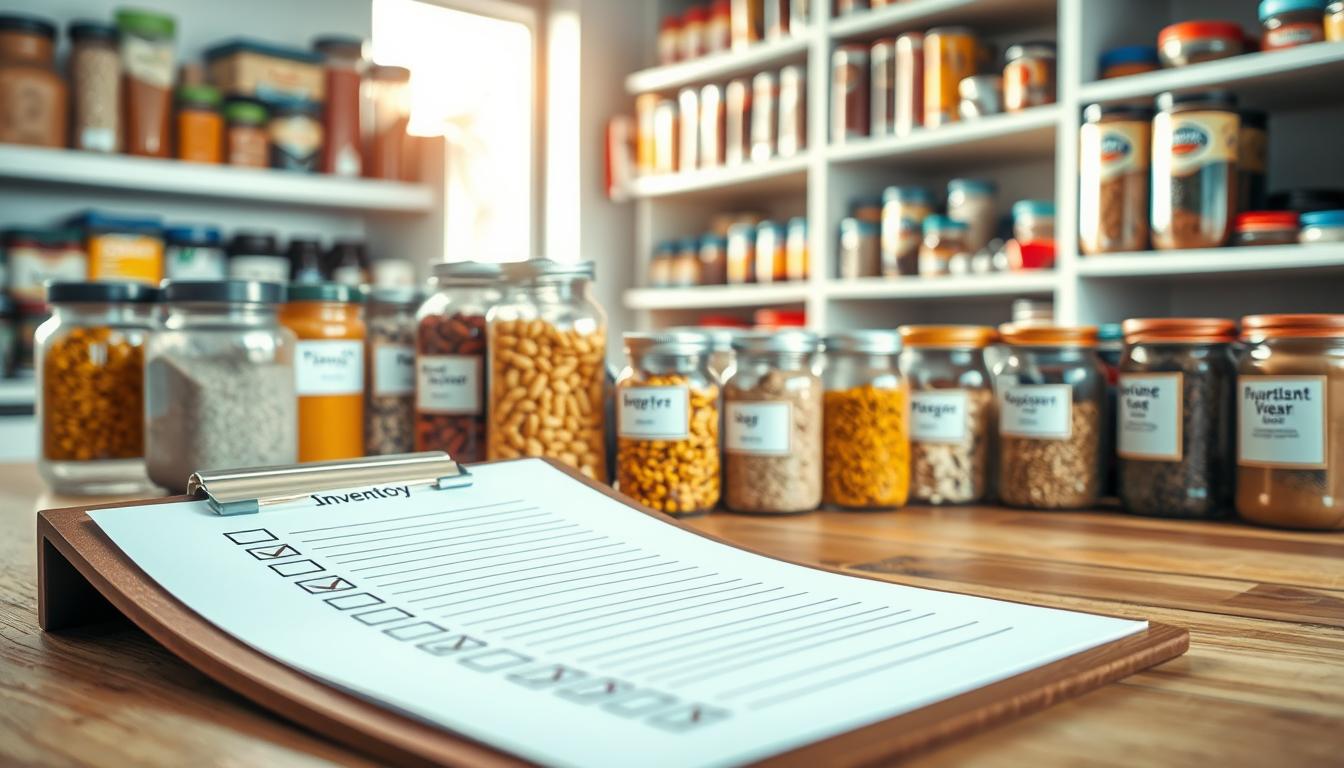
Full-extension ingredient drawers
Install full-extension drawer systems with canister inserts for flour and sugar. Sealed containers slide out fully so you can check levels and refill before a recipe runs short.
Mixer lifts, vertical pullouts, and open shelves
Add a mixer lift or pullout shelf with a nearby outlet to keep heavy appliances accessible without lifting. Use vertical pullouts and sheet-pan dividers to prevent toppling.
Open or floating shelves hold frequently used bowls and jars for quick reach. Close pantry or armoire-style cabinet doors to hide an in-progress mess fast.
- Zones: top drawers for tools and measuring, middle drawers for baking supplies and bowls, bottom drawers for ingredients and heavy items.
Conclusion
A well-planned pantry upgrade turns scattered tools into a single, calm work area you actually use.
Plan the space first, pick the right table height and surface, add outlets and task lighting, then lock in smart drawers and shelves so the baking station stays tidy long-term.
When cups, bowls, and your mixer live in one place, you spend less time searching and more time mixing and making bread or pastry. A lowered counter and long countertop runs make dough work easier for any home baker.
Use this quick checklist for your kitchen baking center: adequate space and safe traffic flow, enough outlets, good task lighting, and a clear cleanup path. The result is a practical upgrade that fits your room and keeps holiday baking — and everyday mixing — from taking over the rest of your kitchens.