You rely on clear, reliable storage in your kitchen. Choosing BPA-free pantry bins helps you protect dry food and cut waste. Airtight lids stop air from getting in and lock moisture out. That keeps cereals, flour, and grains fresher for weeks.
Think of this as a product roundup for your shelves. You’ll compare canisters, modular sets, and bulk options so you can pick the containers that match your routines. I’ll walk you through airtight lid performance, material choices like glass versus plastic, and stackable designs for tight shelves.
You’ll also get practical U.S. shopping tips on buying sets vs single items, expected shipping, and what to look for in customer reviews. By the end, you’ll know which products save space, show contents at a glance, and make restocking faster.
Why BPA-free matters for long-term food storage in your kitchen
A simple switch in the containers you use at home can cut waste and keep food tasting fresher. Choose materials and lids that match how long staples sit on your shelf.

What “BPA-free” signals for everyday plastic food containers
“BPA-free” tells you the plastic does not contain the bisphenol compound often discussed in packaging. In practical terms, that means you can pick a container for cereal or flour and feel confident leaving it on the shelf for weeks.
Why long-term dry food storage is different
Dry staples like rice, sugar, and cereal degrade from humidity and oxygen, not just bacterial spoilage. Airtight lids and good seals matter more when food sits for weeks.
How storage choices affect freshness, safety, and waste
Better containers reduce stale cereal, clumpy sugar, and off flavors. That keeps more food usable and lowers the chance you toss items early.
- Pick a mix of sizes and styles for varied needs.
- Prioritize tight seals and clear sides to see contents.
- Choose materials you’re comfortable using for ongoing contact with food.
What to look for in BPA-free pantry bins before you buy
Start by checking the real-world performance of a container, not just marketing claims. Inspect seals, lids, and the fit of the parts before you commit. That gives you a better sense of how a storage container will behave after weeks of use.

Airtight lids that hold up
Look for gasketed lids, strong latches, and a seal that stays consistent after repeated opening. Test the lid by pressing and listening for a click. A good lid limits air and moisture to keep crackers crisp and flour lump-free.
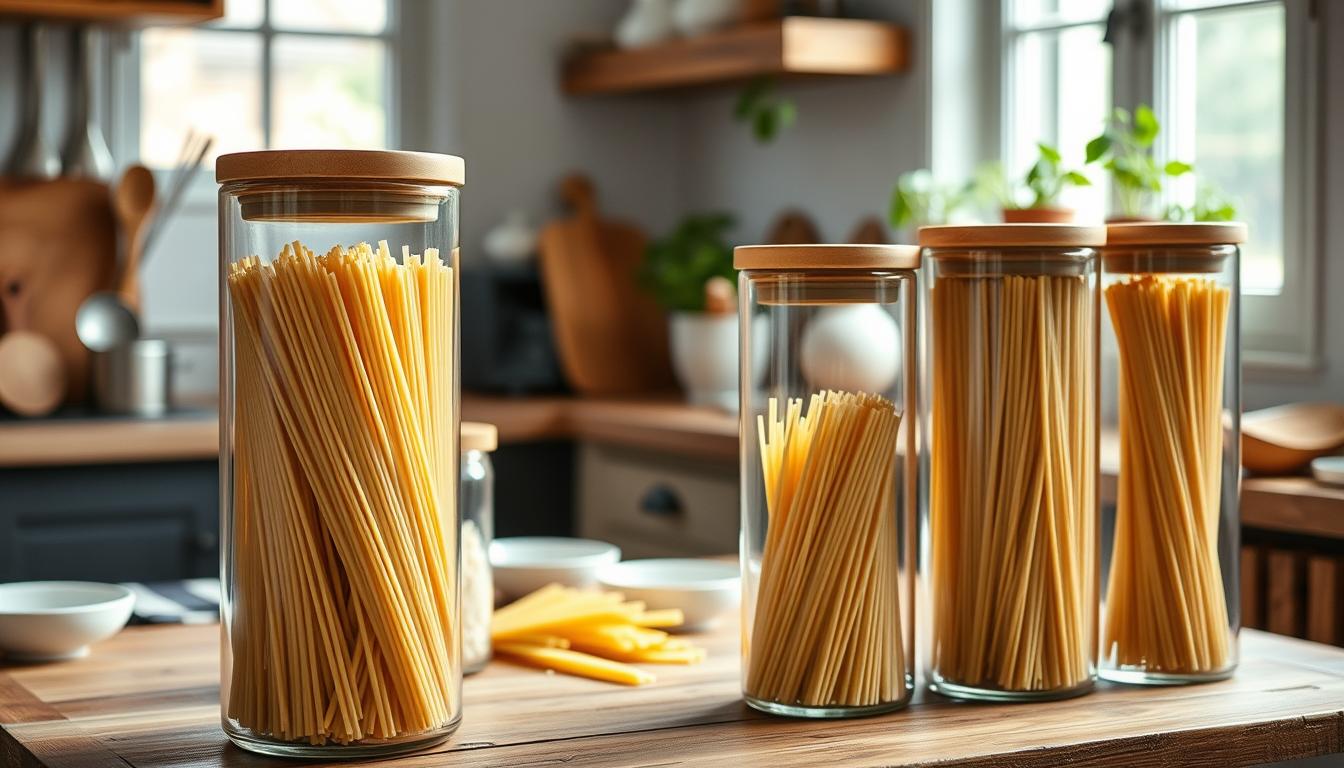
Materials for your routine: plastic or glass
Choose plastic for lightweight, daily access and less break risk. Pick glass when you want a non-plastic option or clearer views for fridge-to-table use. Match material to how often you touch the container and what you store.
Shapes, sizes, and stacking design
Rectangles maximize shelf space, squares create tidy grids, and round jars are great for scooping. Stackable, compact design reduces wasted space above containers and makes shelves easier to maintain.
- Capacity planning: large containers for bulk purchases; right-size smaller containers for cereal and snacks so they’re easy to handle.
- Visibility and labels: clear walls and flat, label-friendly surfaces speed restocking and keep your organizer consistent.
- Footprint matching: choose containers with matching widths and depths to form neat rows and save space.
Best BPA-free pantry bins for cereal, snacks, and everyday pantry items
For daily grab-and-go foods, pick storage that makes access simple and keeps contents fresh. Good canisters save time and cut waste when you reach for cereal, pretzels, or cookies each morning.
Canister-style containers for cereal, pretzels, cookies, and grab-and-go foods
Choose canister-style containers for quick access. Look for a tall profile that fits standard cereal boxes, a pour-friendly edge, and a one-hand lid so mornings move faster.
A reliable seal reduces staling between breakfasts. For households with kids, use a large canister as the main storage and smaller containers for portioned snacks.
Clear containers that help you see what’s inside and restock faster
Clear containers let you spot low inventory at a glance. That means you restock before you run out mid-week and avoid last-minute trips to the store.
Pop or flip-top styles work well for frequent use. Prefer a more robust locking seal when you plan longer storage to keep dry food fresher.
- Quick access: one-hand lids for cereal and grab-and-go items.
- Visibility: clear sides to check inventory fast.
- Versatility: mix large canisters with small containers for portioning and neat shelves.
When your containers are easy to open and see, you actually use them instead of leaving bags clipped and half-sealed. That simple change improves daily routines and keeps food tasting better longer.
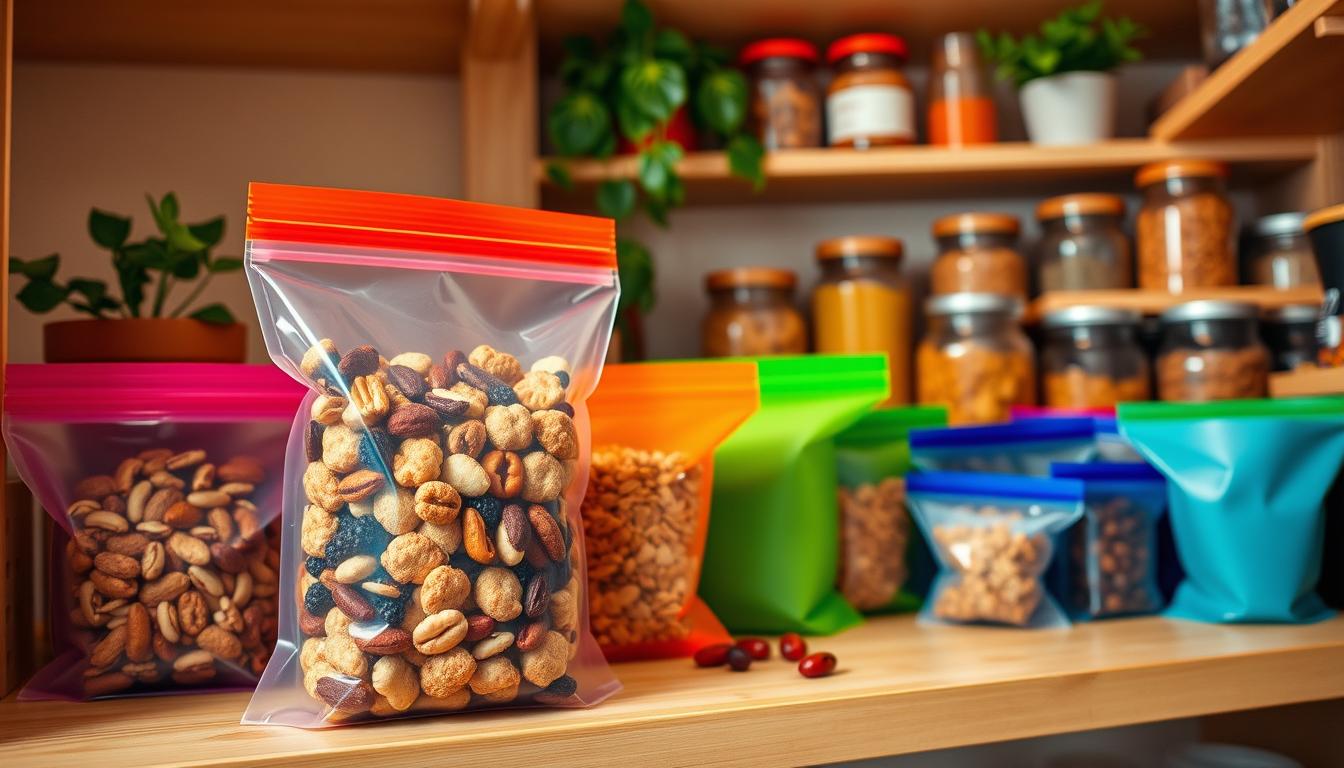
BPA-free pantry bins for bulk ingredients and baking staples
A good storage set turns club-store bulk into everyday-ready ingredients with less fuss and waste.
Move messy bags into roomy, sealed containers so powdered sugar and flour stay clean. Choose capacity based on how you shop: big tubs for club-store buys, mid-size containers for weekly refills.
Wide openings and easy-scoop designs for faster meal prep
Pick containers with wide mouths and low lips for fast scooping. That makes measuring flour or rice simple when you’re short on time.
Label-friendly sets for quick identification and better organization
A matching container set keeps footprints consistent and makes stacking simple. Flat panels or included label zones help you spot contents at a glance and avoid expired staples in the back.
- Keep everyday ingredients—sugar and flour—at the front for easy access.
- Store backup bulk containers behind or higher up to reduce clutter.
- Good seals and clear labeling cut food waste by preventing spoilage and mix-ups.
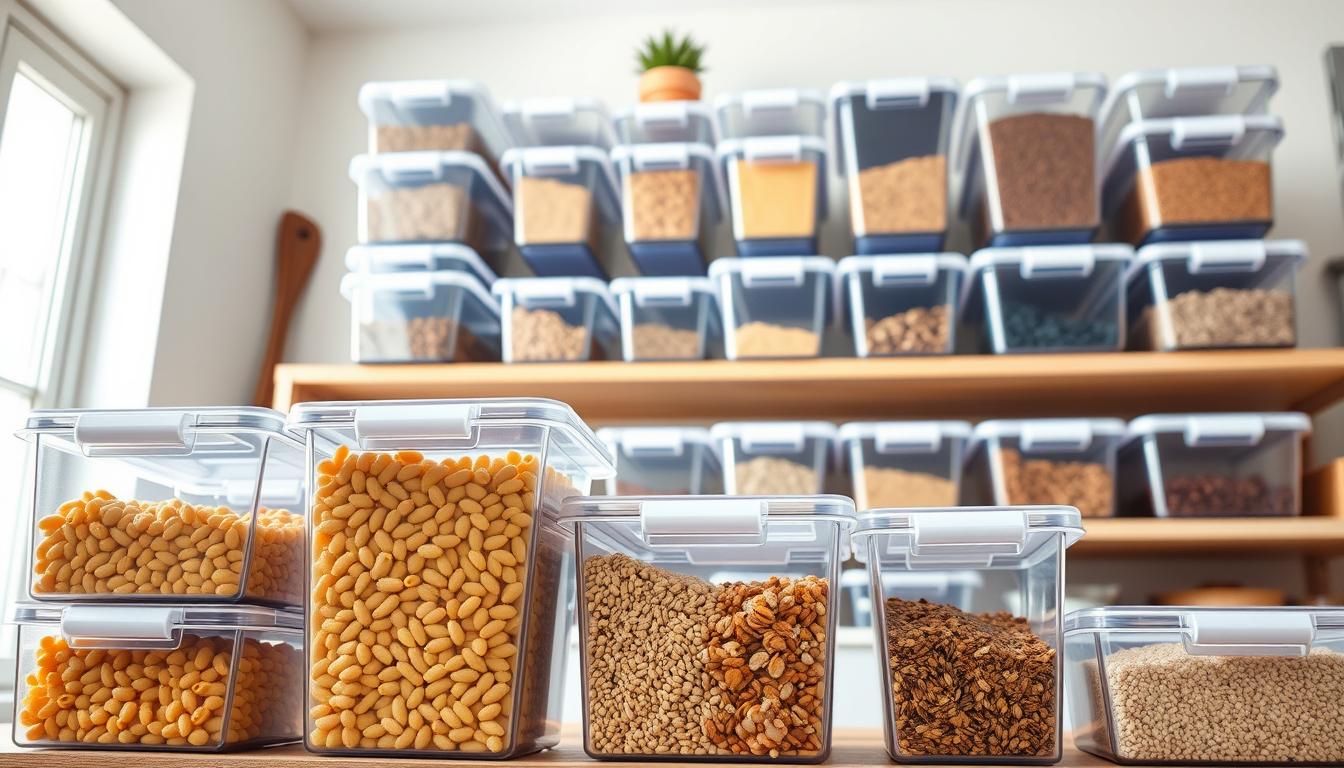
BPA-free pantry bins that maximize space with stackable, compact designs
Stackable storage turns awkward shelf gaps into organized rows so you use every inch.
Modular container sets that fit standard U.S. pantry shelves
Modular container sets matter in real U.S. kitchens because shelves and cabinets often have fixed heights and odd corners. Choose a container set with repeatable footprints so lids and bases match when stacked.
How to build a storage set that reduces wasted space
Start by measuring shelf depth and height. Pick two to three core sizes that nest and stack. Use tall containers for cereal and long goods, medium for flour and sugar, and small for snacks.
- Stability: flat lids and rigid sidewalls prevent leaning stacks.
- Layout: place tall items in back, shorter ones in front, and most-used food at eye level.
- Convenience: compact storage containers let you pull one out without toppling the rest.
When your storage container choices follow the same design logic, your food storage stays tidy and functional. This keeps ingredients easy to find and reduces wasted shelf space.
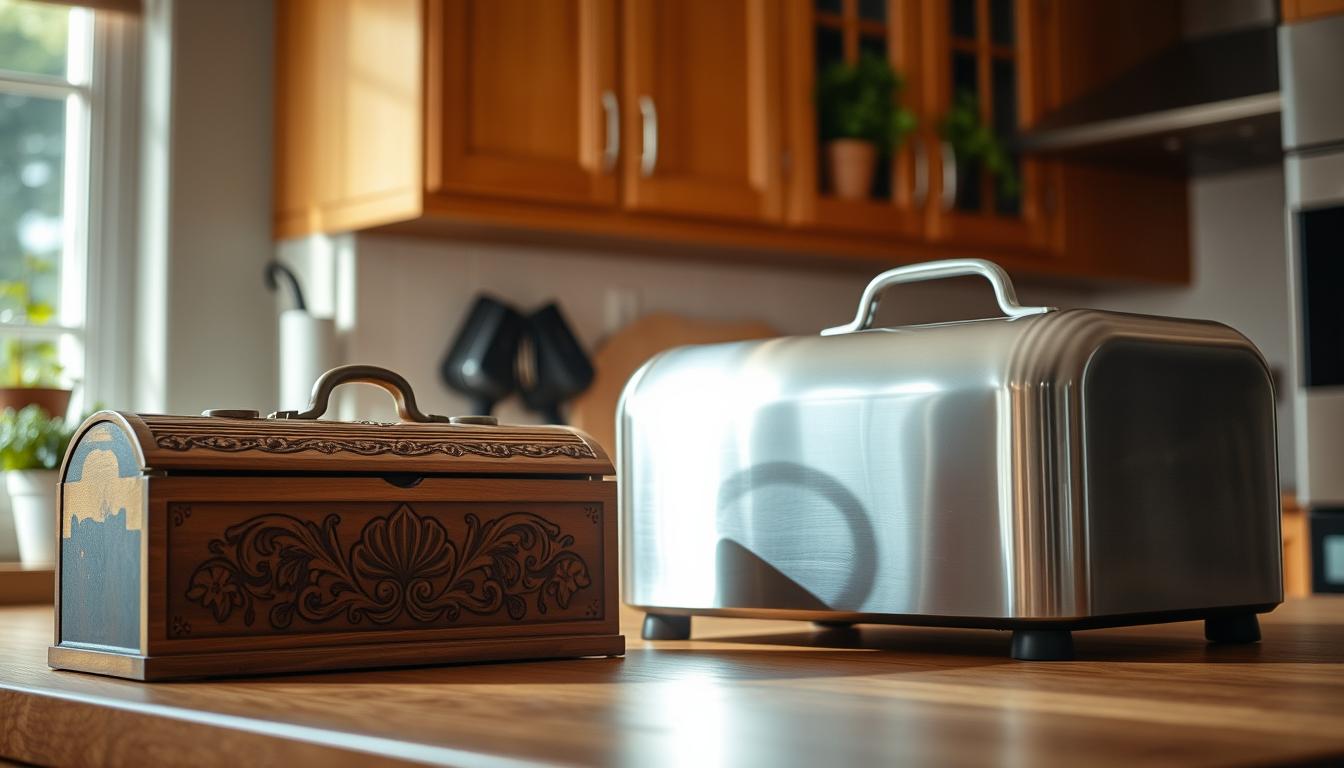
When glass food storage containers make more sense than plastic
When spills, stains, or lingering odors are a concern, glass is the smarter storage choice.
Why glass is often better for liquids and saucy foods
Glass resists stains and won’t absorb odors from soups, sauces, or dressings. That makes a big difference when you store oily or strongly seasoned food.
Choose a well-sealed glass container for liquids to prevent leaks and keep fridge shelves clean.
Using glass containers for meal prep portions and fridge-to-table use
Glass makes portioning simple and looks presentable on the table. You can move a single container from fridge to oven or microwave (check the manufacturer) and serve without transferring food.
- Great for salads, chicken dishes, and desserts that you want to keep fresh and presentable.
- Use glass food for soups and sauces; it won’t stain or hold smells.
- Freezer use: only use glass designed for freezer storage and leave headspace for expansion.
Practical setup: pair plastic organizers for dry food storage with a small lineup of glass containers for leftovers, sauces, and weekly meal prep. That mix gives you the best of both worlds.
How to match your storage container set to your home routines
Match your storage choices to daily rhythms so containers work for you, not against you. A few thoughtful picks make mornings smoother and reduce wasted food.
Pantry organization for busy mornings: pre-packed lunches and snacks
Pre-pack lunches with fresh ingredients in ready lids to speed your routine. Use compact containers that stack in the fridge so you can grab a lunch and go. Keep lunch-size containers and snack portions at eye level to make the habit stick.
Fridge, freezer, and cabinet use cases that influence what you buy
Map where you store food before you buy. Use clear storage containers for fridge-ready meals and glass for liquids and saucy foods. Reserve larger plastic tubs for dry goods and freezer bags or freezer-safe boxes for batch cooks.
Choosing container sets for households that meal prep weekly
When you prep meals, pick sets with uniform lids that stack neatly. Consistent sizes speed portioning and keep the fridge organized so you see what to eat first.
Small vs. large containers: picking the right sizes for the job
Rule of thumb: small containers for single-serving lunches and snacks; large containers for family-size leftovers and bulk components. Mix glass and plastic so you have the right option for liquids, solids, and freezer storage.
- Place lunch and snack containers on the most reachable shelf to reinforce routine.
- Label stacks by meal and date to reduce waste and speed choices.
- Choose a couple of core sizes that stack well in both cabinet and fridge.
Shopping considerations in the U.S.: sets, gifts, shipping, and delivery expectations
Buying the right container set starts with a simple cost-per-item comparison. Figure the price per container when you compare a coordinated set to buying single items. That shows real value when you need matching lids and stackable shapes.
What “good value” looks like for sets versus individual items
Good value balances cost, durability, and convenience. A larger set often lowers the price per container and keeps your storage uniform.
- Choose a set when you’re building a full food storage system, replacing mismatched items, or outfitting a new kitchen.
- Buy single containers to add a specific size or replace a broken piece without extra expense.
- Tip: calculate cost-per-container and add expected lifespan to estimate true value.
Shipping coverage and timing you should expect in the U.S.
Orders usually process in 1–2 business days. Ground shipping can take up to 7 days after processing. Shipping runs Monday–Friday and pauses for major holidays.
Shipping details: free UPS® ground on orders over $75; a $3.99 flat rate on orders $75 & under (limited time). Non-ground charges depend on weight and address. Ships to all 50 states, including Alaska and Hawaii, but not to PO boxes or Military Addresses.
- Look for tracking emails after shipment; use your order number if delivery runs late.
- Contact [email protected] if you need help with a delayed shipment.
- Consider shipping costs when comparing products and sets—free or flat-rate triggers often change the best deal.
Conclusion
A practical storage plan starts with what you open most and where you keep it. Choose a mix of plastic and glass so dry staples stay sealed and liquids or saucy meals stay fresh.
Focus on airtight seals, usable sizes, and stackable shapes that fit your pantry shelves. Pick containers that match your staple foods and how often you access them.
Organization helps you rotate food, spot low supplies, and waste less. Clear, label-friendly storage turns clutter into an easy-to-scan organizer for weekly shopping and meal prep.
Next step: measure shelf space, list your common items, and buy a set that covers daily needs first. Add specialty pieces only after you know what truly improves your routine.