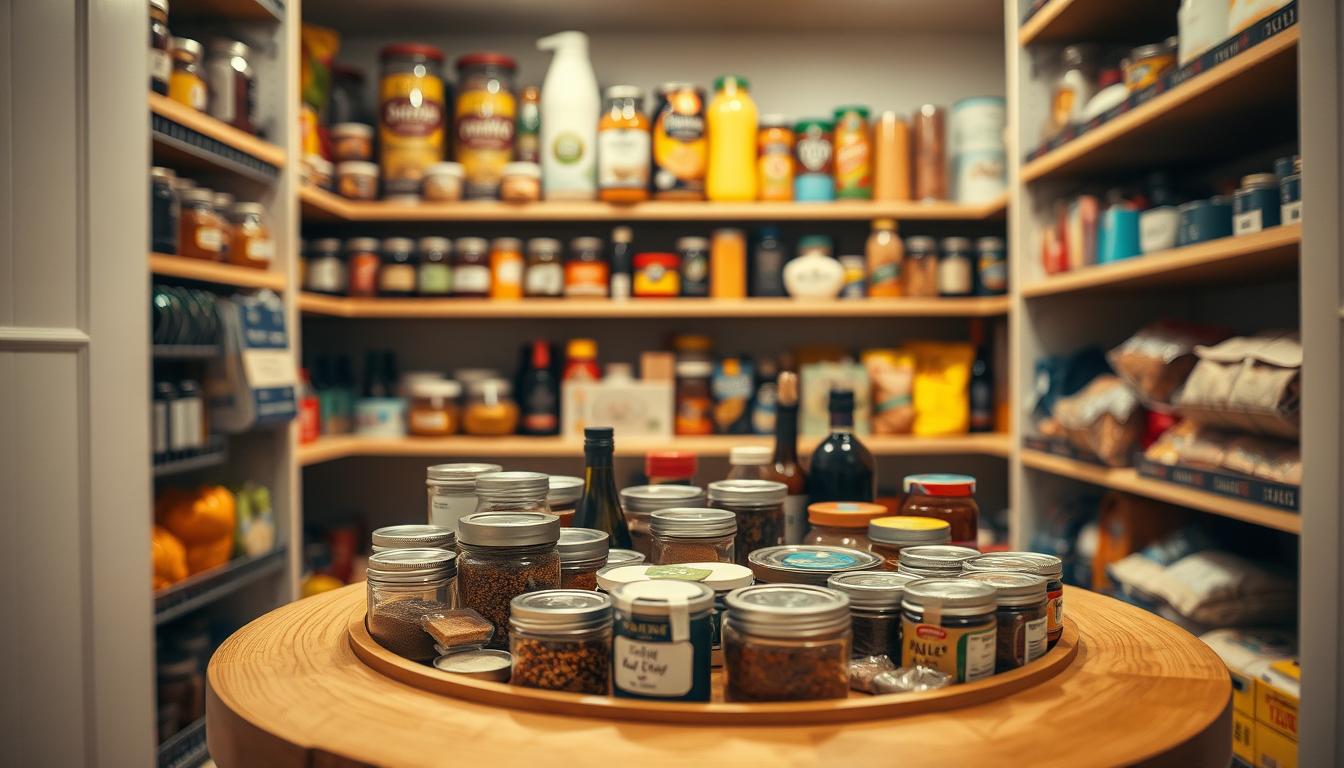
You’ve likely seen your cans multiply and push older items to the back of the pantry, making weeknight cooking longer and waste more common. This guide compares two simple fixes that real households used: stadium-style tiered risers and 360-degree rotating racks.
Tiered shelves lift rows so every label is visible. Rotating racks give quick access and let you spot dents or swelling fast. Each method has pros depending on shelf depth, how many cans you store, and whether you want full at-a-glance views or fast grab-and-go access.
This article walks you through a clear sequence: prep your space, apply universal rules like FIFO, categories, and labels, then choose and install the right system. Expect budget options from plastic risers and small turntables to adjustable dispensers and pull-out organizers.
The result is a practical system that keeps every can visible, cuts waste, and helps you restock without duplicates.
Why an organized can system saves space, money, and time
When every item is easy to see, you reclaim wasted shelf space and time. Out-of-sight cans were pushed to the back and forgotten until past their expiration. That habit wasted both shelf space and your money.
Visibility also made meal planning faster. You could scan shelves, pick recipes, and avoid rummaging during weeknight cooking.
Practical checks became simple. At a glance you could spot dents, rust, or swelling and remove risky items before they reached the table.
- Less overbuying — you stopped buying duplicates because you could see what you already had.
- Faster restocking — unloading groceries became a quick rotate-and-place routine.
- Safer meals — spoilage clues were obvious, so you could discard suspect items early.
This way wasn’t about looks alone. It was a functional storage approach that helped you keep cans accessible, prevent waste, and fit real kitchen habits.

Prep your pantry before you buy shelves, racks, or organizers
Start by checking every shelf, cabinet, and closet you plan to use so your new organizer fits the real space. Measure usable depth and height on each surface, including any trim or lip that reduces storage. A quick tape-measure sweep prevents returns and wasted buys.
Measure shelf depth and height in your pantry, cabinet, or closet
Record measurements for each shelf and the full opening of cabinets and the closet. Note shallow zones where a riser or turntable won’t fit.
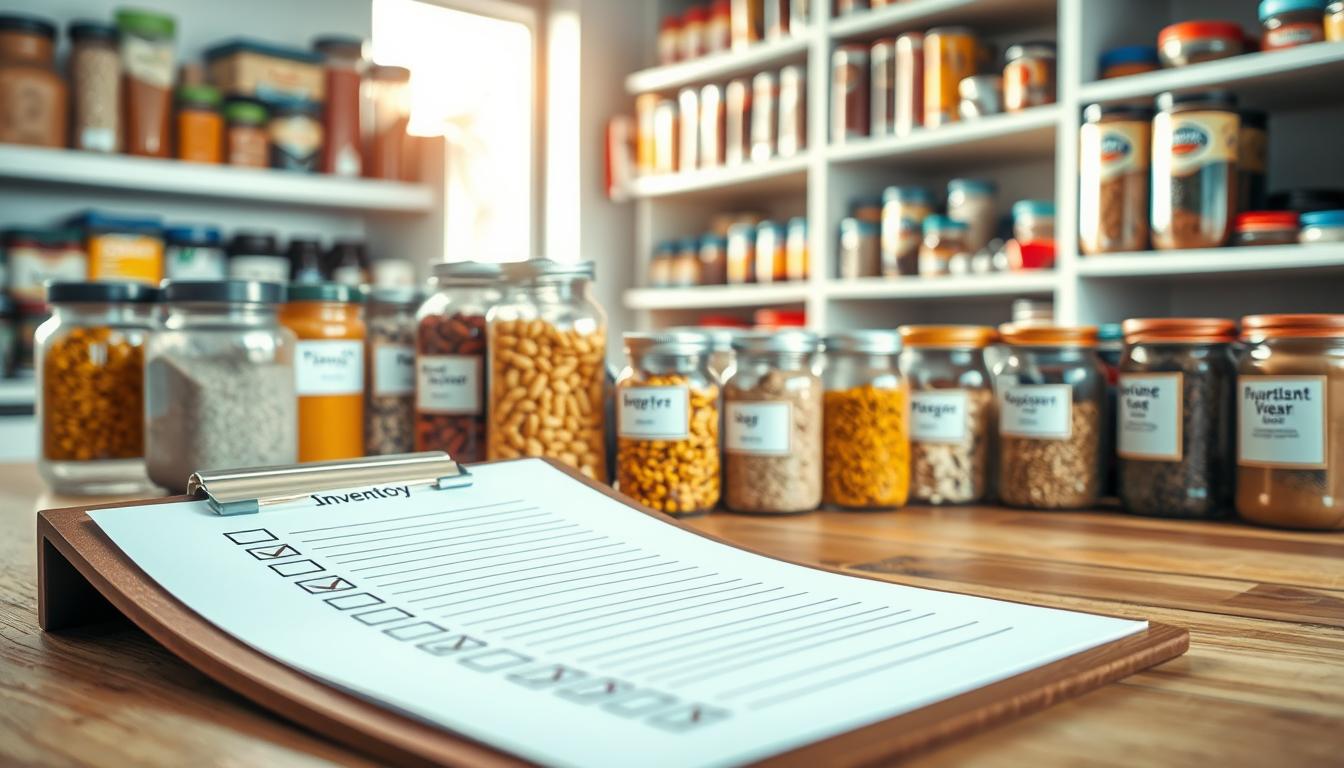
Inventory the can sizes you actually store, including oversized goods
Group items by diameter and height: standard, short, tall, and oversized. This stops you from buying a rack that can’t hold what you store and makes restocking easier.
Plan pantry zones for daily staples, backups, and specialty items
Place weekly staples in the most reachable area. Put backup stock and specialty tins on higher or less-used shelves so daily cooking stays fast and tidy.
Store heavy goods on lower shelves or floor-level storage for safety
Heavy cans can bow thin shelves and increase strain when you lift. Keep weight low—use the floor or bottom cabinets for bulk food storage and protect shelf boards.
- Measure before you buy so the system fits your space.
- Inventory by size to avoid mismatched organizers.
- Zone items for easier meal prep and restock.

Canned food organization basics that work with any setup
A handful of habits kept our pantry reliable and easy to use. Follow them whether you choose tiered shelves, a rotating rack, or a mix.
Use FIFO by expiration date
FIFO means first in, first out. Put older cans at the front and new ones toward the back each time you restock.
This simple move cut waste and made expiration checks fast.
Group items by category
Keep similar goods together so you can scan a shelf and find what you need. Practical groups were soup, vegetables, beans, sauces, and a specialty row for rare items.
Perfection wasn’t necessary; consistent grouping prevented duplicate purchases and sped up meal prep.
Label shelves, bins, or baskets
Use clear labels on shelves, bins, or wire baskets so everyone knows where to return items. Labels helped most when containers hid can fronts or when cans sat sideways.
- Older cans in front; new cans in back.
- Groups by type: soup, vegetables, beans, sauces.
- Label bins, baskets, and wire racks for easy return.
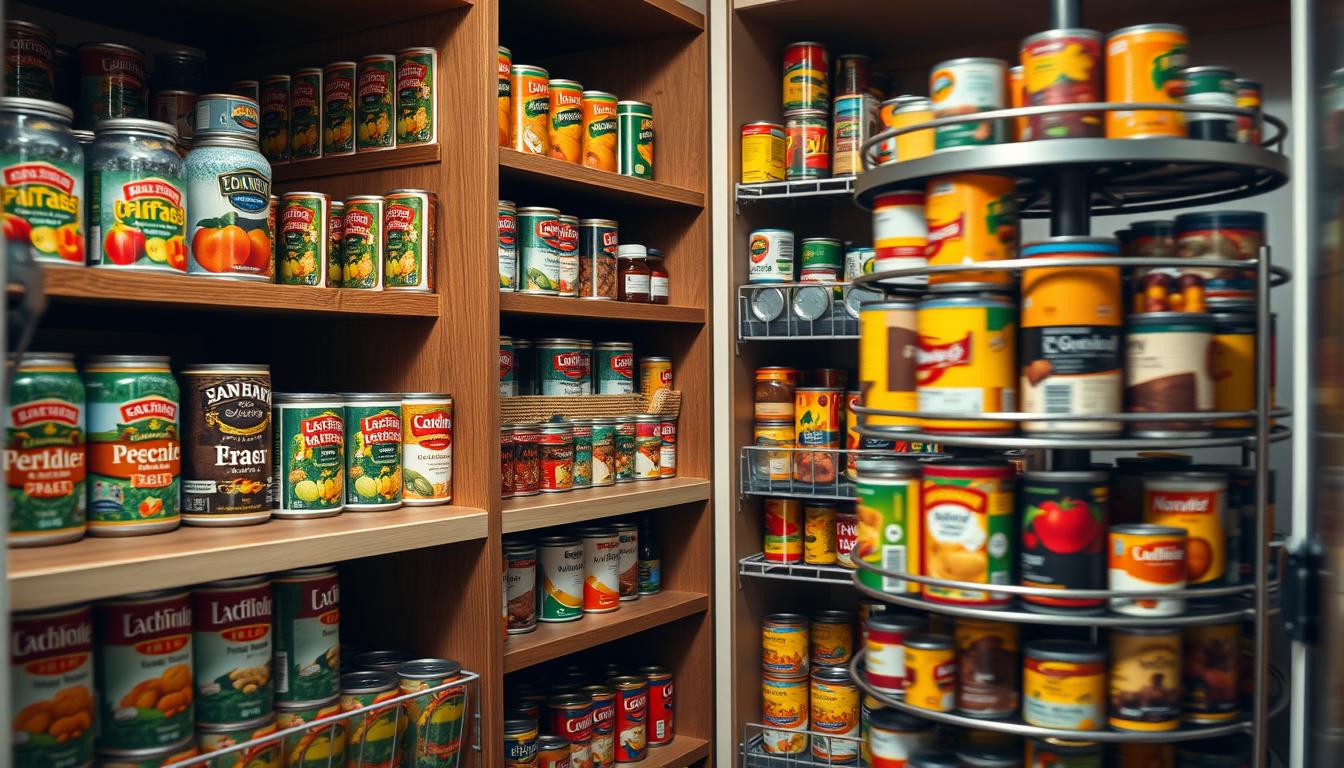
Tiered shelves and risers for “stadium seating” visibility
Risers create stepped rows that keep every label visible without moving a single item. This stadium-style approach works best on deep pantry shelves when you want to scan jars and cans quickly.
Using vertical height turns wasted depth into usable storage and makes shelf space feel larger. You avoid messy rows that hide older items and speed up meal prep in your kitchen.
- Materials: clear acrylic for visibility, bamboo or wood for a warm look, metal for strength, and plastic for budget and easy cleanup.
- Expandable risers: pick an expandable organizer when you need one solution to fit both a cabinet and a wider pantry shelf.
- Placement rules: align cans by height, keep labels facing forward, and don’t let taller items block shorter ones.
- Tiered vs. stacking: stacking saves width but hides labels and complicates expiration checks; tiers keep everything readable and easier to maintain.
This simple shelf upgrade gave many households a low-cost, high-impact solution for visible canned goods and faster restocking.
Rotating racks and lazy Susans for quick access in tight spots
A 360-degree turntable turns a tight cabinet into an instantly reachable zone. It solves a different problem than tiered risers by giving you fast access in cramped pantry corners where reaching the back was annoying.
Use a lazy susan for mixed or low-quantity items you grab often. The spin makes it easy to spot a single can or odd jar without moving other things.
- Capacity reality: a small lazy susan holds only a handful of cans, so it’s an ideal option for small collections, not bulk storage.
- Single vs. two-tier: single-tier gives simple spinning access; two-tier adds vertical space when shelf height allows.
- Materials: plastic and clear acrylic wipe clean easily; wood looks warm but needs gentler care in a kitchen.
- Placement tip: keep frequently used cans on the turntable so you can spin and grab without rummaging.
Bottom line: pick a lazy susan when you want quick reach in tight shelves and prefer an easy, visible way to store canned items you use often.
Tiered shelves vs. rotating racks: how to choose the right option for your pantry
The right system depends less on style and more on shelf depth, quantity, and daily habits. Start by matching the type of solution to how many cans you keep and where you store them.
Pick tiered shelving when you store many cans and need full visibility
Choose tiered shelves if you keep large collections and want every label visible at a glance.
This option maximizes storage space on deep pantry rows and speeds up restocking and meal prep.
Pick rotating racks when you want fast access and flexible storage
Pick a rotating rack when shelf depth is shallow or you need quick grabs from a tight cabinet.
Turntables work best for small sets of everyday staples you spin to reach.
Decide based on shelf depth, cabinet layout, and use frequency
Measure depth and note shelf spacing before buying. Deep pantry shelves favor tiers; shallow cabinets favor a low-profile turntable.
Put everyday items where you reach most, and reserve higher shelves for backup stock or specialty tins.
Consider weight and stability for long-term performance
Remember that cans carry weight. Use sturdy materials and keep heavy items low to avoid bowed shelves or failures.
Reinforce weak shelves or spread weight across multiple supports for safer, longer-lasting performance.
- Decision rule: many cans + visibility = tiered shelves.
- Quick access rule: limited depth + frequent use = rotating rack.
- Mix-and-match: use tiers for bulk categories and a turntable for odd or frequently used items.
How to set up tiered shelves step by step
Begin with a quick purge to free shelf space and make room for a smarter layout. Remove expired or duplicate items and set aside unopened goods to donate. This declutter step saves time later and keeps the system useful.
Declutter first
Empty the shelf and sort into keep, donate, and toss piles. Donate unopened, still-good cans so your tiers hold only items you will actually use.
Build cooking-based categories
Create zones that match how you cook: put weekly staples up front and backup stock toward the back. Use simple labels so everyone returns items to the right spot.
Arrange by height for clear labels
Place shorter cans on lower front tiers and taller cans on higher or rear tiers. This keeps label lines visible from front to back and avoids blocked views.
Set a quick restock routine
Adopt FIFO: move older items to the front and place new purchases in the back during a five-minute weekly reset. That habit prevents missed expiration dates and reduces waste.
Maintenance tip: spend five minutes after grocery day to realign tiers, check labels for dates, and keep space tidy. This small routine keeps your pantry organization working without extra effort.
- Start by decluttering so tiers hold only used items.
- Zone for weekly staples and backup stock.
- Arrange by height so labels stay readable.
- Rotate older cans forward to track expiration.
How to set up rotating racks step by step
Place a swivel tray where your hand goes first, and you’ll shave time from daily prep. Start by noting which shelf you reach for most. Put the rotating organizer there so you can spin and grab your most-used cans and items without moving other goods.
Place most-used items within easy spin-and-grab reach
Position the turntable near the front of the shelf you use daily. That makes common staples quick to fetch during cooking.
Use the back of deep shelves to prevent lost cans
On very deep shelves, set the turntable a few inches from the back. This keeps the zone behind it accessible so cans don’t hide and get forgotten.
Group similar items to avoid mixing and duplicates
Cluster sauces, beans, or specialty tins together on the tray. That simple grouping helps you see stock at a glance and stops overbuying.
- Quick reset: after shopping, add new items to their group and remove dented or expired goods.
- Layout tip: put high-use items on the tray and backups to the side or higher shelf.
- Why it works: this solution gives flexibility and fast access when capacity isn’t your main need.
More pantry storage solutions that complement shelves and racks
Small upgrades can turn awkward corners and doors into reliable storage zones. These add-ons help you split daily access from bulk backups so your shelves stay tidy and usable.
Can dispensers for deep shelves
Gravity dispensers roll cans forward automatically, supporting FIFO and keeping older cans in front. Many models hold roughly 30–36 cans and offer adjustable levels to fit small and tall sizes.
This prevents items from hiding in the back and makes restock checks fast.
Over-the-door racks and wall-mounted baskets
Use an unused door or blank wall to add vertical storage. Wall baskets and over-the-door racks free shelf depth and keep must-have items in sight.
Wire, wicker, and clear bins
Pick wire baskets for airflow and sturdy metal support. Choose wicker for a warm look and a looser fit. Clear plastic bins give the best visibility and clean easily.
- Wire: durable, airy, great for cans and bottles.
- Wicker: aesthetic, best for lighter items.
- Clear bins: fast scanning and labeling.
Drawers, pull-outs, and rolling carts
Pull-out cabinet organizers let you use full cabinet depth without digging. Add label tape to the drawer lip to mark categories.
A rolling tiered cart acts as mobile overflow. It fits corners, closets, or next to the kitchen and gives immediate extra storage space when pantry space runs short.
Hybrid plan: keep shelves and racks for daily access, and use dispensers, bins, and a cart for bulk backups and overflow. That blend maximizes storage space while keeping your pantry easy to use.
Conclusion
Match the tool to your space and you’ll see the biggest gains. Tiered shelves gave full label visibility while a single rotating rack sped up daily grabs. Choose based on shelf depth, how many cans you kept, and how you cooked in your kitchen.
Make three practices non-negotiable: use FIFO by date, keep clear categories, and add labels so everyone can return items correctly. These small rules kept any system working well.
Measure and inventory before you buy organizers. Fit and capacity determined which storage solution lasted and which one frustrated you.
Keep a five-minute maintenance habit when you restocked: rotate new items back, scan for dents or swelling, and re-label if needed. Start small—one shelf or one rack—and expand as you learned what you used most.