Your goal is simple: buy more to save money and time without turning your kitchen, pantry, or home into a cluttered mess.
Start by picturing what “organized” looks like: clear zones, labeled containers, and a rotation system that keeps items visible and used. Clutter usually comes from buying more than your space fits, no plan for rotation, mismatched containers, and poor visibility that causes repeat purchases.
In this guide you’ll follow a practical framework: plan what you buy, assign a storage area, pick airtight containers, control oxygen and humidity, and keep inventory moving. You’ll learn what stays in your everyday pantry versus backstock, what to repackage into jars, and when to leave items in original bags.
This is a practical, present-day guide for typical US kitchens, whether you have a big pantry or a small apartment. The smartest way to prevent waste is to pair buying bulk with simple meal planning so foods get eaten on schedule.
Plan Your Bulk Buys So You Don’t Overbuy (or Overstore)
Think practicality first: buy only what you can rotate through in months, not years. That simple test stops excess from filling shelves and hidden corners of your kitchen.
Choose what you actually eat. Focus on staples your household uses weekly. Avoid big packages of items you rarely prepare.
Match purchase size to your space and cooking habits. Measure shelf depth, count available bins, and set aside room for backstock that won’t crowd your pantry.

Use a quick meal-planning method: pick 4–6 core dinners, list the staples they require, and buy bulk only for the repeat items. Phase purchases—start with grains or beans this month, add baking goods later.
- Do a rotation test: if you can’t use an item in your preferred months, skip it now.
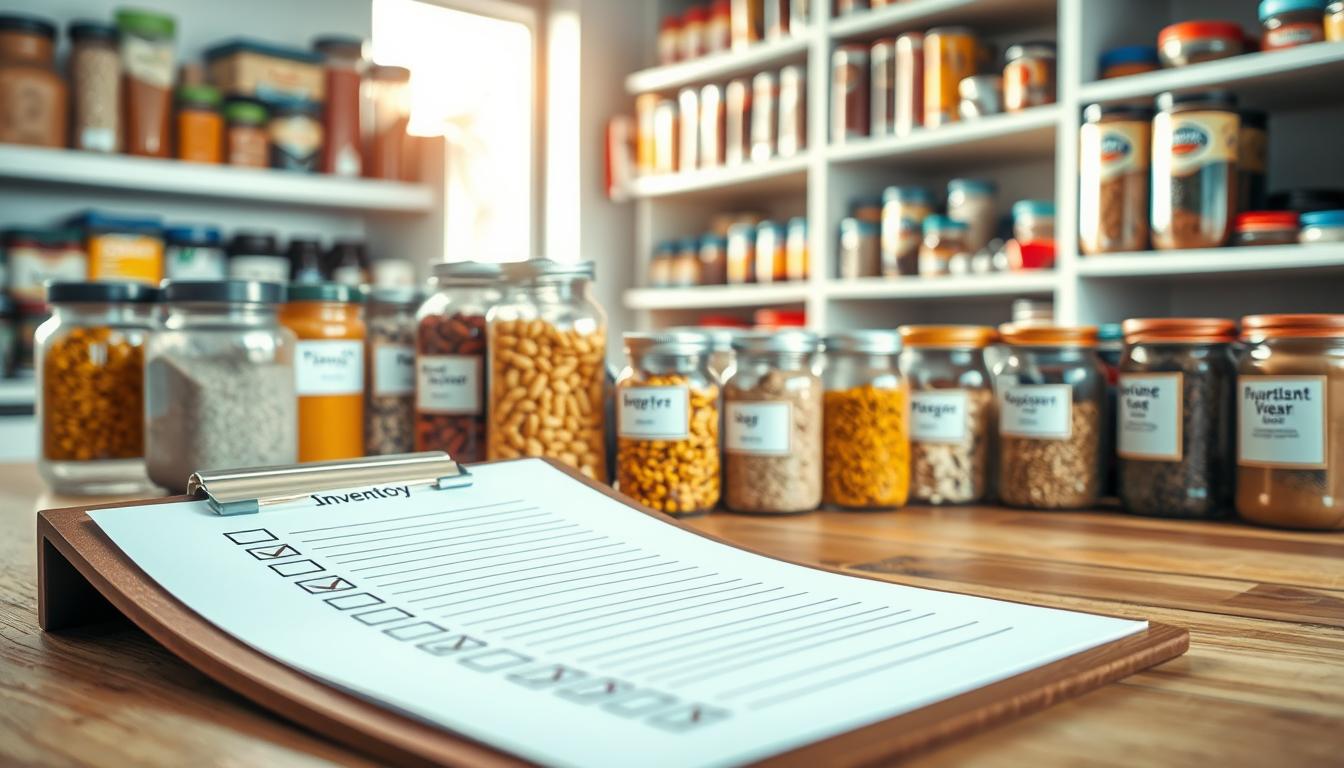
- Keep a simple checklist (notes app or paper) to avoid duplicate purchases.
- Buy in phases to prevent clutter and simplify food storage tracking.
Set Up a Storage Zone That Keeps Your Kitchen From Getting Crowded
Designate one clear area so extras never drift into every corner of your home. A single, dedicated space—like a converted coat or broom closet—works well as a walk-in pantry-style zone.
Create two zones: an everyday pantry for what you reach for often, and a backstock area for overflow. Keep small, usable quantities near your prep space and larger packages in the back area.

Create a “backstock” area vs. an everyday pantry zone
Use braced shelving (metal brackets and plywood) and stack goods with expiration dates facing outward. Place heavy items low and lighter ones up top.
Use vertical space with sturdy shelving and weight-aware placement
- Pick one dedicated spot in your home so items don’t spread into multiple rooms.
- Top off jars and containers from backstock on a weekly refill routine.
- Group like items together for quick visibility; clear bins help you see what you have without moving stacks around.
Why this matters: once zones exist, choosing containers and labeling becomes simple and consistent, and your food storage stays usable—not cluttered.
Pick the Right Location: Temperature, Light, and Humidity Matter
A clever storage spot preserves quality quietly; choose a place that stays cool, dark, and dry. Location affects spoilage, trust in your purchases, and whether extras become clutter you ignore.
Aim for steady temperatures
Target 50–70°F. This range slows oxidation and insect activity and extends shelf life for pantry staples like grains, pasta, and canned goods. A stable climate helps items last months or, for long-term plans, years.
Keep items away from heat and light
Do not place containers near ovens, dishwashers, water heaters, or sunny windows. Heat and sunlight speed quality loss and create half-used packages you toss later.
Choose dark, low-humidity spaces
Low humidity feels dry to the touch and lacks condensation. Moist air invites mold and insect problems, especially with grains, flour, and pasta.
- Interior closet or exterior-wall closet away from heat sources
- Basement storage that stays dry and cool
- Lower cabinets on cool walls (not above ovens)
Quick checklist before you commit: no direct light, stable temperature, dry feel, and easy access for rotation. Good placement cuts waste and keeps your food storage useful instead of cluttered.
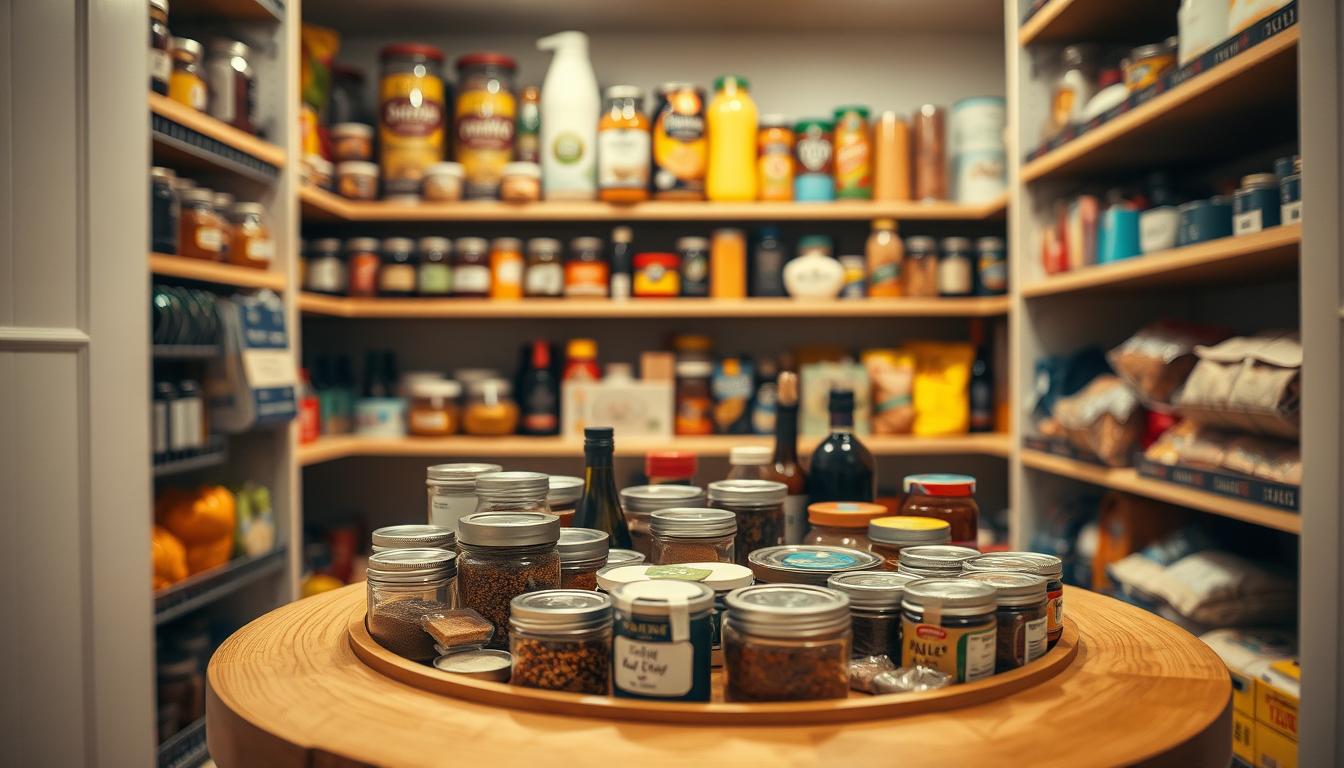
Containers That Prevent Clutter and Protect Food
Choose containers that make your shelves look tidy and your ingredients easy to reach. The right kit cuts oxygen exposure and keeps goods usable longer.
Airtight basics: use glass jars like Mason jars for everyday items you use often. They are durable, visible, and better at blocking pests than thin bags. For lighter staples, pick quality plastic containers and confirm lids snap on tight.
A long-term approach
Portion larger buys into Mylar bags, then place those bags into food-grade buckets for double protection against oxygen, light, and moisture. After opening a bucket, swap to a gamma seal lid so you can access contents without breaking the main seal.
- Reduce visual clutter: standardize on 2–3 jar sizes and 1–2 bin footprints so shelves stack neatly.
- Keep one active jar in the pantry; store the rest as backstock in labeled bags or buckets.
- If original packaging reseals well and will be used fast, leave it; repackage if it tears or draws pests.
Storing Bulk Food Without Spoilage: Control Oxygen, Pests, and Cleanliness
Keep perishables usable and shelves tidy by cutting oxygen, pests, and grime out of the equation. Even dry goods decay when oxygen, humidity, heat, or light go unchecked. That hidden degradation leads to waste and clutter on your shelves.
Where oxygen absorbers fit
Use oxygen absorbers inside sealed Mylar bags or food-grade buckets for long-term food storage. They remove oxygen and help protect dry goods from insects and rancidity.
Do not put absorbers in jars you open frequently. Only seal packages you plan to keep closed until use.
Pest prevention and cleanliness
- Natural option: Add small amounts of diatomaceous earth (Perma-Guard) to grains or beans and follow directions carefully.
- Keep the storage area swept, vacuumed, and free of spills so pests have no attractant.
- Inspect bags, lids, and seals regularly for tears or gaps to stop one failure from ruining multiple items.
Bottom line: controlling oxygen, pests, and dirt prevents spoilage. That means fewer mystery packages, fewer half-used bags, and less clutter in your pantry area.
Labeling and Rotation Systems That Keep Bulk Foods From Becoming Clutter
Make it easy: mark what you buy, date it, and let the shelf order do the work for you. Clear labels and a simple rotation habit stop older packages from hiding behind newer ones.
Practice FIFO in a few minutes today
Put new purchases behind older ones so your pantry naturally drains in the right order. For jars, bags, or a bucket, move the newest to the back immediately after you restock.
What to label on every container
Write three things: product name, packed or purchase date, and any visible best-by date. Use a permanent marker on lids or removable labels for quick updates.
Make visual inventory fast
Face expiration and best-by dates outward on each shelf so you can scan the row in seconds. Group categories together so you see low items before you run out.
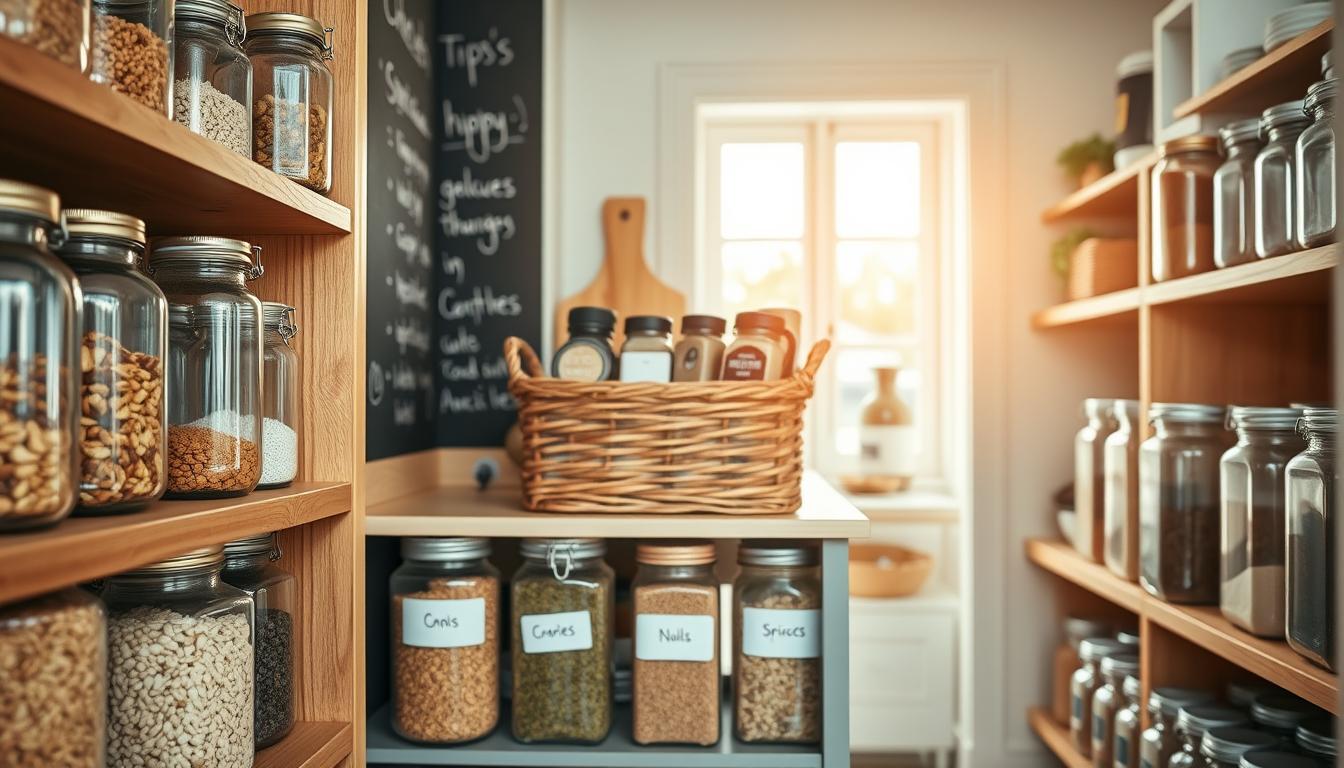
- Use chalkboard labels or clear removable tags for a neat look.
- During weekly meal planning, pull one older item forward and build a meal around it.
- Fix mixed sizes and identical jars by assigning dedicated shelf spots and consistent labels.
Why this prevents clutter: labels stop you from losing items for years and reduce duplicate purchases. A short weekly check keeps your food storage active and visible.
Bulk Pantry Staples and Realistic Shelf Life Expectations
Understanding realistic shelf life helps you decide what to keep long-term and what to rotate quickly.
Beans and lentils: in a regular pantry they stay usable for months to a few years. In airtight jars they last longer. For true long-term food storage, sealed Mylar with oxygen absorbers and a bucket can keep dried beans edible for 10+ years at ≤70°F. Older beans may need longer cooking; add a pinch of baking soda to soften them faster.
Rice: white rice is the best long-term choice because it lacks oily bran. Properly sealed white rice can last decades; brown rice generally lasts 2–5 years due to oil content.
Wheat berries and other grains: intact wheat berries store far longer than milled products. Cool, dry conditions can extend wheat and many grains to 20–30 years.
Flour, oats, pasta, corn, quinoa: flour attracts insects, mold, and oxidation. Freeze new flour to kill eggs, or seal in Mylar for long life. Oats and pasta last many years if dry. Corn needs moisture control (~15%); quinoa has higher oils and needs very dry storage.
- Rule of thumb: prioritize staples you use often, test rotation, then scale long-term storage.
Small-Space Storage Ideas That Don’t Make Your Home Feel Packed
You can make tight spaces work like a mini pantry with a few durable shelves and a clear plan.
Convert a closet into a pantry-style zone
Pick an anchor area such as a coat or broom closet and add braced shelving with plywood. Use weight-aware brackets and keep heavy packages low on the floor or bottom shelf.
Why it helps: a closet against an exterior wall and away from heat stays cool and dark, which improves your food storage quality for flour, wheat berries, rice, and beans.
Hidden storage that still gets used
Under-bed bins or slim boxes behind a couch are fine when you treat them like real pantry spots. Label each bin and add a simple inventory line: “under-bed left — rice 10 lb.”
Check those out-of-sight items on a set schedule so they don’t get forgotten for years.
Make glass jars part of your decor
Keep everyday staples in matching glass jars on a kitchen shelf. They look intentional, cut visual noise, and make grabbing things faster at meal time.
- Keep only one active container in the kitchen; store refills as labeled backstock in bags or containers elsewhere.
- Reinforce lower shelves for heavier goods and avoid loading high shelves in small homes.
- Maintain a short inventory list by location so you always know what you have and where it is.
Conclusion
Close the cycle: buy what you use, protect it well, and rotate on a schedule.
Follow a repeatable loop: plan purchases, keep a dedicated zone, use airtight jars for everyday use, and reserve Mylar and buckets for long-term food storage. Label clearly and practice FIFO so older items get used first.
Aim for steady, cool, dark, low-humidity conditions to extend shelf life and cut waste. Do a quick weekly pantry check and a monthly backstock review so nothing hides for a year.
Start small: try buying bulk of a few staples, prove you rotate them, then expand. The result is simple—less visual clutter, fewer duplicate buys, and more reliable meals because your storage works for you.