This short guide shows you how to make clean, intentional labels on glass. With paint pens, stencils, and tape, you get a neat, store-like finish even if your handwriting makes you nervous.
It is a simple project for anyone who wants tidy pantry looks, pretty open shelving, or labeled drinkware. You’ll learn how to pick the right jar, prep glass, align stencils, paint, and fix small errors.
The method fits many uses: pantry storage, drinking jars, gift tags, or kitchen décor. It pairs well with modern open shelving and behind-glass cabinets, so your space feels organized and styled.
This beginner-friendly craft focuses on planning and guides rather than freehand skill. Later sections will cover supplies, time, and budget so you can plan before you start. Try it, then share your color themes or pantry categories to inspire others.
Choose Your Jar and Gather Supplies for Clean, Crisp Writing on Glass
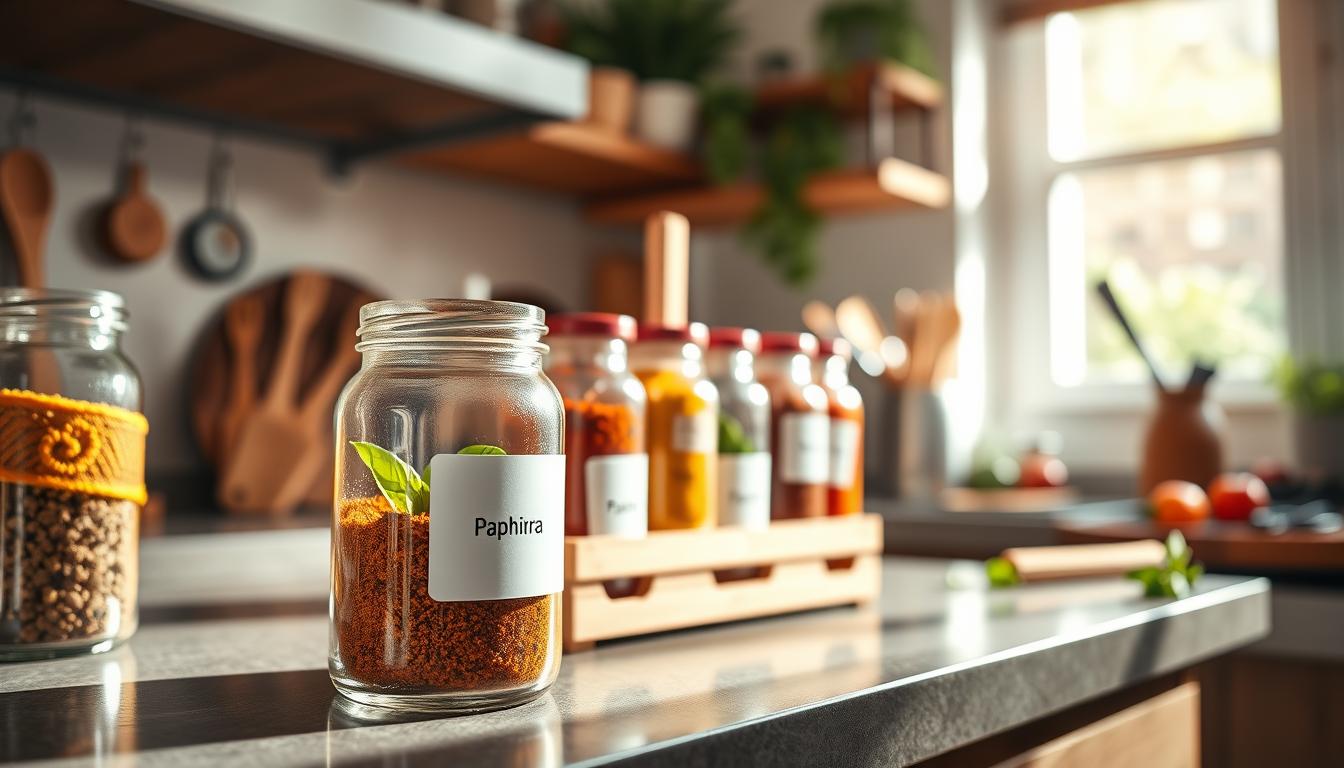
The first step is simple: choose a smooth-surfaced jar that suits your project. A clear, even surface yields the best results because paint pens lay down opaque, consistent lines on non-textured glass.

Pick the right container
Match shape and size to use — a mason jar for pantry storage, a wide tumbler for drinks, or a simple vase for decor. Avoid heavily embossed pieces; they make lettering look uneven.
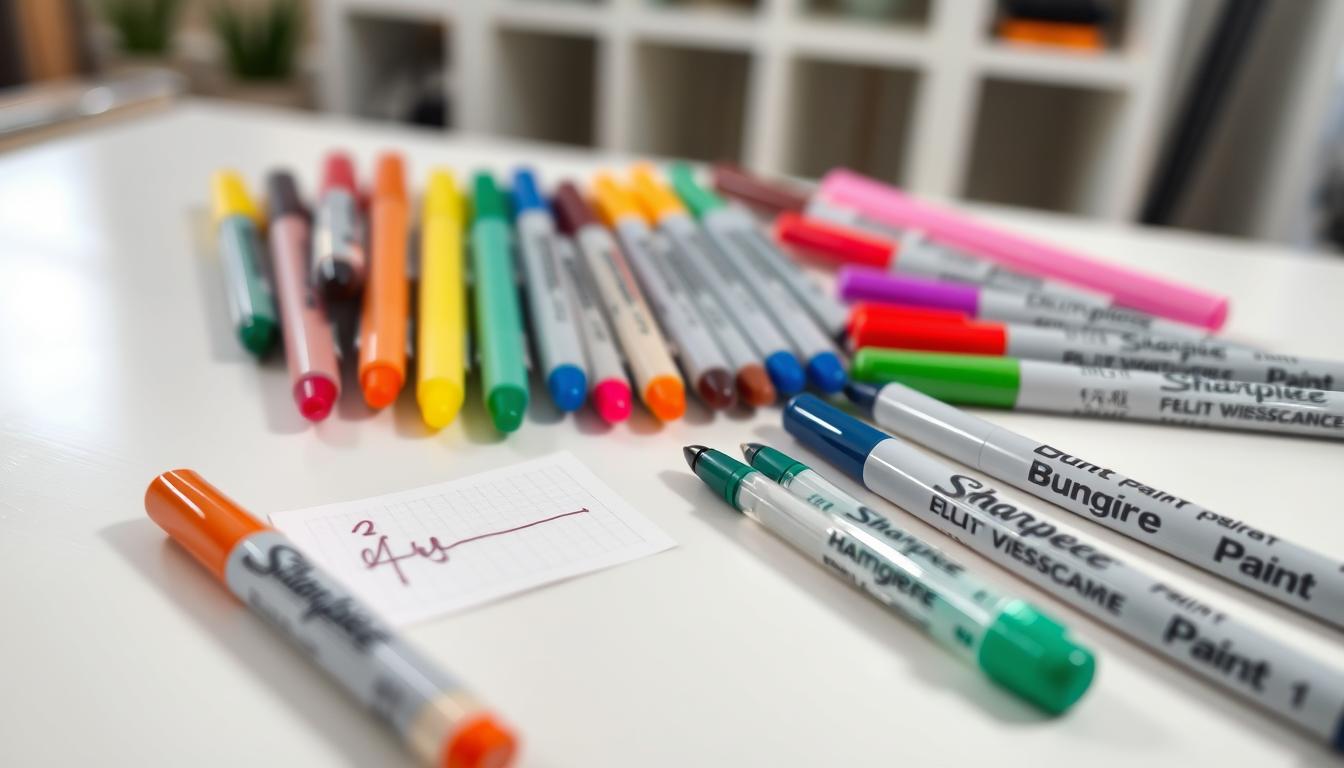
Choose paint pens and layout tools
Use POSCA-style pens for bold, opaque color and steady flow. Bring stencils and paper practice sheets so you can test spacing and lettering before you commit.
Tape and extras
Use washi tape for temporary guides and painter’s tape when you need a stronger hold against stencils. Add ribbon, wood lids, or label-style frames for a polished shelf display.
- Plan first: this beginner project takes about one hour and needs minimal budget.
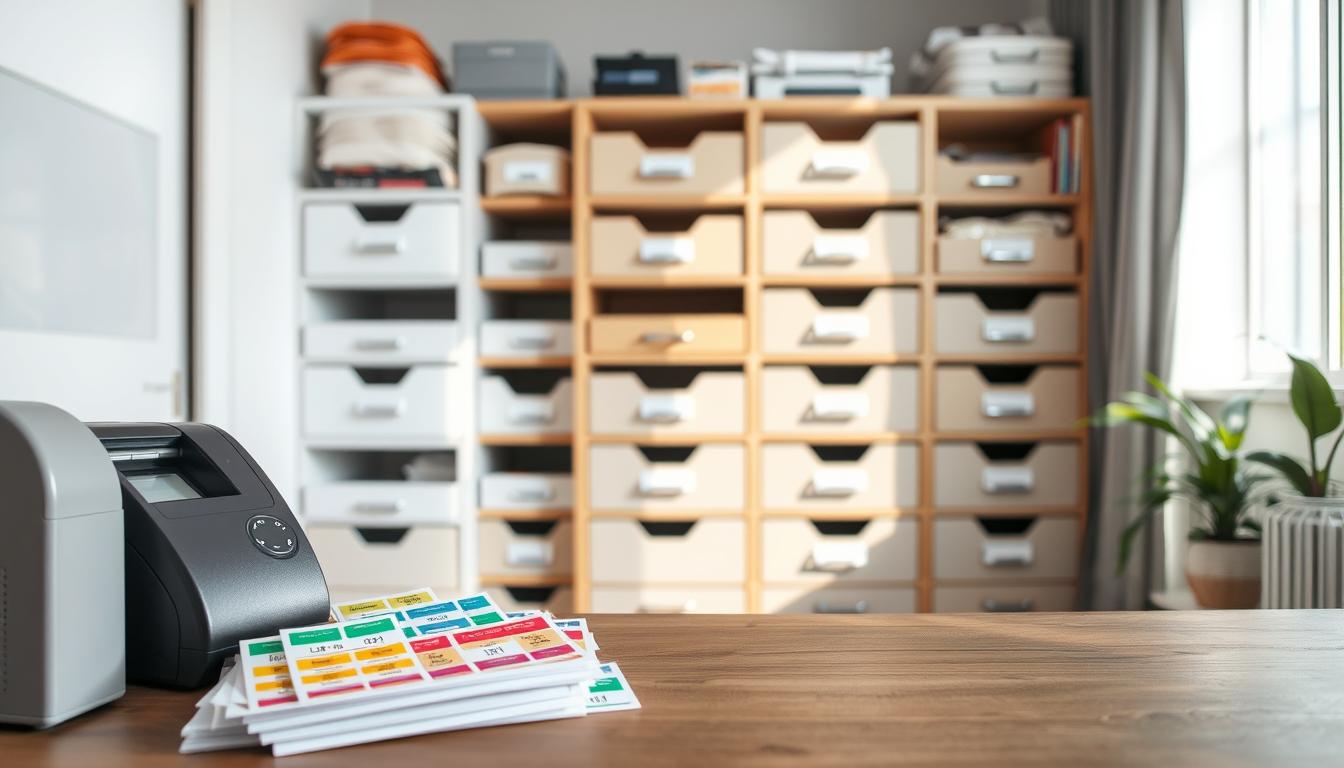
- Where to buy: look at Ikea, West Elm, Urban Outfitters, or Amazon for plain containers.
Hand-lettered jars: Prep Your Glass Surface and Plan Your Design
Start by making the glass spotless so your lettering lays down smooth and true. Wash the jar with warm, soapy water, rinse well, and remove any sticker residue with rubbing alcohol. Dry the surface completely; even small damp spots make paint bead up and ruin crisp lines.

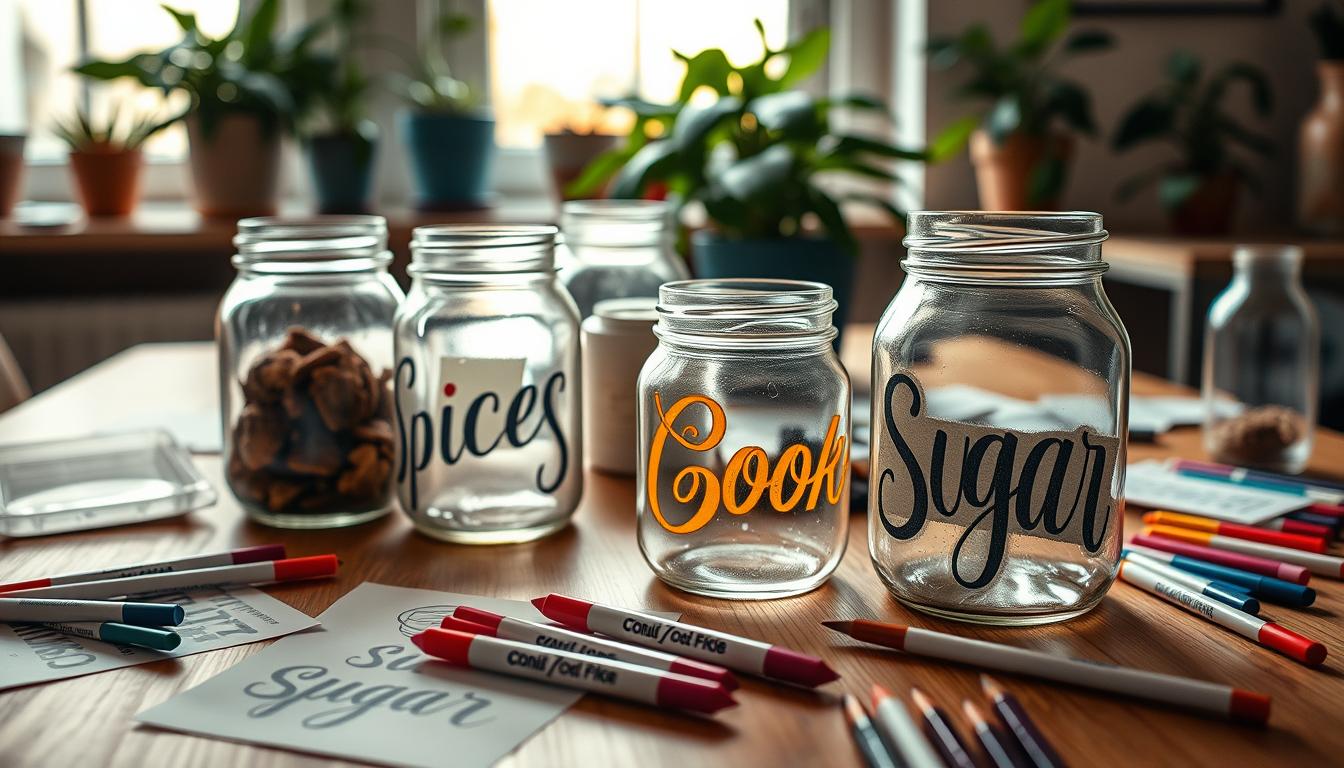
Practice and layout
Test your writing on paper first to pick letter size and spacing. If you don’t love your hand lettering, use a stencil for the shape and trace slowly with your hand guiding the pen. This way you control pressure without freehand worry.
Use tape as guide rails
Place two strips of tape to form a straight baseline around a mason jar. The tape keeps stencils steady and gives a visual rail so your labels stay level on open shelving. Align the stencil center, check the viewing angle, and press the stencil flat before you write.
- Placement tips: choose front-and-center for shelf display, larger text for pantry visibility, or centered, pretty placement for gifts.
- Repeatable system: use the same baseline height and label format to scale this project across a full set so everything looks consistent.
Apply Paint Pen Lettering With Stencils and Tape for a Professional Look
Secure your stencil and steady your tape before you touch the pen. Locking the stencil prevents shifting on curved surfaces, which is the main cause of fuzzy edges on a jar.
Trace the letter outlines first, then fill each shape with steady strokes. Work in short runs so you do not rest your hand on fresh paint. If a second layer is needed, wait for the first coat to dry fully before adding it.
Secure your stencil and prevent shifting with tape
Use painter’s tape to hold the stencil flat and mark a baseline. Tape twice around the jar when possible to keep things level as you rotate the piece.
Trace, fill, and layer color with paint pens
- Trace letter edges lightly, then fill from the center outward for even opacity.
- Add a second coat after drying to get bold, opaque results for this project.
- Work small sections; avoid touching wet areas to prevent smears.
Drying, removal, and quick fixes
Let paint dry completely, then peel tape and stencil back slowly to avoid lifting pigment. For tiny mistakes, wait until paint is dry and gently scrape with a butter knife or a fingernail to flake it off without clouding the glass.
Optional embossed-style variation and finishing touches
For an embossed look, stick adhesive foam letters to the jar, mask with tape and scrap paper, then spray in a ventilated area. After full dry time, remove masks for crisp edges.
Finish by tying ribbon, pairing with natural wood lids, and styling on open shelves for a neat home display. This small step completes the project and keeps pieces marked as hand-wash only.
Conclusion
Wrap up your craft with a simple routine that gives consistent, clean results. Choose smooth containers, prep the glass, use tape guides, secure your stencil, and let paint fully dry before you handle the piece. This small set of steps is the easiest way to get neat, repeatable lines.
The method works whether you label a single mason jar or complete matching projects for a pantry. Mistakes are easy to fix on glass, so this is approachable even if you feel new to paint pens.
Want to expand? Organize a full pantry or try the embossed variation for a dimensional finish and gentle hand-wash care. When you’re done, please share your color choices, ribbon ties, or label formats so others can copy what works at home.