Turn a crowded shelf into a clear, easy-to-scan system that supports everyday cooking. You’ll learn practical, repeatable ideas that make dry goods fresher, free up shelf space, and cut down on duplicate buys.
The trick is simple: decant staples into clear containers with airtight lids so you can see what you have at a glance. This solves the common pain of deep, forgotten corners where items go missing. You’ll also get tips on choosing sizes, lids, and layout before you start, so you won’t redo shelves.
This guide is renter-friendly and hands-on. It covers benefits like better visibility and fresher dry goods, and it notes tradeoffs such as weight and breakability. Expect ten practical setups for daily-use staples, storage routines that make restocking easy, and clear steps you can follow today.
Why Mason Jars Work for Pantry Storage in Your Kitchen
Clear, uniform containers change how you see and use shelf space. You gain more usable room by replacing bulky, odd-shaped packages with same-size vessels. That lined-up layout makes it easy to scan ingredients before you start cooking.
Moving dry goods into sealed glass brings fresh-tasting results. Airtight lids keep flour, sugar, and grains away from moisture and pests. Clear containers also show low inventory early, so you avoid mid-recipe surprises.

Benefits you’ll notice fast
- Consistent jars create a fast, scannable system so you plan meals around what you already have.
- Same-size footprints free up shelf space compared with crumpled bags and partial boxes.
- Airtight storage protects flavor and extends shelf life for staples and snacks.
Practical pros and cons
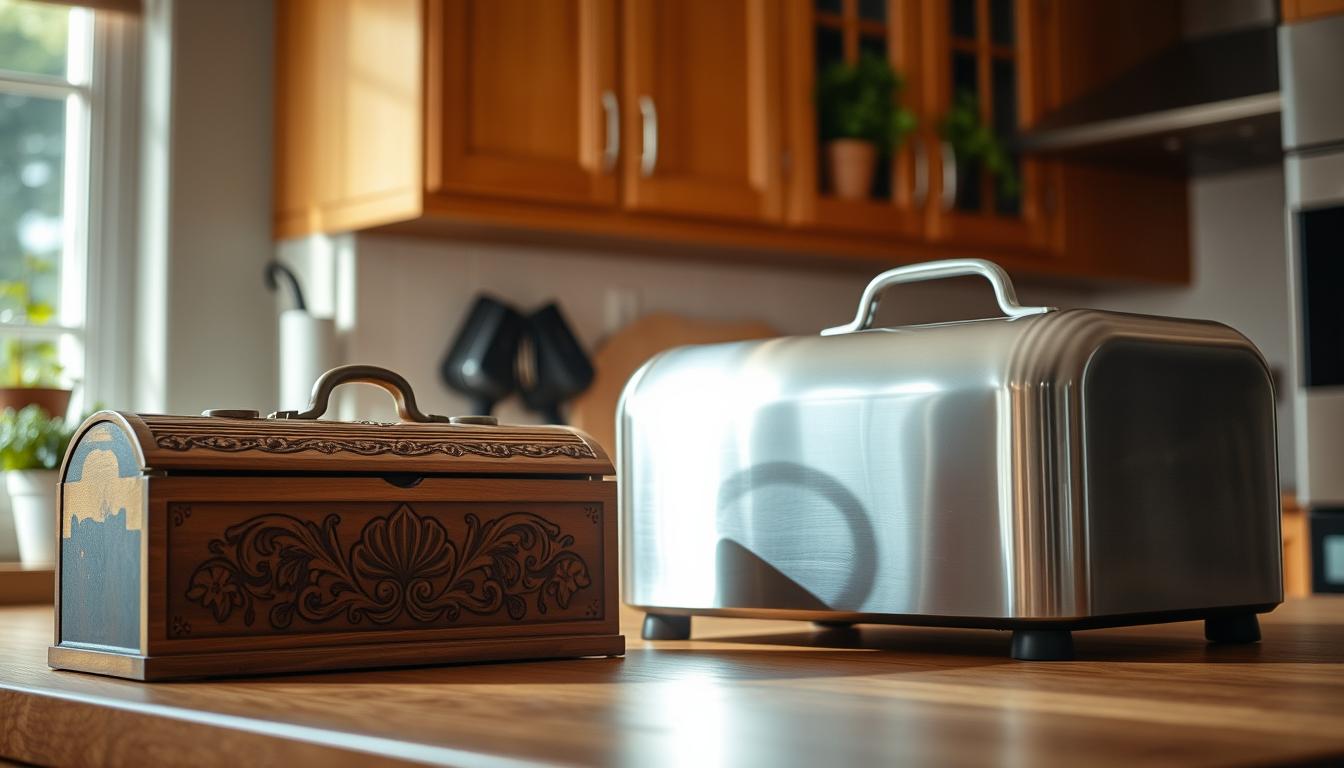
Glass is non-porous, BPA-free, and reduces pests, but it’s heavier and breakable. Plastic can be lighter and safer for kids, though it may absorb odors over time.
Mix types for the best solution: use glass for dry goods and lighter containers for kid-access zones. Place breakable items out of reach to keep your kitchen safe and organized.
Set Yourself Up for Success with the Right Jars, Lids, and Pantry Layout
Before you empty boxes, make a quick plan so setup takes less time and stays tidy. Match container choices to what you store most. This prevents half-full vessels that waste space and effort.

Pick sizes that work
Use quart jars for staples like flour, rice, and pasta; they are a great “just right” option. Pint jars suit smaller items such as nuts and seeds. Choose wide-mouth openings so filling and scooping is faster and cleaner.
Follow a simple workflow
Wash and dry everything fully—dishwasher is fine but remove gaskets to avoid trapped water. Then configure zones: baking, grains, and snacks. Add labels, fill carefully to protect shelves, and set a restock routine so items never surprise you.
Smart add-ons for deep shelves
- Lazy Susans give quick access to small jars and spice supplies.
- Tiered organizers lift bottles and cans that won’t go into sealed containers.
- Buy secondhand supplies to save money and get more units for your layout.
Mason jar pantry hacks to Maximize Space and Keep Dry Goods Organized
Reworking where and how you keep dry goods turns clutter into a fast, usable system. Below are ten focused solutions that solve common pains: spills, lost items, stale food, and wasted space.
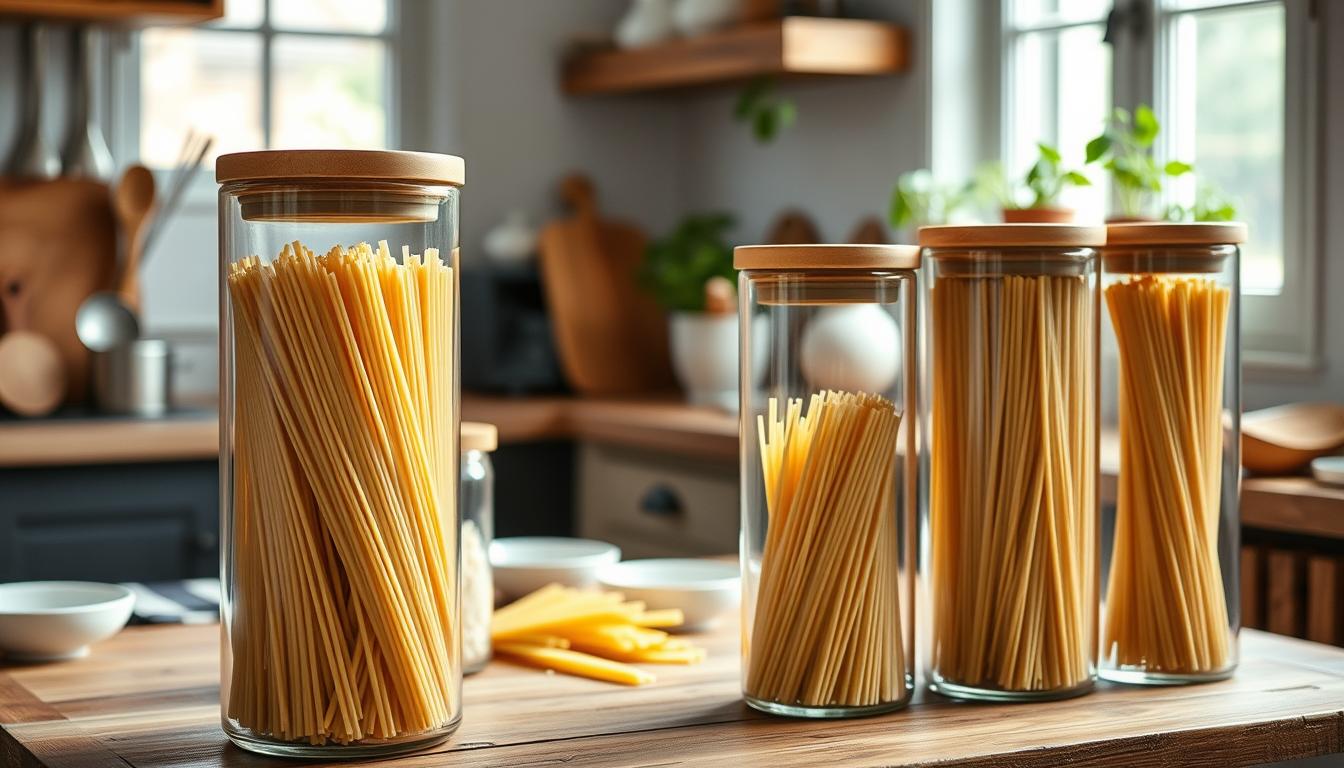
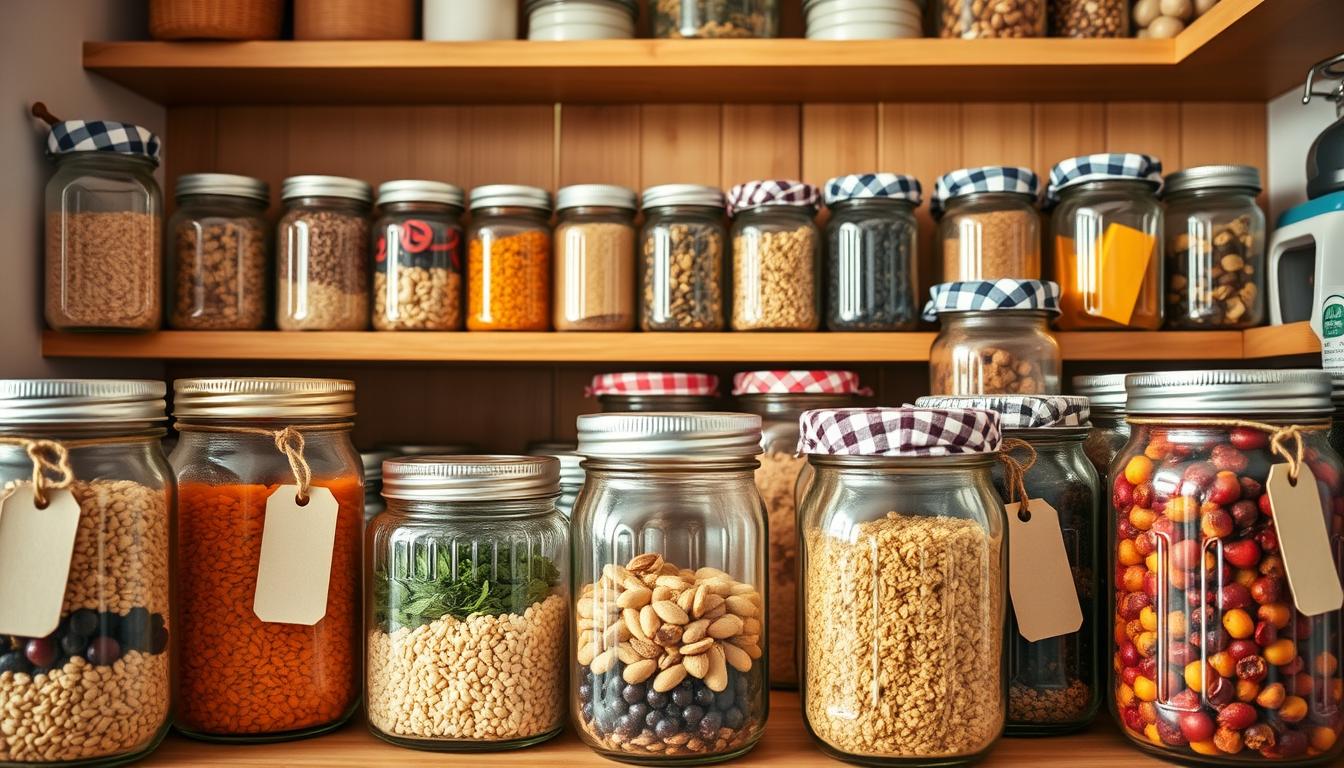
- Decant dry goods: Transfer rice, pasta, quinoa, lentils, flour, sugar, and popcorn kernels into clear containers to stop torn bags from spilling and to see stock at a glance.
- Create baking zones: Group flour, sugar, cocoa, and baking soda together so you cook faster and restock by category.
- Upgrade lids: Use one-piece airtight lids for daily access; they seal well and are easier to open than two-piece canning tops.
- Label everything: Pick a consistent, readable label style and place it on the same spot for every container to avoid mix-ups like baking powder vs. baking soda.
- Stackable solutions: Choose stack-and-store sets or stacking rings to add vertical storage and open up shelf space without risking toppled containers.
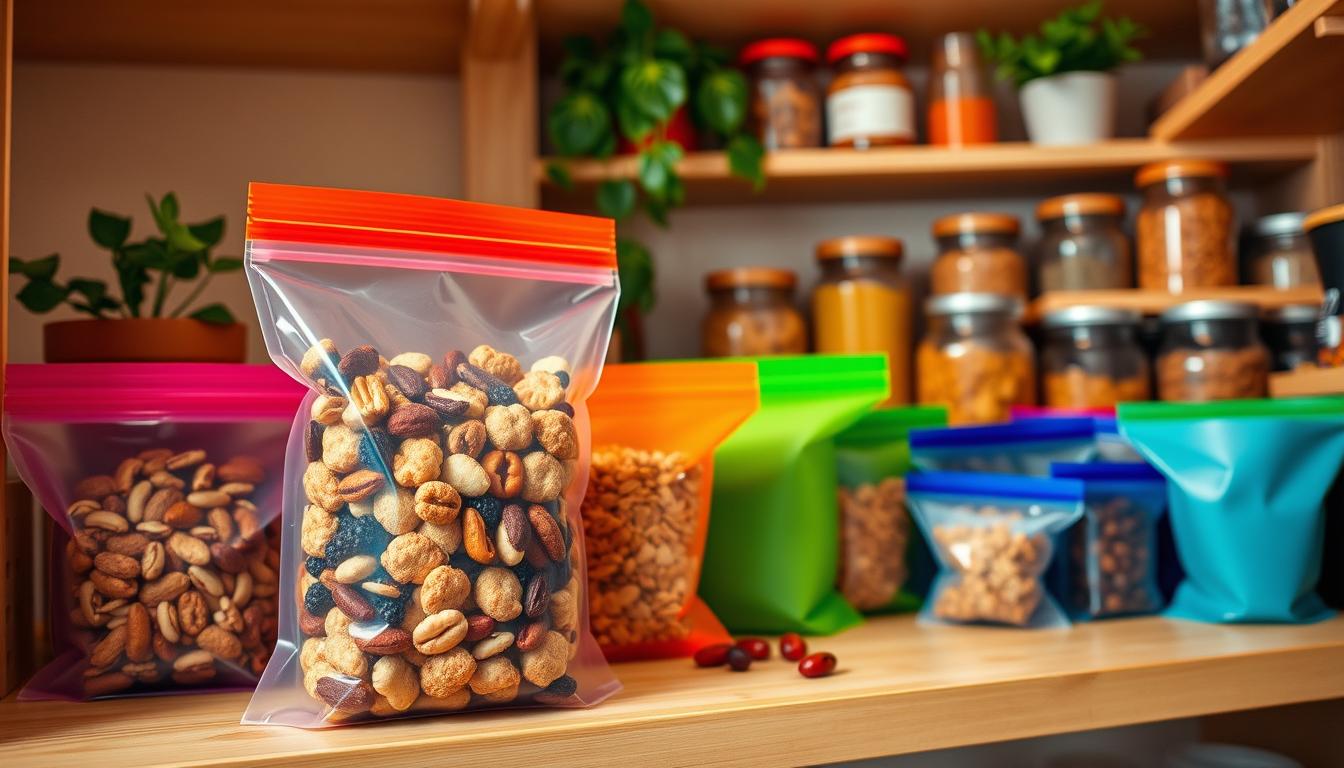
- Keep bulk fresh: Move spices, nuts, seeds, and grains from thin bags into sealed jars to extend shelf life and reduce air exposure.
- Backstock row: Place a full spare behind the front container of the same item so you never run out midweek.
- Organize by size and weight: Put heavier containers on the bottom shelf and lighter ones higher for stability and safer access.
- Use a wide-mouth funnel: Cut filling time and avoid spills when you pour a lot of small goods during pantry resets.
- Handle leftovers: Keep a dedicated refill bin for partial bags that don’t fit your containers and re-evaluate sizes if leftovers are frequent.
Tip: Start with what you use most. Convert one shelf at a time to save time and avoid overwhelm when setting up your new storage system.
Conclusion
A clear system turns a messy shelf into an easy-to-use resource you rely on every week.
Recap: using mason jars and a consistent set of jars made inventory visible, freed shelf space by removing bulky packaging, and kept dry goods fresher with tight lids.
Practical wins include less food waste and faster meal prep. Start with one shelf you use most, then scale the approach across the pantry.
Next steps: pick jar sizes, choose lids, label, decant your items, and commit to a quick restock routine.
Balance materials: glass is non-porous and clean, while plastic can work better in kid areas. Tweak placement and quantities over time until the system fits your routine.