You know the problem: a single dim bulb leaves deep shelves and corners in shadow, and that makes finding items slow and frustrating. Upgrading your pantry is a simple project that improves daily convenience and organization.
This guide focuses on practical, wireless LED solutions so you can upgrade without opening walls or hiring an electrician. You’ll see battery puck lights, motion-sensor approaches, LED strip and fixture-style options. Each choice shows how to balance brightness, control, and ease of install.
Better lighting supports real functionality: you find items faster, reduce duplicate buys, and keep the room cleaner. The goal is even, comfortable illumination that fits your pantry size and layout—not just brighter at any cost.
Read on to learn simple placement rules, brightness targets, and control ideas so your lights turn on only when you need them. Layering overhead and shelf lighting is the most reliable way to illuminate pantry storage from top to bottom.
Start With Your Pantry: Size, Layout, and What You Need to See
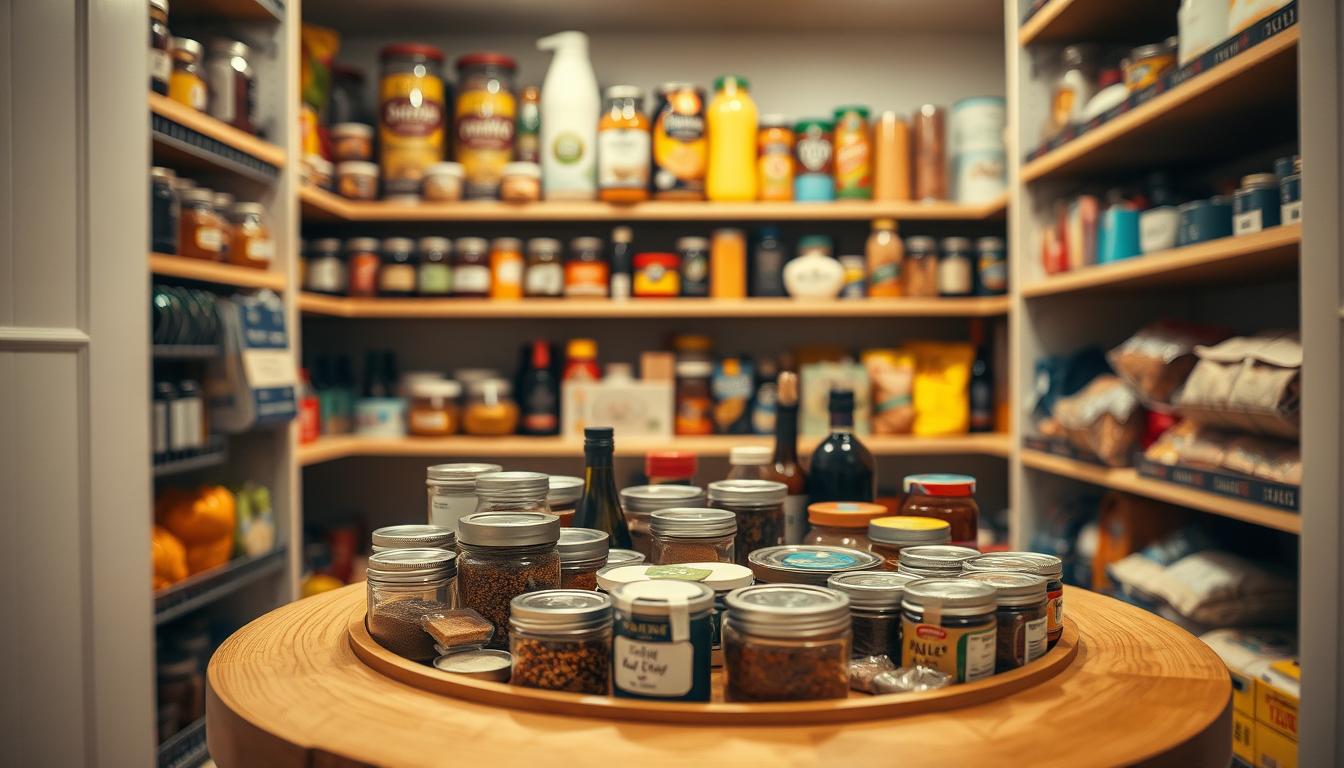
Begin with a quick audit of your storage: size, shelves, and dark corners. Measure width, depth, and shelf heights so you know how much coverage you need.

Compare types: a reach-in model benefits from linear lights aimed down the depth, a cabinet-style unit needs shelf-mounted lights, and a walk-in pantry relies on a stronger ambient layer to light the whole room.
- Check shadow zones: shelf corners, the back third of deep shelves, and areas blocked by the door frame.
- Use 100–150 lumens per square foot as your target to estimate the number of fixtures.
- Spread multiple light sources rather than relying on one bright bulb; that reduces glare and fills deep recesses.
- Tie layout to design: narrow spaces favor linear strips, while square closets work well with a central fixture plus shelf accents.
Treat this as a usability upgrade, not just style. Proper lighting improves functionality by helping you read labels, spot expiration dates, and find items on deep shelves every day.
Pantry lighting ideas That Work Without Wiring
Small wireless fixtures can solve the darkest shelf in minutes.
Battery-powered LED puck lights are flexible, inexpensive, and perfect for targeted spots like the top shelf, back wall, or corner dead zones. They run on AA or AAA cells or on built-in rechargeable cells and often attach with adhesive or a simple bracket for an easy install.

When rechargeable batteries make sense
If you open your pantry frequently, rechargeable units cut cost and waste. Rechargeable packs need periodic charging but avoid constant battery swaps and give more predictable performance.
Runtime and what to expect
With a motion sensor, runtime typically lands around 25–100 hours. Actual life depends on activation frequency and chosen brightness.
- Placement tips: mount on the ceiling of a reach-in, under shelves for lower tiers, or inside cabinet-style areas for instant visibility.
- DIY friendly: adhesive backs or twist mounts let you upgrade in minutes without wiring or tools.
- Buying checklist: brightness, beam angle, battery type, and sensor support.
Use Motion Sensor Lights to Make Finding Items Easier
Motion-activated fixtures remove the small friction that makes finding things a chore. They turn on as you approach, show the shelf you need, and then shut off after a timer to save batteries.
Standard motion sensor lights auto-on when they detect motion and auto-off after a set interval. That behavior extends runtime and gives reliable, hands-free use during quick visits.
Door-activated sensor options
If your space has a door jamb, install a door-activated sensor so the light triggers when the door opens. This saves power because the unit won’t rely on movement inside the closet to switch on.
Placement to avoid false triggers and dark spots
Keep sensors away from HVAC vents, busy hallways, or sightlines that see movement outside. Aim sensors so they look into the shelf depth, not only at the doorway.
- Hands-full convenience: you arrive with arms full and the lights are already on, making it easier to find spices, snacks, or baking goods.
- One sensor per problem zone: use additional sensor lights for deep shelves or corners to reduce shadowed areas.
- Switches and installation: where no wall switches exist, sensors act as the automatic switch; they also complement existing switches if you want manual override.
Install LED Strip Lights and Cabinet Lights for Shelf-by-Shelf Visibility
A run of LED tape along each shelf changes how quickly you find what you need. LED strip lights deliver consistent illumination across the full shelf length, so you get even brightness instead of one bright spot and dark corners.
Quick, clean installation with double-sided tape
Most strip lights attach with double-sided tape for an easy installation on clean, dry surfaces. Route the strips along shelf edges, press firmly, and hide the wires behind trim for a neat finish.
Under-cabinet task lighting
Under-cabinet cabinet lights give you clear task light for lower shelves and counters. You can read labels and measure ingredients without casting shadows on the work area.
Soft glow and design-forward cabinet installs
Strip lights create a soft glow while the light source stays out of view, reducing glare when you look straight into shelves. Install led strips inside glass-door cabinet fronts for an upscale visual effect that also improves visibility.
- Plug-in vs. wireless: plug-in strip lights avoid battery changes but need an outlet; wireless cabinet lights add flexibility where no outlets exist.
- Functionality: better shelf-by-shelf illumination speeds up searches and helps keep items organized.
- Installation tip: tape sticks best to smooth, degreased surfaces—test placement before peeling the backing.
Choose Overhead Fixtures for Even Pantry Lighting
For even coverage in deeper storage, an overhead fixture is often the smartest first move. You want a reliable ambient layer that fills the whole space so shelf-level lights only need to fine-tune shadows.
When overhead fixtures are the right move
Choose overhead lights when you need uniform brightness across a walk-in pantry or a deep reach-in. They reduce dark zones and make the entire room easier to navigate.
Flush mount for low clearances
Flush mounts save headroom and still provide broad illumination. They work best in narrow or low-ceiling closets where every inch of clearance matters.
Semi-flush for a low-profile, styled look
Semi-flush fixtures sit slightly below the ceiling. They add a bit of character without sticking down far, a good choice when you want more style but must keep the profile low.
- Large walk-in guidance: start with a single overhead fixture to set a bright baseline, then layer strips or under-shelf lights where shadows remain.
- Match to ceiling height: pick flush for very low ceilings, semi-flush for moderate heights, and consider higher fixtures only if headroom allows.
- Focus on proper lighting goals: aim for even spread, reduced shadowing, and comfortable brightness rather than following trends.
Add Track Lighting When You Need Directional Control
Track fixtures give you targeted control so each shelf gets the exact beam it needs. Use adjustable heads to aim light at labels, deep shelves, and shadow-prone corners. This helps you find items quickly without over-lighting the whole room.
Aiming adjustable heads at shelves, labels, and deep zones
Angle heads toward vertical surfaces—shelf faces and labels—rather than straight down. That reduces glare and makes text easier to read.
When track lights make sense for unusual shapes
Track systems work well in long, narrow rooms, wraparound shelving, or other odd layouts. They let you position heads where a single overhead cannot reach.
Creating flexible zones so every shelf is lit
- Define zones: aim groups of heads at separate shelf runs for balanced coverage.
- Blend with strips: use track as ambient-plus-directional, then add tape or puck units for fine detail.
- Design and look: choose finishes that match your kitchen so the system feels cohesive when the pantry is visible.
Use Pendant Lights to Combine Style and Focused Light
Pendant fixtures add a refined focal point while directing light where you need it most. They work best when your room has tall ceilings and a clear central aisle to illuminate.
When pendants make sense: choose them if your pantry has high ceilings, you want focused light down the center, and you want the fixture to contribute to décor as well as function.
Height and clearance
Hang the bottom of the pendant at about 7 feet from the floor so you can walk beneath it comfortably. This keeps the fixture out of reach while still directing usable light down the aisle.
How pendants differ and practical notes
Pendants give a directional beam that feels more focused than a flush mount. That focus helps in a walk-in layout where you move along a central path.
- Complement adjacent kitchen lights for a cohesive look in open plans.
- Avoid fixtures that block shelf access; add shelf-level lights if corners stay dim.
- Balance style with function so your pantry remains a practical workspace.
Finish the Look: Color Temperature, Layered Lighting, and Controls
Now that fixtures are chosen and placed, tune color and controls to match how you use the space. The right color temperature affects both comfort and visibility.
Warm white vs. daylight for usability
Warm white (2700K–3000K) creates a cozy feel that pairs well with traditional kitchens. It softens finishes and works if you prefer a relaxed tone.
Daylight (4000K–5000K) gives sharper contrast for labels and small print. Choose this when clarity and quick item ID matter most.
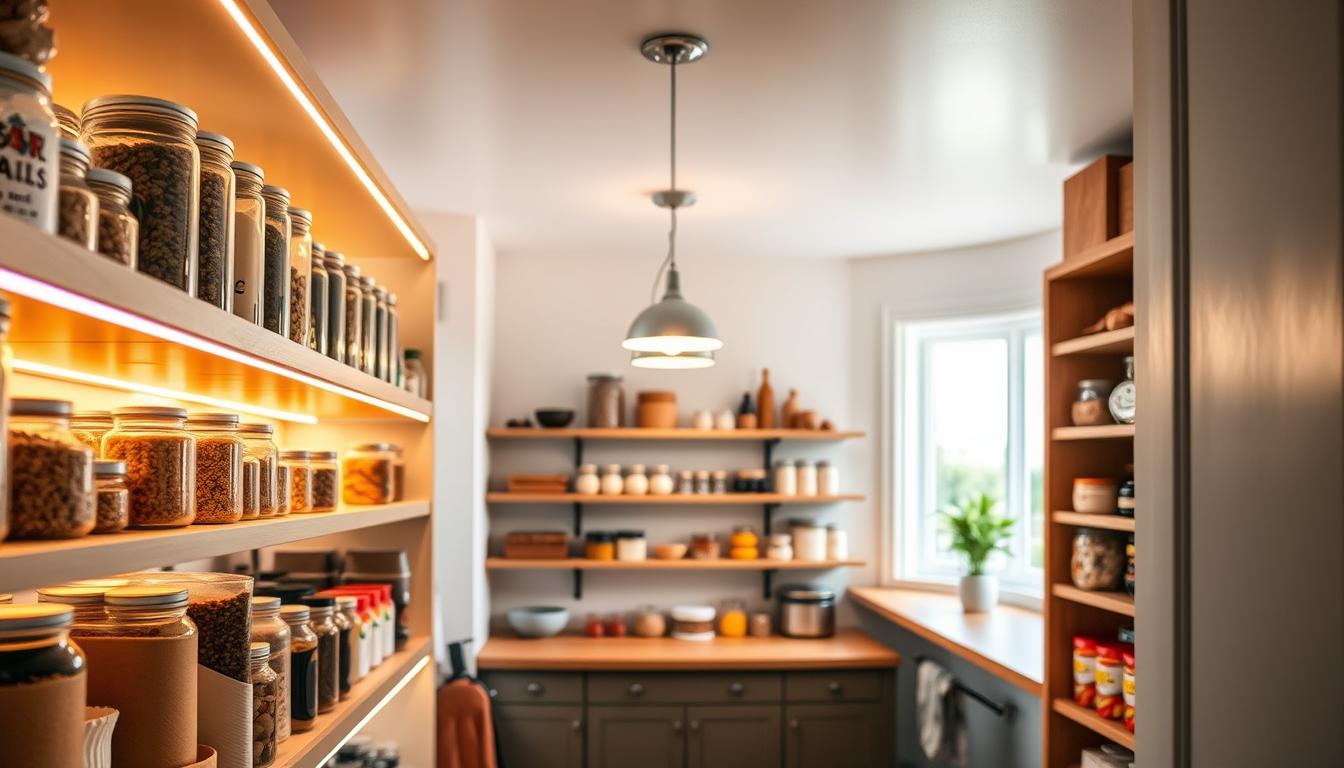
Layered approach: ambient + task
Start with an ambient overhead layer, then add task strips or cabinet accents so shelves don’t cast shadows on things below.
Use LED strip lights or pucks for shelf detail after you set the ambient baseline. This improves functionality without over-brightening the whole room.
Smart controls and style match
Smart bulbs and switches let you dim, schedule, or shift color from your phone—handy when you lack convenient switches or want presets for cooking hours.
Finally, pick fixtures that echo your home’s style—vintage, industrial, or modern—so the upgrade looks intentional, not tacked on.
- Checklist: confirm brightness consistency, glare control, where the light source sits, and whether you want dimming.
- Integration tip: combine a door motion sensor with always-on shelf strips during busy times for the best usability.
- Final thought: the best result comes from combining options so the space stays comfortable and easy to use long-term.
Conclusion
Start small: target a dark shelf, back wall, or doorway shadow and fix that first. Assess your pantry layout, note shadow zones, and set a simple brightness target.
Then pick the right mix: wireless puck lights, battery-powered options, or a run of strip lights cover most pantry spaces without wiring.
Use a motion sensor for hands-free access. Motion control makes daily use easier and stretches batteries for frequent visits to a walk-in pantry.
Prioritize visibility so you can find items fast, then refine the look to match your home. For a quick DIY win, upgrade one problem zone this week and expand from there.