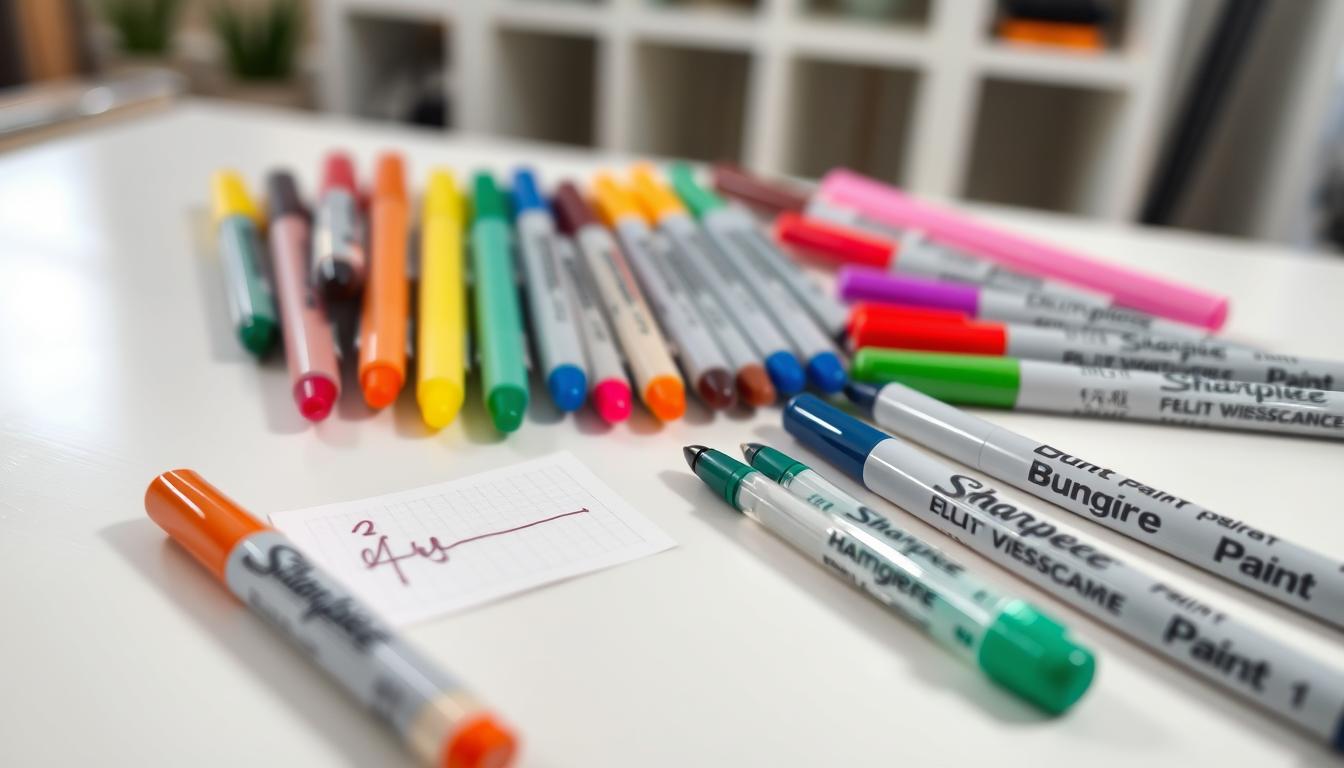
Deciding between cut adhesive decals and handwriting shapes how your pantry looks and works. Custom cut letters applied with transfer tape give a painted-on, consistent appearance. Handwritten labels use a marker, chalk pen, or paper and let you change things fast.
Think about durability and permanence. The vinyl option is more durable and often resists washing better than basic sticker-style labels. That makes vinyl labels a good fit if your containers are clear and you reuse the same staples.
If your ingredients change weekly, a handwritten label may save time. Readability and uniform font size help organization, since consistent text makes it easier for you to scan jars and bins at a glance.
Quick tradeoff: vinyl looks polished and long-lasting, but it is less flexible to swap. Handwritten tags are fast and low-commitment, yet they can smudge or fade.
This guide will help you pick the best label system for your containers, routine, and the time you want to invest in pantry organization.
How to choose between custom vinyl decals and handwritten pantry labels
Begin with your main goal: do you want a tidy look that lasts, or fast swaps that keep up with weekly buys? Define the outcome and how much time you’ll spend upfront.

What matters most
Visual goals and readability from the shelf matter most. If you want a cohesive, organized pantry aesthetic, choose a consistent label style. If you change items often, pick something quick to rewrite.
Where each type performs best
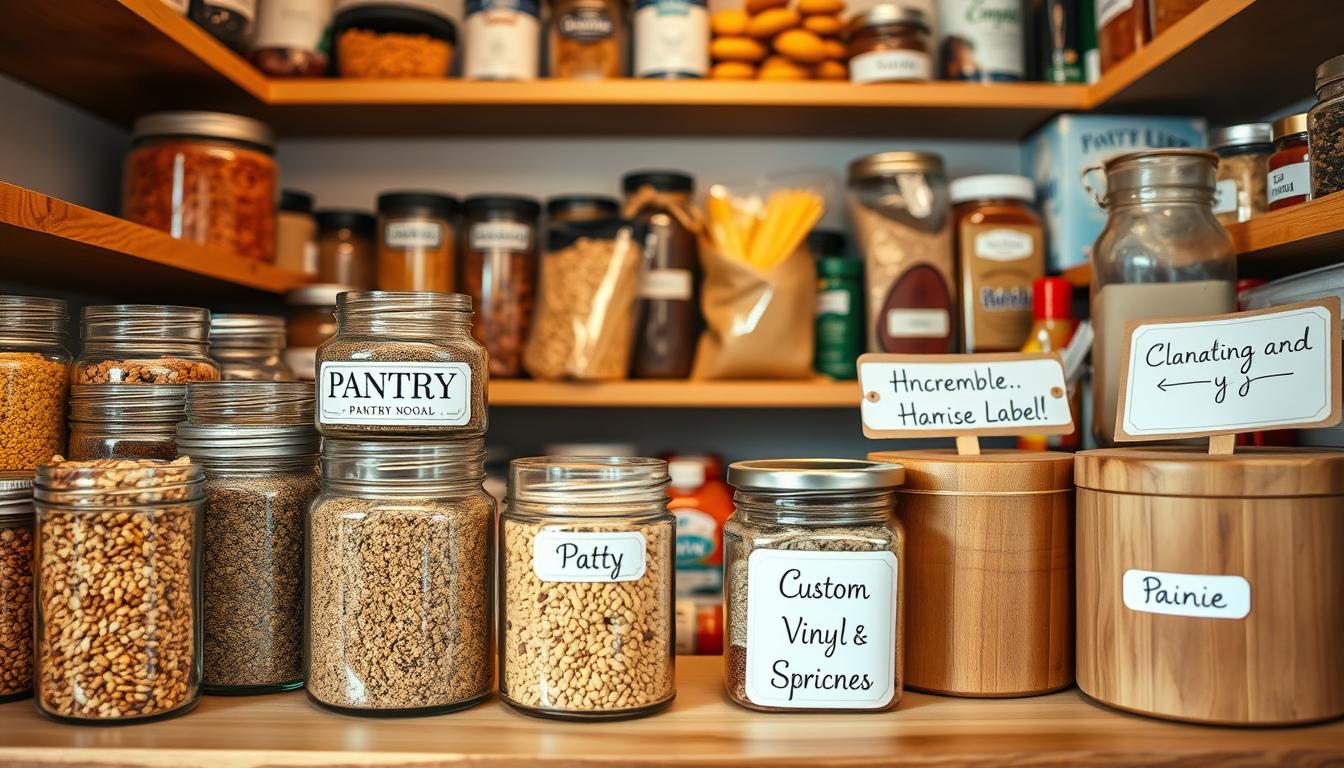
Flat-front canisters and straight-sided jars work with both methods. Clear glass and smooth plastic show decals clearly, while paper or cardboard containers pair better with a tag or marker.
Flexibility and frequency of change
If you rotate purchases and ingredients weekly, avoid permanent labels for those items. A simple hybrid approach often wins: use long-term decals for baking staples and writable labels for snacks and trial items.
- Checklist: visual goal, budget/time, set-it-and-forget-it level
- Measure label size so text stays centered and readable
- Work by zone (baking, snacks, breakfast) to keep the project manageable
Vinyl pantry stickers: benefits, tradeoffs, and where they look best
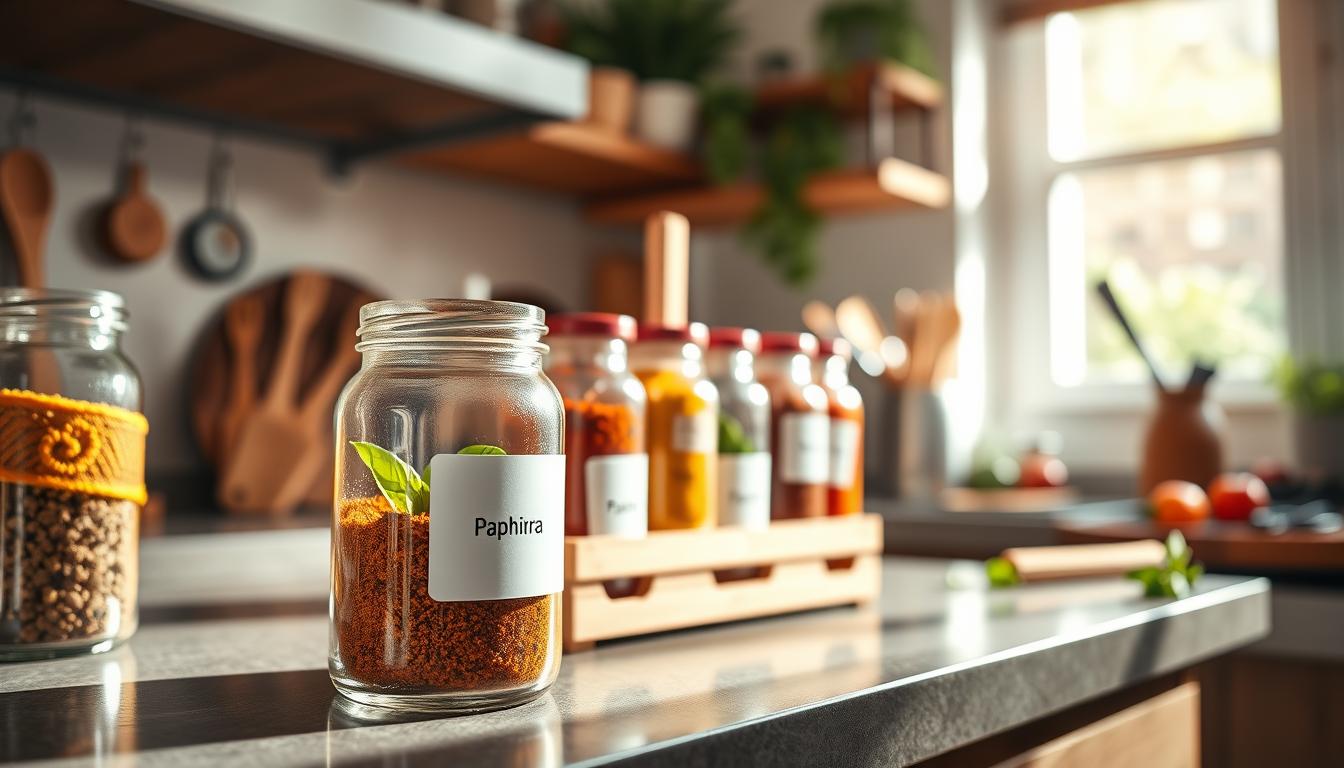
Visualize a clean, “painted-on” look on your clear jars before you pick materials. Cut letters avoid a full sticker rectangle, so you see no visible edge. That single-letter approach yields a crisp, professional finish on clear and glass containers.

Durability: high-quality vinyl becomes water resistant after about 24 hours and often survives regular washing. Many users report dishwasher-safe results when the label is applied correctly.
Readability depends on design. Choose a clear font, proper letter spacing, high color contrast, and a size legible from shelf distance. Small script can look lovely but may be hard to read at a glance.
- Best surfaces: smooth, flat glass, treated wood, tile, and smooth plastic.
- Risky surfaces: textured plastics, raw porous wood, and deeply curved containers.
- Time tradeoff: cutting, weeding, and using transfer tape takes a bit of patience.
Permanent and semi-permanent options remove but are not reusable: letters often stretch or tear on removal. For a flexible system, label staples like sugar, flour, and rice, and skip changing snack jars so your system stays tidy and adaptable.
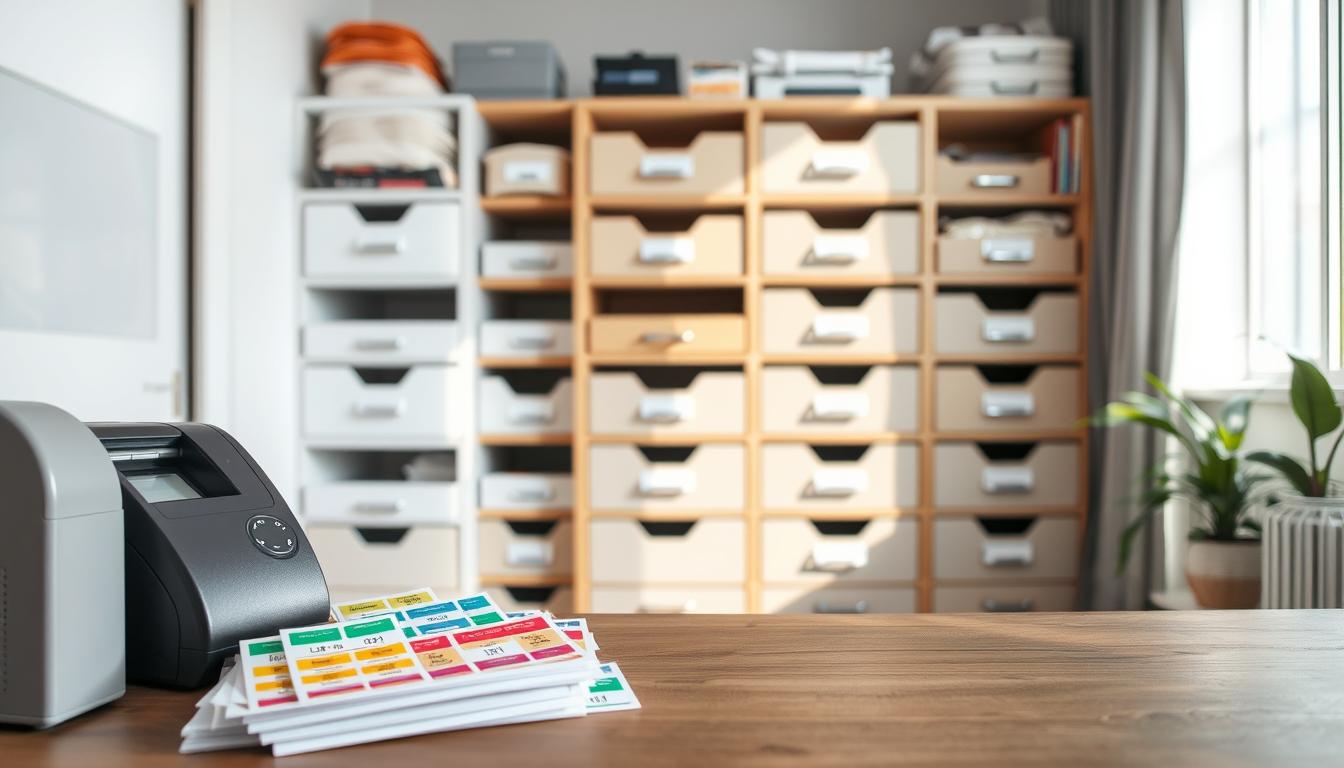
How to make and apply vinyl pantry labels at home with a Cricut and transfer tape
Start by clearing a clean workspace and gathering every tool you’ll need for this labeling session. A little prep saves time and keeps letters aligned when you apply each label onto the jar.
Prep and planning
What to use: Cricut Joy (or similar), Smart Vinyl, transfer tape, a weeding tool, and a scraping tool, plus your pantry containers.
Wash and fully dry containers so the adhesive bonds. Measure the flat label area and make sure the design won’t wrap around the sides.
Design Space setup
Open Design Space, pick a clean font, and set sizes for legibility. Group multi-line labels so alignment stays centered and letters cut as a single object.
Cutting, weeding, and assembly
Use Smart Vinyl matless when possible; use a cutting mat for other sheets or smaller pieces. After cutting, weed excess material and apply transfer tape over the letters.
- Burnish with a scraper so small details lift cleanly.
- Use scraping tool to transfer letters evenly to the tape.
- Make sure letters stick to the tape before peeling the backing.
Application and timing tips
Position the label onto the container, use the scraper to adhere, then peel the transfer tape slowly. Apply decals within a week of creating them; long storage on the liner can make release harder.
Final check: press down edges, let cure before washing, and keep a consistent height across jars for a professional look.
Conclusion
Make a simple rule: permanent for staples, temporary for trial items. That rule helps you choose the right mix of durable and flexible labeling so your kitchen stays usable and tidy.
Choose durable vinyl when you want a polished, long-lasting look on clear containers and staple ingredients. Use quick, handwritten options for rotating snacks, trial jars, or bins you change often.
Remember: removable does not mean reusable. Plan names carefully before applying permanent pieces so removal won’t leave you undoing work later.
Start by labeling your top 10–15 staples first. Once you like the look and workflow, expand outward. A consistent label system reduces friction during cooking and supports an organized, efficient space over time.