Get faster finding, easier restocking, and a consistent look across your kitchen. This short guide helps you pick the right set so you can sort containers, jars, and bins with confidence.
Many popular sets include pre-typed staples and editable files. One kit, for example, offers 64 common items plus editable PDFs and a Canva template so your custom words match the design.
Free printable options usually arrive as a download from a post, an email, or a library link. Before you start, gather your containers, decide on stick-on versus cardstock, and choose fonts that suit your home style.
In this guide you’ll see two clear paths: ready-to-print sheets versus editable files you personalize. You’ll also learn which formats fit different pantries and the simple steps to customize, print, and apply each label so the system stays tidy and usable.
Where to Find Free Printable Pantry Labels Online Right Now
Start with blog download libraries, creator “resource vaults,” and freebies that bundle common staples. These sources often provide multi-page packs with two or more styles—for example, hand-lettered rectangles and black circles—so you can pick what fits jars and bins without redesigning.

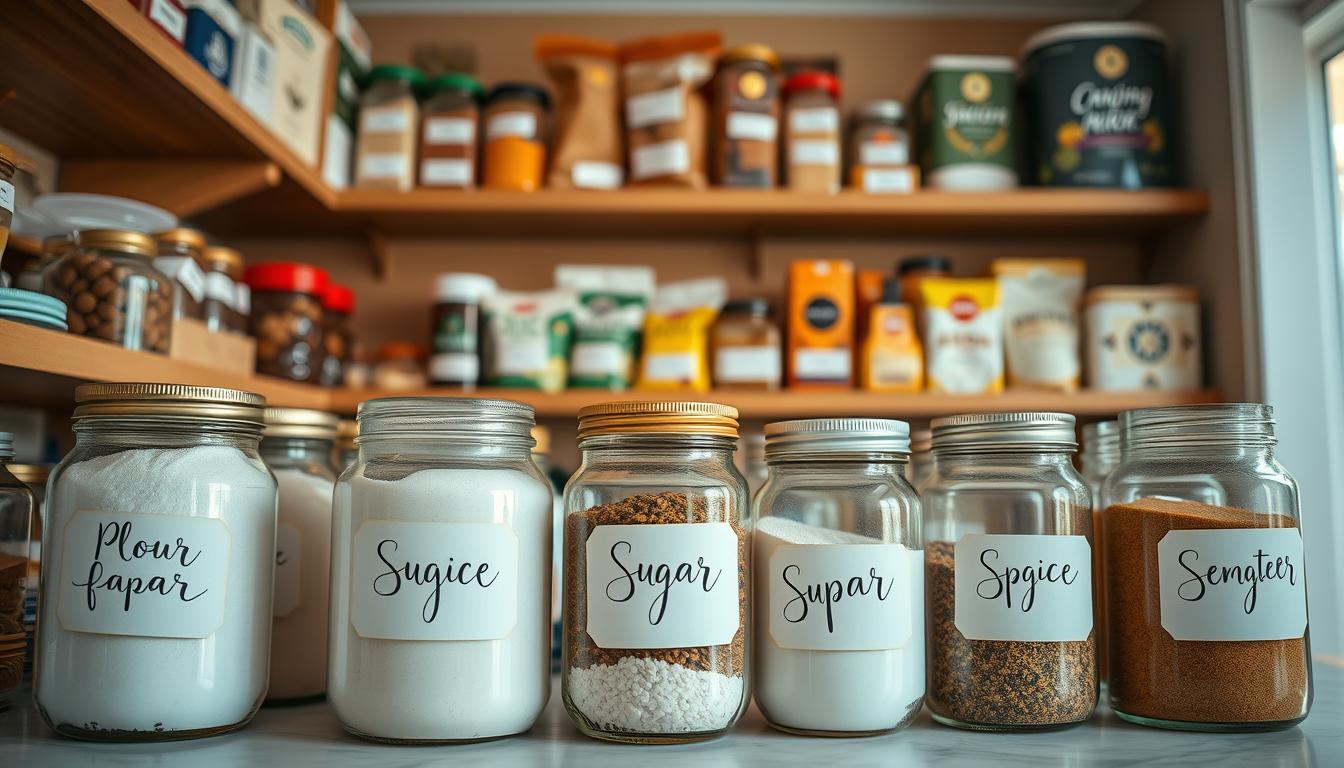
Look for downloads that include staple coverage (flour, sugar, grains, beans), legible fonts sized for small prints, and consistent spacing so your set looks uniform across the kitchen.
- Fastest finds: blog libraries, resource vaults, and creator freebies with pre-typed items.
- Editable options: fillable PDFs and Canva templates that let you type custom words while keeping the same look.
- Coordinating sets: some bundles add spice jar options so shelves and cabinets match.
Before you print from a post, confirm file type, print size, whether it fits a specific sheet, and personal-use terms. A quick tip: many creators recommend clear sticker sheets (including Silhouette-compatible options) that run in a standard printer.
Choosing Printable Pantry Labels That Fit Your Pantry and Organization Style
Choose formats that suit your containers and the way you use your kitchen every day. A small design decision up front saves time and keeps your storage tidy.

Shape and font: what works where
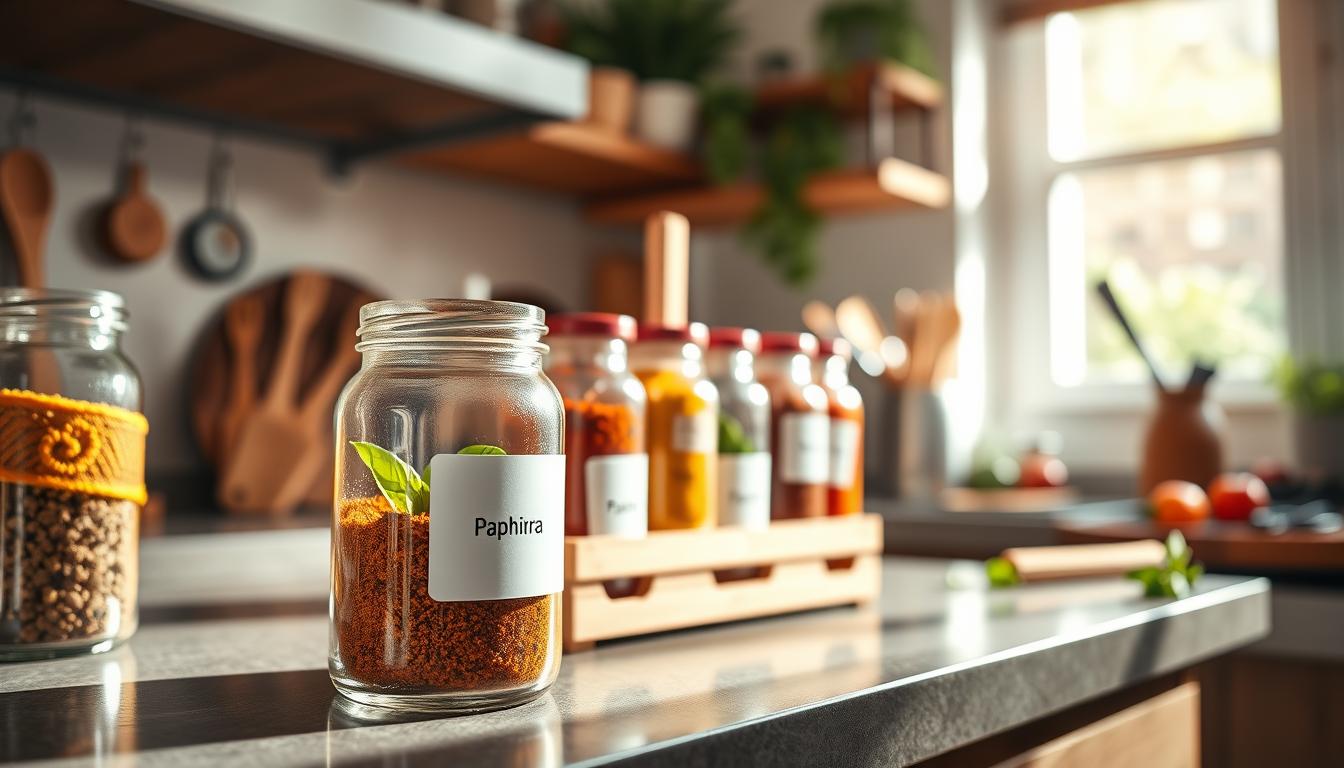
Rectangles usually fit the front of bins and canisters. Circles work well for jar lids or small containers.
Pick a clean modern font for quick readability. Hand-lettered styles look nice, but keep them legible at small sizes.
Pre-typed categories to prioritize
Look for sets that include basics like flours, sugars, rice, grains, beans, and baking staples. That saves typing and ensures consistent naming across your pantry.
File types and real-world use
PDFs print fast and stay formatted for your printer. PNGs are great for dragging into other templates. SVGs are ideal if you own a cutting machine, and Canva templates let you add words and sizes quickly.
Clear sticker vs cardstock
- Use clear sticker paper on smooth canisters for a seamless, printed-on look.
- Choose cardstock for bins and baskets when you want swap-in cards or label holders.
- Decide by surface first, then pick adhesive or insert labels, and finally choose the file format that fits your skill level and machine.
How to Customize, Print, and Apply Pantry Labels at Home
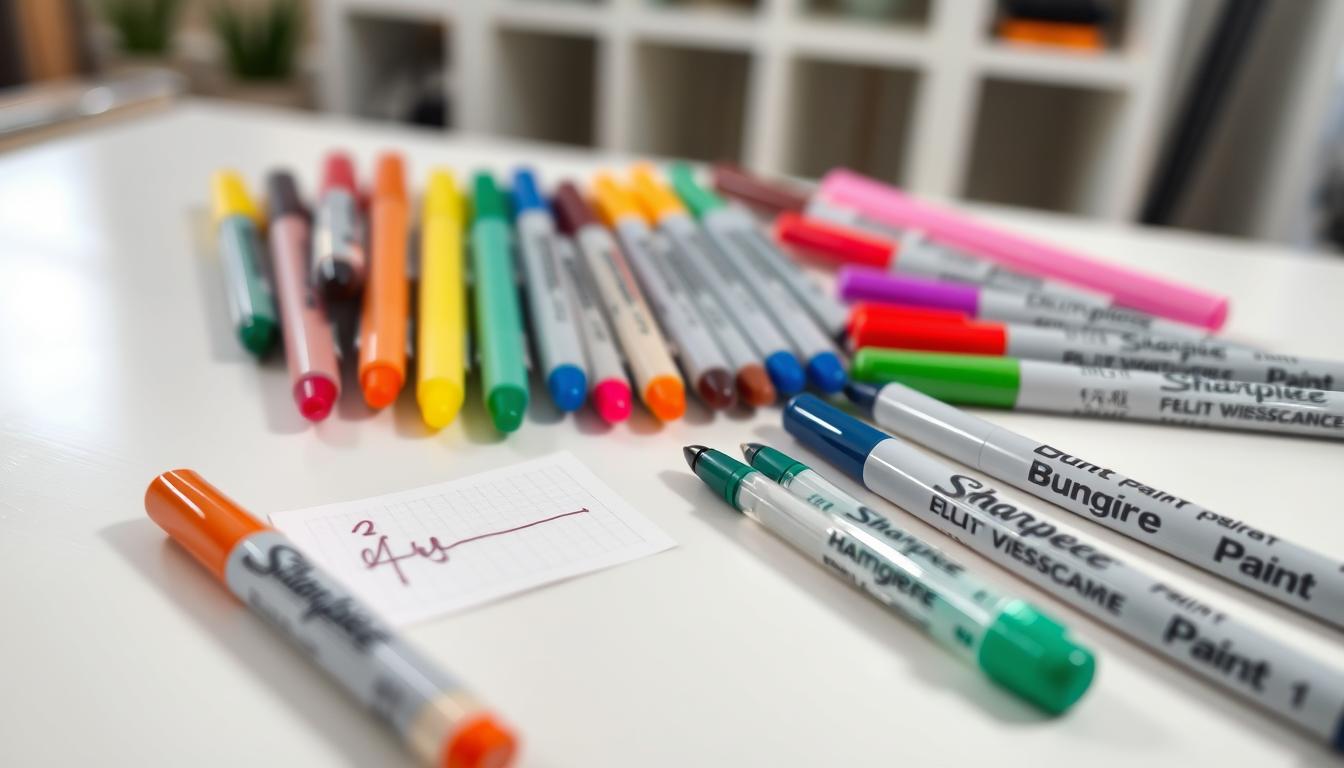
Follow these practical steps to customize text, print on clear sticker sheets, and apply each name cleanly. Start by opening an editable PDF in free Adobe Acrobat Reader, click into the text fields, type your names, and save a final file before you print.
Use Canva when you need new words or extra sizes. Duplicate the template, change text, then export PNG or SVG for cutting machines. This keeps your set matching across storage areas.
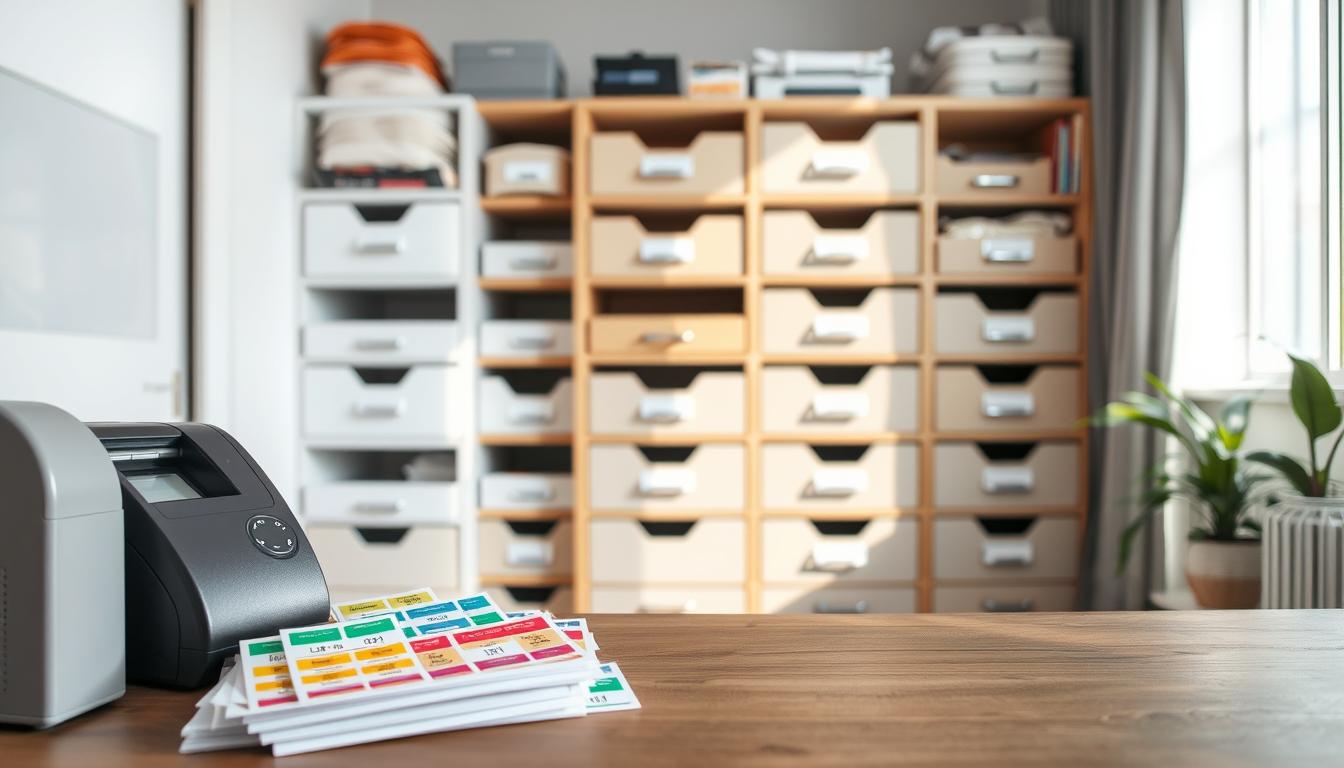
- Select materials: Avery 22822 for pre-formatted rectangles, full-sheet clear sticker paper for custom shapes, or cardstock for clip-in cards.
- Printer tips: choose Best/High Quality, avoid draft, and select a specialty paper setting for slick clear sheets to prevent faint prints and smearing.
- Quality control: test-print on plain paper, print one sticker sheet at a time, and let freshly printed sheets dry at least 15 minutes.
Cut with scissors for quick jobs, a straight edge for neat lines, or an X-Acto knife and mat for precise corners. Clean and dry each container, align the label, smooth from center outward, and press the edges firmly.
Upgrade durability by using waterproof film or full-sheet sticker materials. For full customization, upload SVGs to Cricut or Silhouette software and cut from vinyl or specialty sticker paper.
Conclusion
Move from searching to finished by choosing one cohesive style, picking the right file type (PDF or Canva), and labeling your most-used items first.
Test-print a sheet, confirm size and adhesive, then print on your chosen material. Allow dry time, apply to clean containers, and keep a small batch of spare prints for future swaps.
Respect creator terms for any free printable you download and store the original files so you can reprint when items change.
Start small—baking staples, grains, and snacks—then expand once sizing and placement feel right. Gather your containers, pick materials, and follow the simple print-and-apply workflow to keep your pantry organized for the long term.