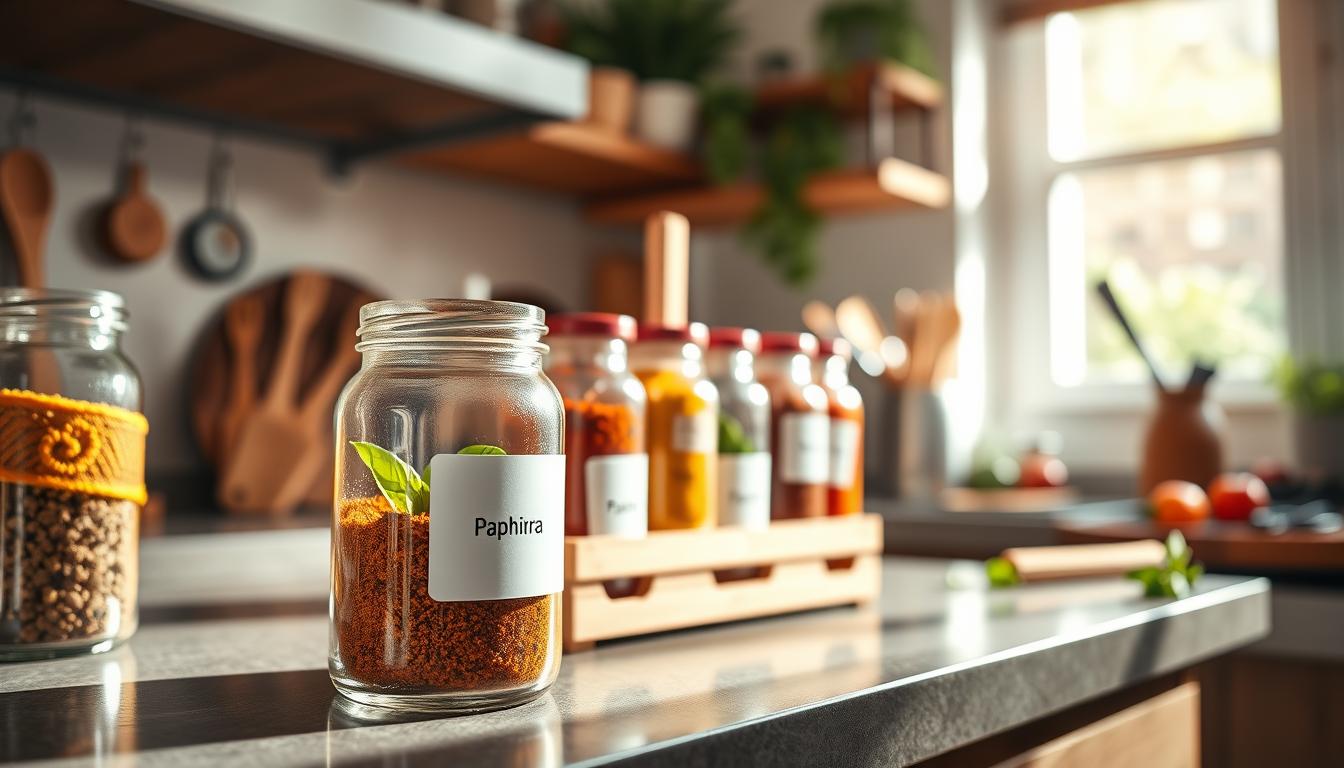
Mix-ups in the pantry are common. Many baking ingredients look the same once they are poured into jars. In a busy U.S. home, that can mean ruined recipes or, worse, cross-contact for anyone who needs gluten-free options.
This short guide shows a simple, repeatable system you can use whether you keep goods in their original bags or decant into airtight containers. You will learn how clear naming, storage rules, and quick performance notes help you keep things safe and consistent.
Two main goals: protect people from gluten exposure and get consistent baking results for texture and rise. If you bake occasionally, buy in bulk, or share pantry space, these steps are for you.
Key takeaways: Store ingredients airtight and cool, mark containers with more than a name (add protein% or best uses), and use one clear system for all jars to avoid mistakes.
Why flour mix-ups happen and what’s at stake for your baked goods
A single grab from the wrong container can change a recipe’s outcome and risk cross-contact. In many U.S. kitchens, white bags and clear jars look alike. That makes mistakes common when you move pantry staples into canisters.

How gluten changes dough behavior
When wheat contains gluten it forms an elastic network once hydrated. Kneading strengthens those bonds and builds structure for chewy bread and open crumb.
Low or no-gluten mixes don’t need kneading; they do better with gentle mixing or homogenizing to avoid collapse.
Protein content and baking performance
Higher protein usually makes stronger structure for bread. Lower protein gives tender crumbs for cakes and delicate pastries. Knowing the protein content helps you pick the right ingredient for each recipe.
Common confusion points and safety
- Look-alike white bags and unmarked canisters cause accidental swaps.
- Shared scoops and dusty counters create cross-contact risks for gluten-free baking.
- Raw grain products are food safety risks—do not taste raw batter or dough.
Next you’ll learn quick IDs to tell AP, bread, cake, self-rising, and whole wheat at a glance so you can label with confidence.
Know what you’re labeling: quick identifiers for common wheat flours and blends
Before you mark any jar, get familiar with fast cues that show how each wheat product behaves in baking. These quick IDs save time and stop recipe mistakes.

All-purpose vs. bread
All-purpose flour is your go-to for many recipes. It balances strength and tenderness so it works for cookies, pancakes, and many breads.
Bread flour has higher protein. Use it when you want more chew, stronger rise, and open crumb.
Cake and pastry
Cake flour and pastry flour come from softer wheat with lower protein. They give a fine crumb and tender crusts.
Swapping a low-protein product for a strong one will change texture and may overwork the dough.
Self-rising and blends
Self-rising flour already contains baking powder and salt. If you add more leavening or salt, recipes will change fast.
Whole kernels and processing
Whole wheat keeps bran and germ, which boost flavor and absorption. White whole wheat tastes milder and looks lighter.
Note the protein content on the bag when you can. Soft wheat usually signals lower protein for tender cakes or biscuits.
- What it does: match the product to the recipe—bread, cake, or biscuits.
- What to note: protein or protein content, and whether baking powder or salt is included.
- Practical tip: mirror the package label on your container so you and others pick the right product every time.
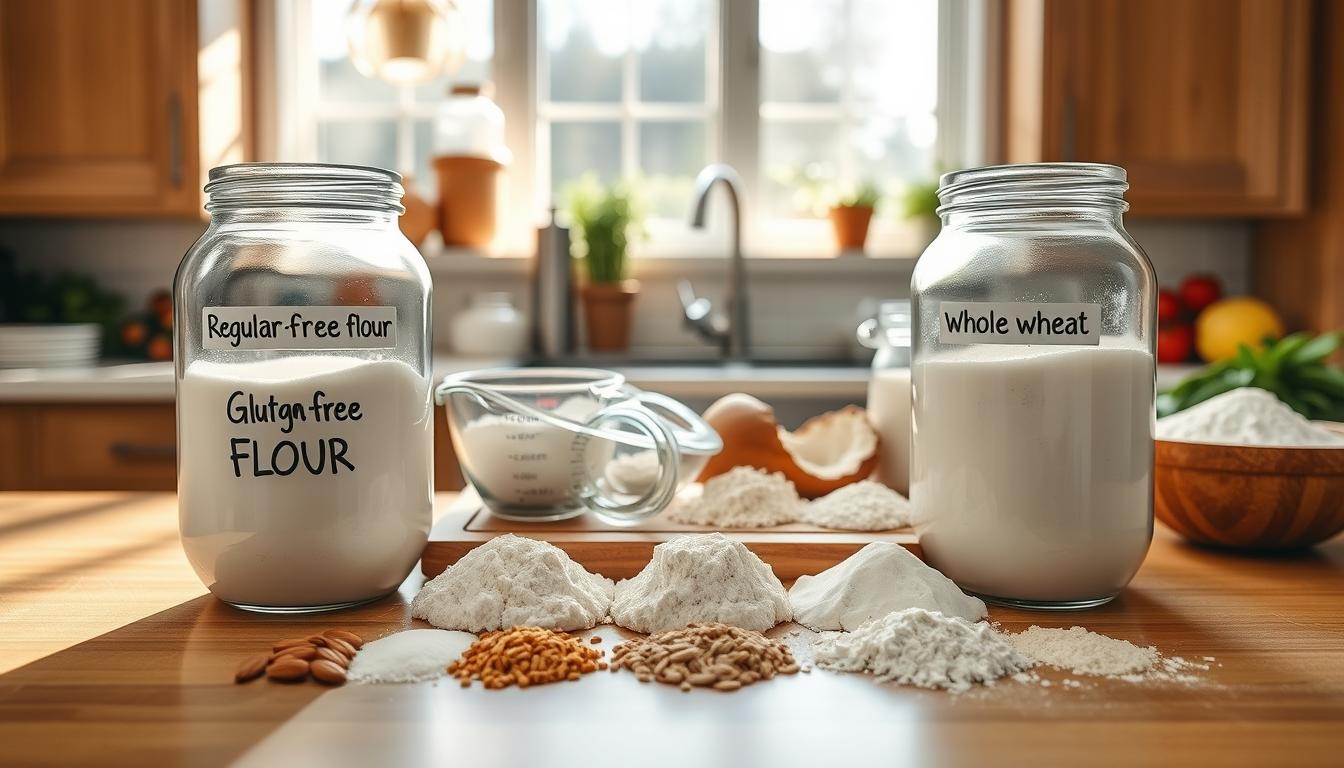
Labeling flour types: a step-by-step system that prevents gluten-free cross-confusion
Start with a container-first routine so every bag becomes a clear, usable jar in your pantry. Use dedicated, airtight containers to protect quality and cut down on misreads. Store jars in a cool, dark spot and freeze long-term supplies to prevent spoilage.
Make a bold visual standard
Create a consistent marker you recognize instantly: big “GLUTEN-FREE” in one color and “CONTAINS WHEAT/GLUTEN” in another. Keep label placement the same on every jar so you can spot safe items at a glance.
What to write on every label
- Line 1: product name (e.g., wheat flour or almond blend).
- Line 2: gluten status and protein % when available (protein helps match recipe needs).
- Line 3: best use — bread, cakes, biscuits, pizza, or everyday baking.
- Line 4: blend notes (self-rising = baking powder + salt), purchase date, and storage location.
Prevent cross-contact during baking
Use separate scoops and mark them for gluten-free use only. Add a short handling note on the jar—“no shared scoop; scoop before wheat; wipe surface”—to keep your process simple and safe.
How to add performance notes to labels for more consistent results
Small, clear notes on protein and handling turn guesswork into repeatable baking results. Add one short line that ties protein strength to the recipes you bake most. Keep it readable at a glance so you pick the right ingredient under time pressure.
Translate strength into recipe matches
Write quick matches like: high protein → sourdough / sandwich bread; mid → everyday breads and cookies; low → cupcakes and tender cakes. That single cue helps you choose the right product for each recipe.
Note bran and germ for hydration and crumb
If a whole wheat or grain-forward jar contains bran or germ, add a hydration tip: “+10–15% water” or “more absorbent — denser crumb.” These tiny cues prevent dry doughs and unexpected texture changes.
Short handling cues and quick result notes
Add a handling line: “knead OK” for strong wheat doughs, or “mix-only” for low/no-gluten blends. Under that, record one short outcome, e.g., “needed +2 Tbsp water” or “great rise.”
- Keep notes brief so jars stay tidy but useful.
- Standardize wording to make labels readable by everyone in your kitchen.
Storage labels that protect flavor and shelf life in a U.S. home kitchen
A clear storage line on each jar saves flavor and prevents wasted food over time. Mark where you keep the product so anyone in your household stores it the same way.
Use simple, consistent wording on every container. Add either “Pantry—cool/dark” or “Freezer—long-term”. Then add three short fields: “Opened on,” “Best by,” and a rotation note such as “Use oldest first.”
- When to upgrade: move to the freezer if you buy in bulk, bake infrequently, or your kitchen runs warm.
- Why airtight matters: sealed containers protect both wheat and gluten-free flours from humidity, pests, and stale taste.
- Whole grain note: whole wheat with bran and germ loses flavor faster—freeze for the best long-term quality.
- Practical tip: label any all-purpose flour jars with expected use frequency so family members know which to reach for first.
Fresher ingredients give more consistent baking results. Keep a short storage note on every jar and check the protein or content line before you bake. Small steps now save time and preserve flavor later.
Conclusion
A clear, consistent labeling habit turns pantry chaos into predictable baking success.
Keep one visual standard for gluten status, one naming rule for each jar, and one short performance note to guide recipe choices. This helps you avoid bread flour vs. all-purpose swaps and keeps cake flour and pastry flour tender in delicate recipes.
Remember that self-rising flour already includes baking powder and salt, so treat it as a ready mix. Clear gluten marking protects quality and reduces cross-contact from shared scoops or dusty counters.
Standardize a “best use” tag that names bread, biscuits, or cake so you don’t second-guess mid-recipe. Let labels evolve: add notes on grains or soft wheat as you learn their hydration and rise behavior.
Do this today: relabel containers, add dates, assign dedicated scoops, and move long-term supplies to the freezer. Small steps now give steadier bread, crisper biscuits, and more reliable cakes down the road.