You’re about to get a long-form how-to guide that makes storage work and look great. This post gives a prep checklist, storage recommendations, 25+ labeling styles, placement tactics, and DIY printable options that read like shop-bought tags.
Why now: duplicate buys, half-open bags, and jars that hide ingredients make daily cooking slower. This guide shows you how to reduce mix-ups and cut restock friction so your kitchen runs smoother for everyone in the home.
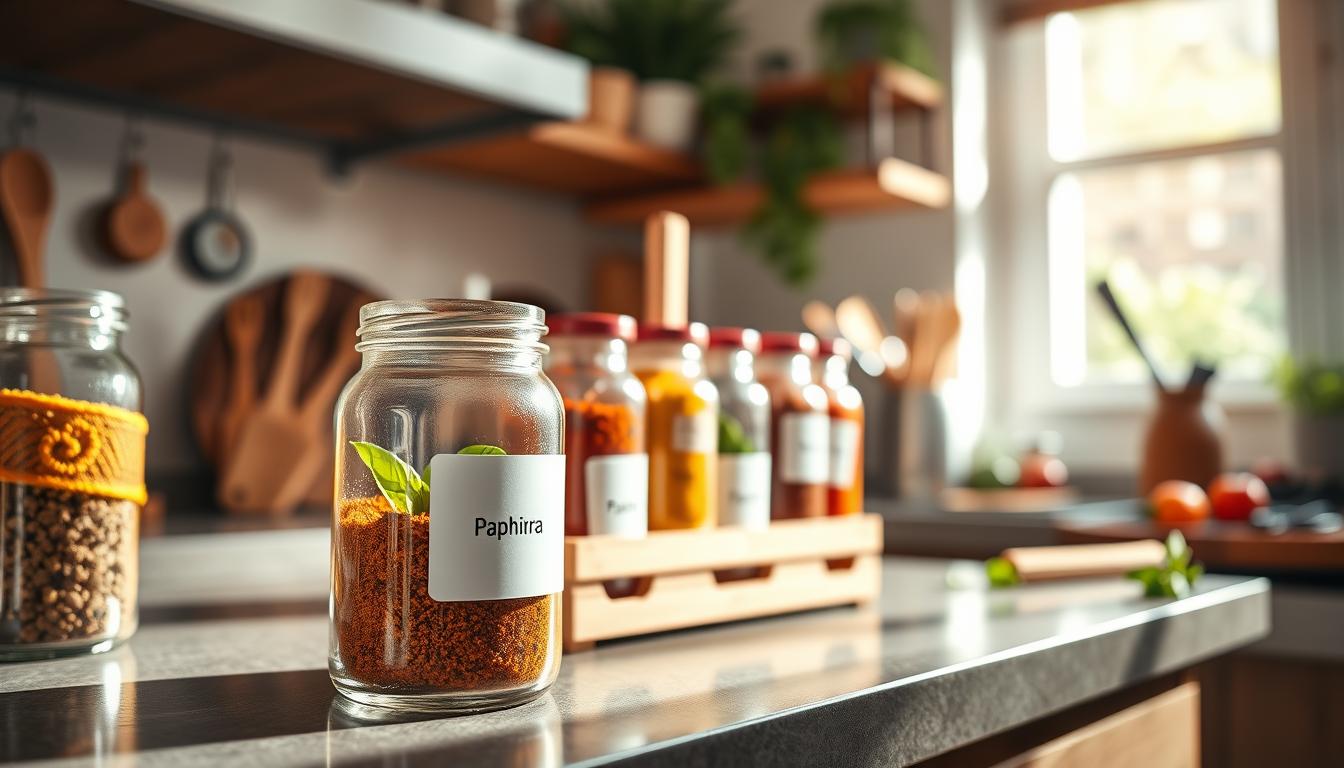
Think of labels as water-resistant stickers that give each item a home and a clear name. They work best on smooth glass, plastic, or metal. You’ll learn about ready-made sets with custom ingredient options and DIY printables so you can pick what fits your time and budget.
We’ll also introduce zone-based systems—baking, snacks, and bulk backups—so your setup supports real-life restocking and weekly resets. Later sections cover durability, wipe-clean care, and why most tags aren’t dishwasher-safe.
Why Pantry Labels Make Your Kitchen More Functional and Stylish
Clear, consistent tags turn a messy shelf into a reliable system you’ll use every day. When dry goods are visible and named, you stop buying duplicates and waste less food. That simple change saves money and stress.

Use matching labels on jars and containers to reduce common mix-ups—flour vs. powdered sugar or half-used bags lost behind tins. Clear jars plus concise wording make identification instant.
- System payoff: see what you have, use older items first, and restock with confidence.
- Daily workflow: anyone in your household finds and returns items to the right spot.
- Design win: minimalist, uniform tags create that “fancy coffee shop” look without clutter.
Not everything needs a tag. If a jar’s contents are obvious at arm’s length, you can skip the label and keep a light, minimal aesthetic.
Quick decision rule
If you can’t identify it instantly from a few feet away, it deserves a label. Start with your most-used jars, the baking station, and kid snacks to get fast, practical wins. Good labeling depends on solid containers and clear groupings—topics you’ll build on in the next section.
Prep Your Pantry for Labeling Success
Start by clearing one shelf at a time so the mess you see today becomes an organized, usable space tomorrow.
Pull everything out, check expiration dates, and wipe each shelf before you return anything. Toss expired items and set aside things you rarely use so you can decide if they stay.
Create clear homes for categories: snacks, baking, grains, oils, and supplements. When like items are grouped, your labels and system work the way you need them to at restock time.

Pick storage that fits how you live
Choose glass jars for a cleaner, sustainable look and plastic containers where kids reach. Use baskets for awkward packaging and quick-grab bins for snacks.
- Use clear containers for staples so you see when to restock.
- Keep large bags out of the main area; refill smaller containers to cut visual clutter.
- Add a Lazy Susan for small baking items like yeast, extracts, and sprinkles so they don’t disappear in deep bins.
Mix open bins and closed jars to balance function and calm visuals. The best labels won’t help if categories are mixed or containers don’t match what you actually buy and use over time.
Pantry labeling ideas that look custom and keep everything in order
A well-chosen mix of tag styles makes your shelving feel custom without a custom price. Pick a few complementary options and use them consistently so your storage reads like a curated shop.
Minimalist white square labels for clear jars
Use white square labels on clear jars for flour, sugar, oats, pasta, and nuts. The uniform size improves readability and creates a clean, store-like row.
Custom ingredient labels for specialty goods
Order custom labels for chia seeds, garam masala, collagen, and other specialty goods so similar-looking items don’t become mystery jars.
Typography-forward definition labels
Try definition-style labels that add a design detail without clutter. They work best in uniform jar rows or a coffee and tea zone.
Clear sticker vs. opaque labels
Choose clear stickers when you want the contents to be the star. Opaque labels hide messy fill lines and help with dark or similarly colored items.
- Coordinated shapes: match square, rectangle, or circle sets to your containers for a cohesive look.
- Basket clips: use cardstock inserts on baskets for snacks and rotating bagged items.
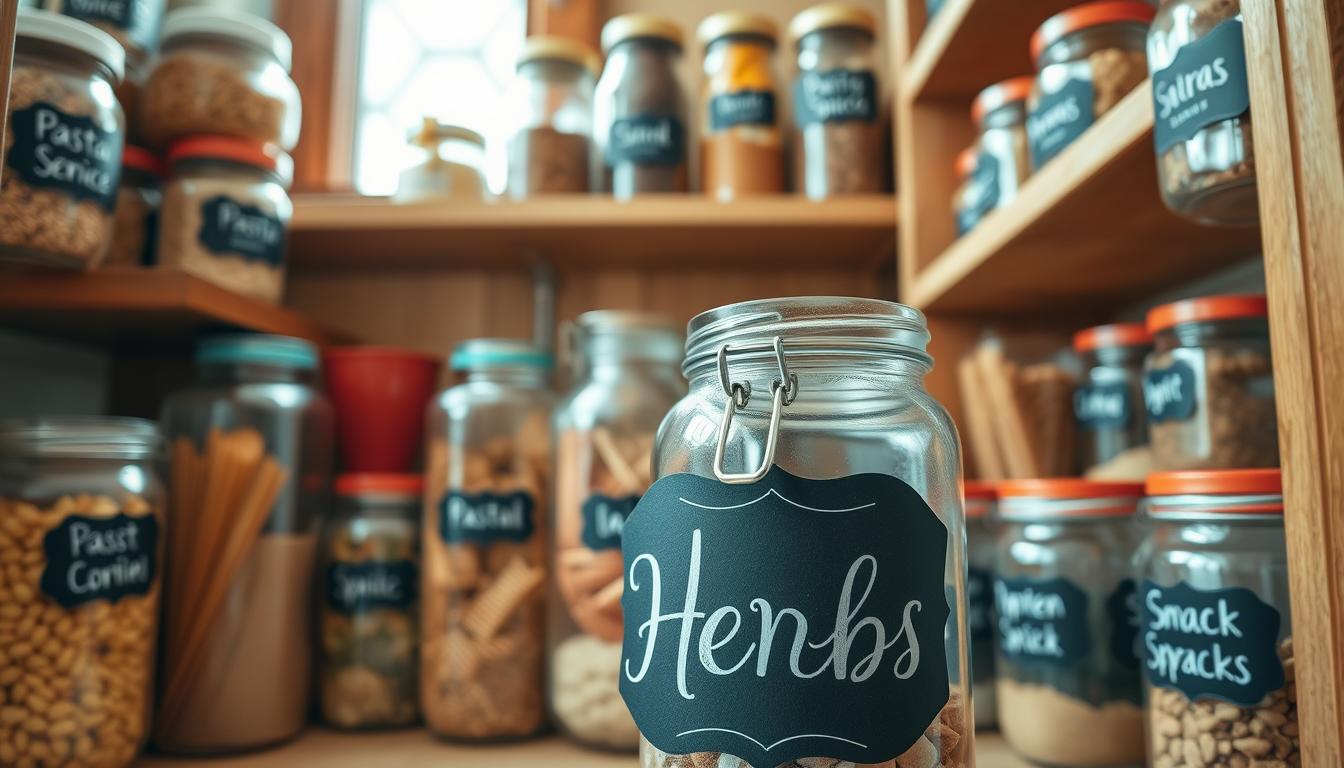
- Zone labels: add shelf signs like Baking, Breakfast, Snacks, and Backstock to speed restocks.
Label both your bulk backstock and the smaller kitchen container when you transfer goods. Use front-facing placement on the shelf or container so each item has a consistent home.
Finally, add seasonal or rotating labels for limited-time items like holiday sprinkles or specialty flours so you can swap categories without redoing your whole set.
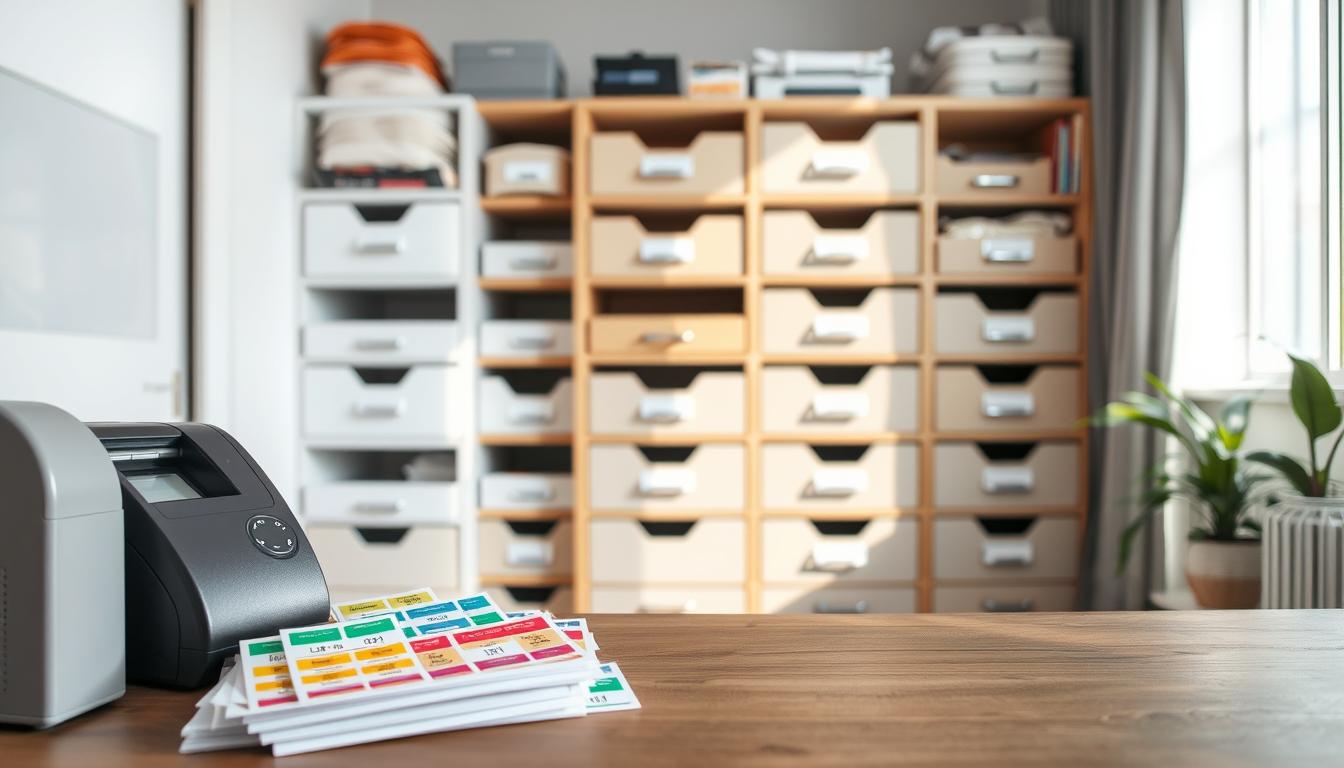
DIY Printable Pantry Labels and Materials That Hold Up Over Time
Create printable tags that look pro and stand up to kitchen wear. Start by choosing the right paper so your work resists water, oil, and frequent wipes.
Pick the right paper
Weatherproof polyester or vinyl works best for durability. These materials resist water and oil far better than basic paper. Use polyester for a matte finish and vinyl for a slightly glossier, flexible feel.
Printing that looks professional
For crisp, long-lasting print, use a laser printer at home with quality toner. If you don’t have one, take your printable file to a local copy center and ask for laser printing on waterproof sheets.
Cutting, sizing, and core supplies
Standardize on one or two sizes, like 3″ x 3″ for jars and a narrower tag for slender dispensers. A paper cutter gives straight edges and uniform spacing across a full set.
- Core supplies: waterproof printable paper, laser access, scissors or cutter, and your downloadable file.
- Clear vs. frosted: Avery clear sheets can read frosted on glass; Silhouette Clear Printable Sticker Material is truer-clear.
- Care: wipe gently with a damp cloth, avoid soaking or dishwashers, and reprint from your download when a tag wears.
Conclusion
When labels match how you buy and use items, your pantry finally works with your day. This simple alignment is the core takeaway: pick a system that fits your shopping and restock habits so it lasts.
Expect practical wins: fewer duplicate buys, faster grab-and-go moments, and clearer sight of what’s running low. These benefits help you save money and cut kitchen friction.
There’s a style win too. Consistent placement and coordinated tags make shelves feel like part of your kitchen design rather than clutter. Start small — test one zone and refine your way before you label everything.
Protect your effort by applying labels to clean, smooth surfaces, wiping gently after spills, and avoiding dishwashers. Keep it simple at home: a weekly shelf reset, a monthly wipe-down, and a restock check will keep your system accurate over time.