Make removable pantry labels that shine like real metal. This simple at-home recipe uses toner printing, foiling sheets, and a standard laminator to create crisp, metallic text that reads like true gold foil rather than flat ink.
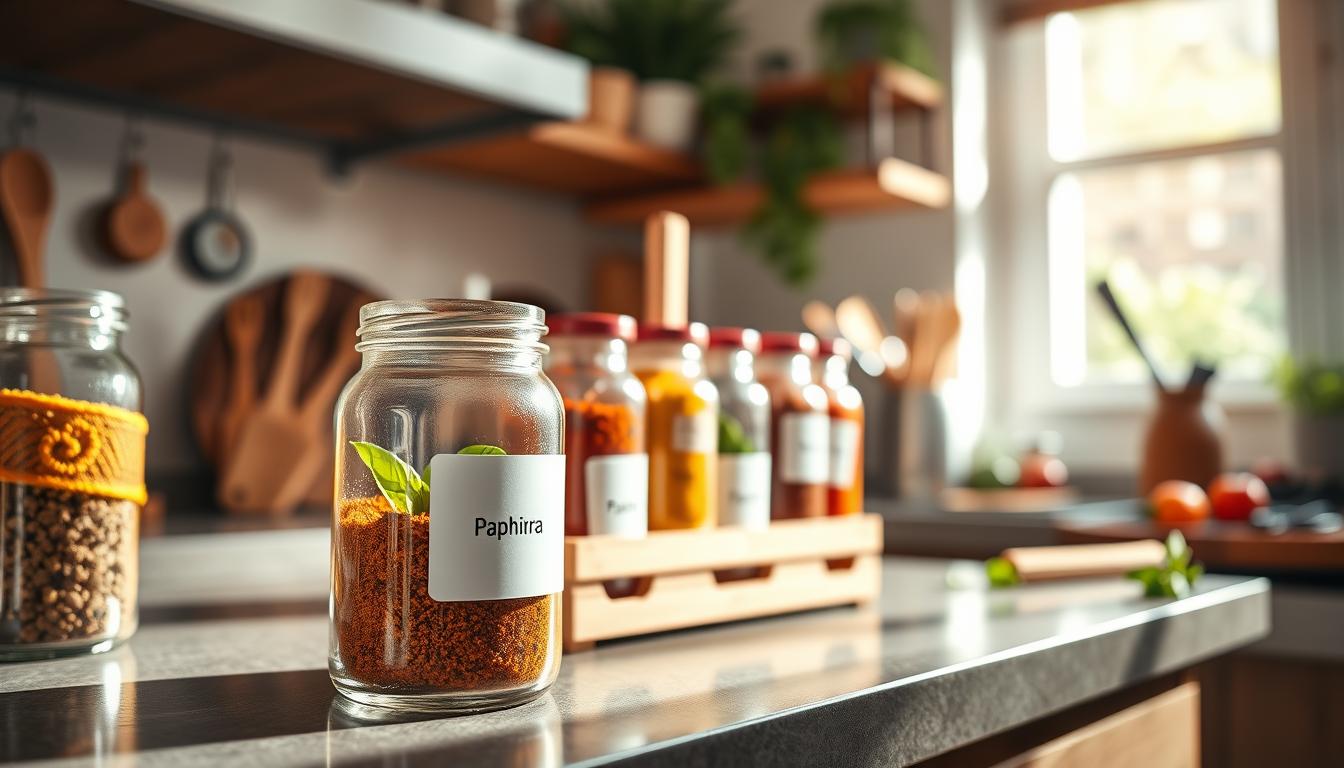
What you’ll make: tidy, removable pantry labels with a polished metallic finish for bins, jars, and holders. The results are surprisingly professional if you use a toner-based printer and run the laminator more than once for a consistent transfer.
Who it’s for: anyone who wants a flexible, cohesive pantry system that can change as staples change without waste. This post is a clear tutorial you can follow step by step.
High-level process: design → print → prep → foil sandwich → laminate → peel → trim → apply. Keep sheets clean, confirm the correct printer type, and aim for an efficient batch workflow so you save time and make many tags quickly.
Why Gold Foil Pantry Labels Work for a Polished, Removable Pantry System
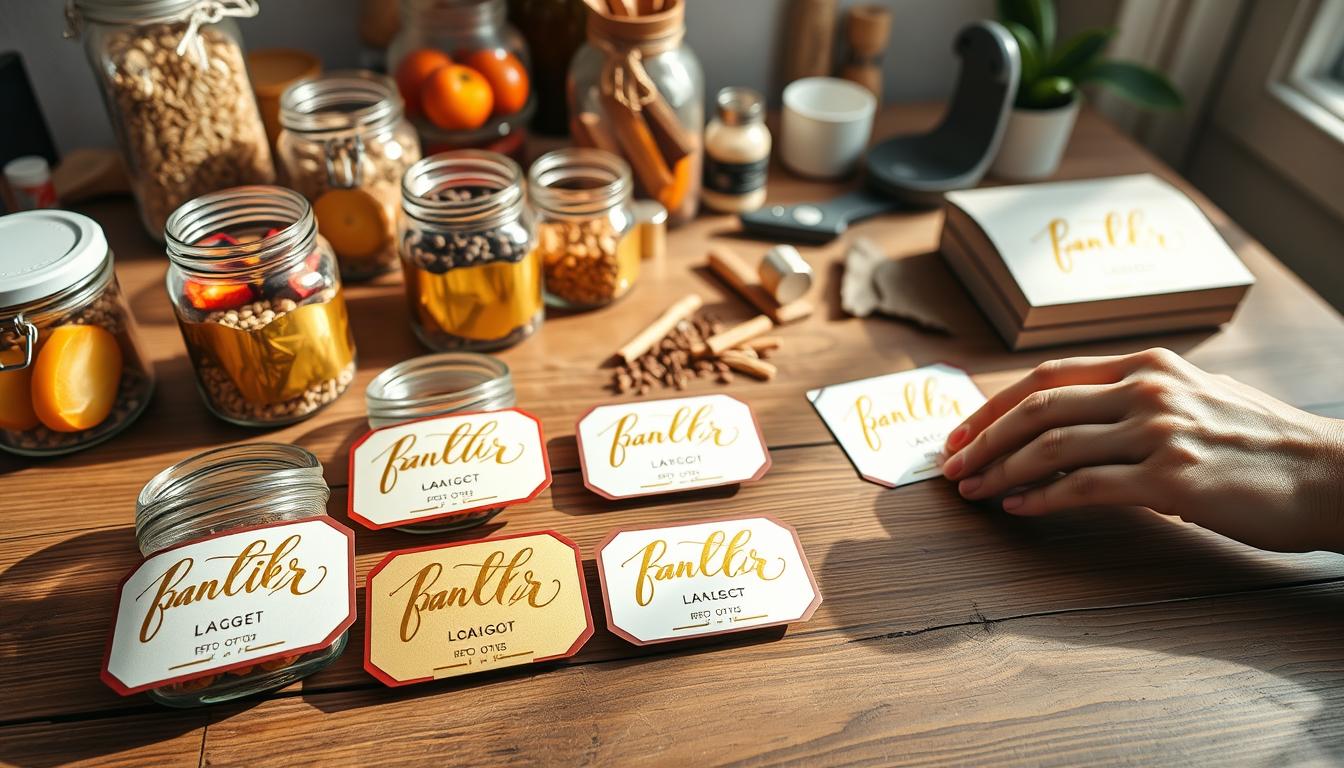
Using toner-reactive transfer creates pantry tags that catch light and read as real metal. The transferred metallic layer reflects light in a way ink and flat metallic printing cannot. That warm sheen gives a small label the look of a manufactured product rather than something hand-printed.

Removability matters in everyday pantry use. Your flour becomes almond flour, snacks rotate, and seasonal mixes come and go. Removable tags let you swap text without redoing containers or wasting materials.
Practical perks and where to use this method
- Visual: transferred foil reads as reflective and three-dimensional, unlike flat gold ink.
- Design fit: the metallic finish pairs with common home finishes, so your pantry feels cohesive.
- Versatile: use the same process for gift tags, art prints, and peel-and-stick stickers around the house.
Format flexibility is another plus. You can foil on white, kraft, or pastel cardstock, or try sticker-style paper when you want peel-and-stick convenience. If you can design and print text, you can get a high-end look without fancy tools.
DIY gold foil labels Supplies and Setup You Need for Clean Foil Transfer
Gather the right gear before you start so your transfer comes out clean and bright. A few correctly chosen items save time and avoid wasted sheets.

Laser printing and toner basics
You need toner-based output because the foil bonds to toner, not to inkjet ink. If you don’t have a laser printer, get a black-and-white print at a copy center—printed laser prints work fine.
Choosing foiling sheets and amounts
Pick classic metallic for pantry use, or try other color options for seasonal projects. A single roll or tube gives you lots of material since you only cover text areas.
Laminator and size guidance
Use a standard, budget-friendly laminator for heat and pressure. If you plan bigger projects, consider a wider unit (around 13″) but keep cost in mind.
Paper and clear sticker considerations
Copy paper is good for inserts; cardstock works best for tags. For clear stickers, avoid some glossy Avery sheets that can fail—Milcoast waterproof clear sticker paper is a proven option.
Surface prep and quick checklist
Wipe printed pages with a fresh dryer sheet to remove lint and pet hair—this prevents stray speckles. Setup checklist: clean workspace, spare blank paper, scissors or trimmer, and a plan to keep small foil pieces from curling.
How to Make Gold Foil Labels at Home Using a Laser Printer and Laminator
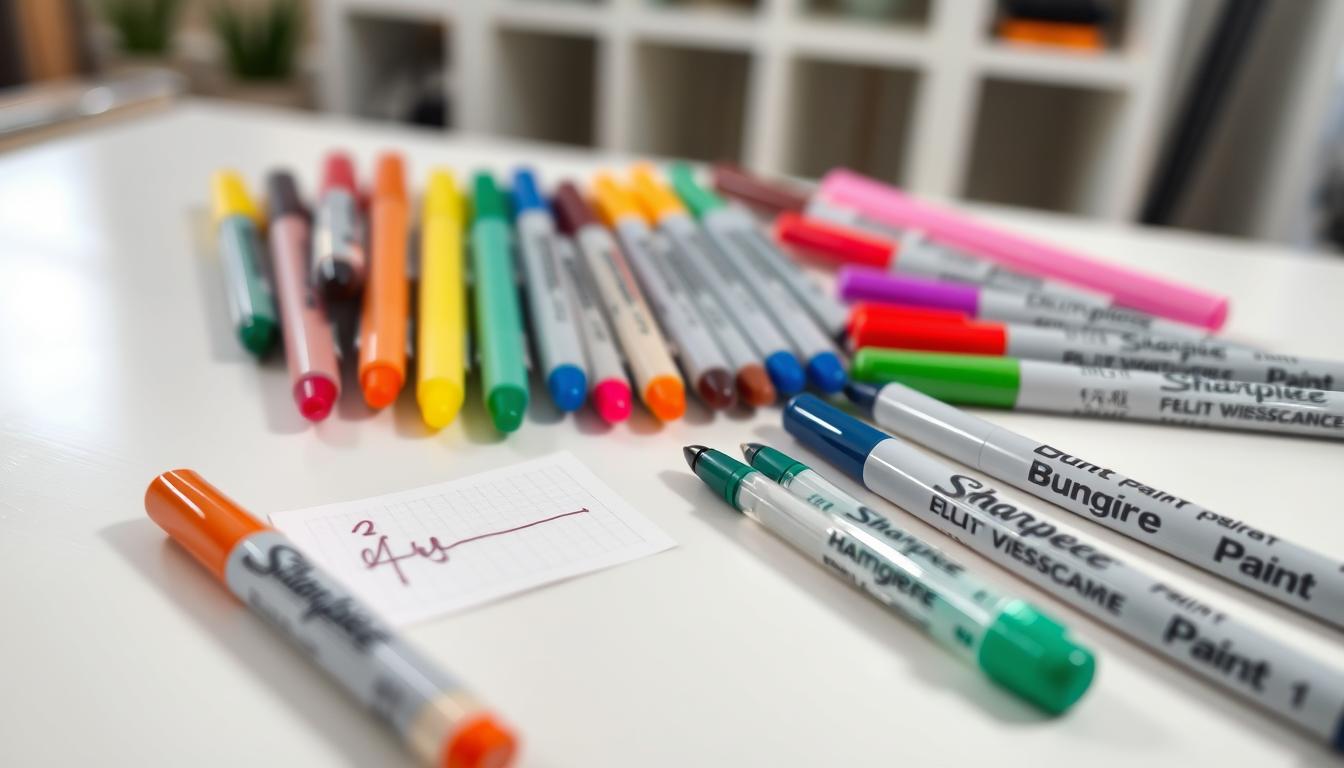
Turn a printed sheet into professional-looking tag inserts by prepping, foiling, and laminating in a few simple passes. Start in a simple editor: keep font sizes consistent, short names, and wide margins so each item is easy to cut.
- Print in solid black on your printed laser printer using your chosen paper—copy paper, cardstock, or sticker sheets work well.
- Prep the page by rubbing a fresh dryer sheet across the entire sheet to remove lint that causes stray foil speckles.
- Cut foil into strips that just cover each printed word to save material and prevent transfer on blank areas.
- Place foil gold-side up over the text, then lay a clean cover sheet on top to build the sandwich for the laminator.
- Feed the sandwich through the laminator smoothly and run it twice for steady adhesion; peel back the foil and check for patchy spots.
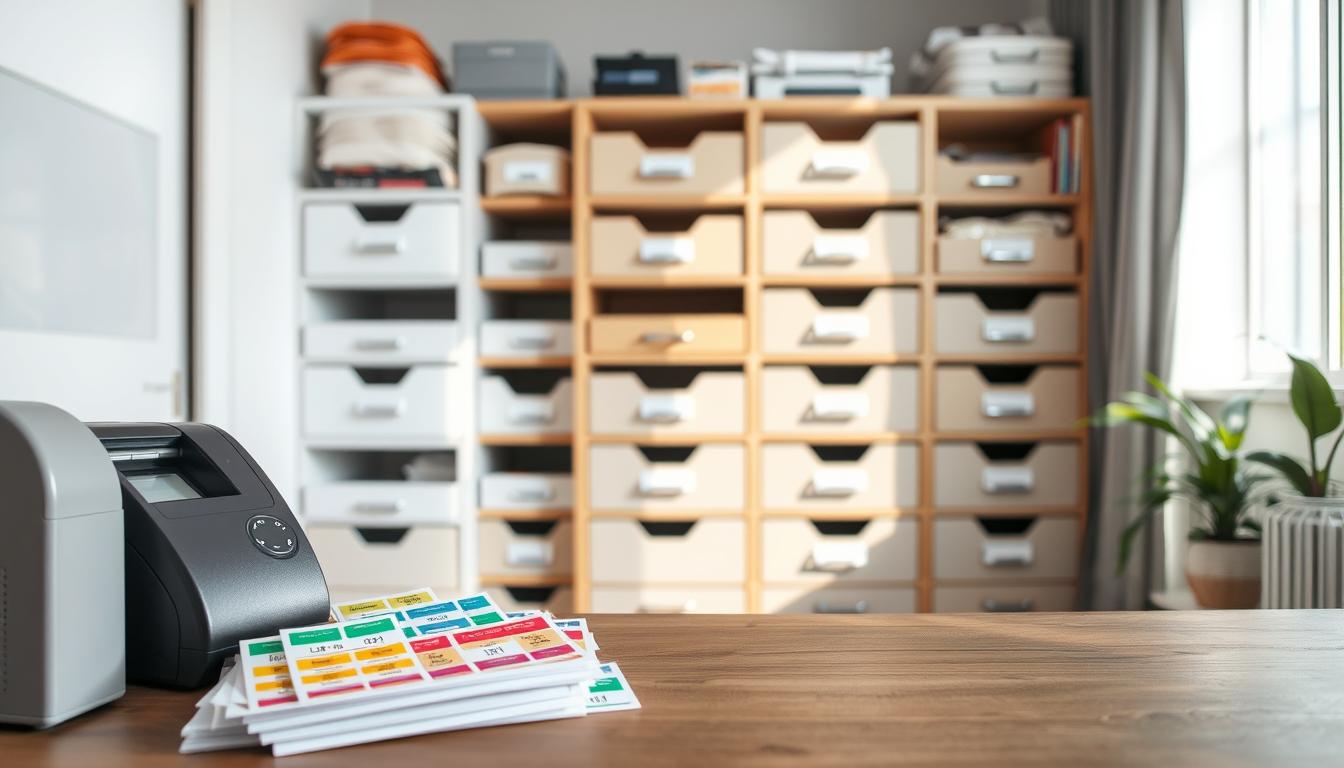
Trim each label to shape, use a cardstock template for tag overlays, peel backing, and smooth onto jars or holders. Once you find a rhythm, you can make lots of sheets in one session and finish over 20 pieces in about an hour.
Conclusion
Close with the simple rule that makes this technique reliable every time: laser-printed black text + a sheet of metallic transfer + a standard laminator. That combo gives a true gold look that reads like a manufactured finish.
Remember the make-or-break steps: use toner, not ink; wipe each printed page with a dryer sheet to remove dust; and run your sandwich through the laminator twice for even transfer. These small checks save time and scraps.
This method creates removable, changeable labels that keep your pantry accurate. Try the same steps for matching basket tags, foiled gift tags, or small gold-accent art on paper around the house.
Work in batches, keep designs simple, and aim for readable results — done beats perfect when you’re organizing. If you prefer a non-diy route, many pro label printers offer proofs and reprints.